TABLE OF CONTENTS
NVIDIA H100 GPUs On-Demand
In this tutorial, we will show you how to deploy xAI's highly anticipated Grok-2 model on Hyperstack. Grok-2, a powerful Mixture-of-Experts (MoE) model, requires significant computational power, which Hyperstackʼs high-performance cloud GPU infrastructure is perfectly suited for. We will guide you through setting up Grok-2 using the SGLang inference engine and integrating it with Open WebUI for a seamless, interactive experience.
Let's get started!
Please note: This tutorial is for demo purposes only.
What is Grok-2?
Grok-2 is the next-generation open-weight language model from xAI. It is a large-scale Mixture-of-Experts (MoE) model, custom-trained to be a highly capable reasoning assistant with access to real-time information. Its architecture is designed for exceptional performance and computational efficiency, making it one of the leading models for complex problem-solving and conversational AI.
What are the Key Features of Grok-2?
Grok-2 is an advanced AI model designed to push the boundaries of reasoning and real-time knowledge. Its key features include:
- Advanced Reasoning and Real-Time Information: Grok-2 excels at complex logical reasoning and can leverage up-to-the-minute information to provide relevant, timely, and accurate responses.
- Mixture-of-Experts (MoE) Architecture: This advanced architecture allows the model to scale to a massive size while only activating a fraction of its parameters for any given token, making inference highly efficient.
- Unique, Engaging Personality: Unlike traditional models, Grok-2 is designed with a humorous streak, leading to more engaging and less generic conversations.
- Open-Weight Model: Released with open weights, Grok-2 is available for researchers, developers and businesses to build upon, fine-tune, and deploy for their specific needs.
How to Deploy Grok-2 on Hyperstack
Now, let's walk through the step-by-step process of deploying Grok-2 on Hyperstack.
Step 1: Accessing Hyperstack
- Go to the Hyperstack website and log in to your account.
- If you're new to Hyperstack, you must create an account and set up your billing information. Check our documentation to get started with Hyperstack.
- Once logged in, you'll be greeted by the Hyperstack dashboard, which provides an overview of your resources and deployments.
Step 2: Deploying a New Virtual Machine
Initiate Deployment
- Look for the "Deploy New Virtual Machine" button on the dashboard.
- Click it to start the deployment process.
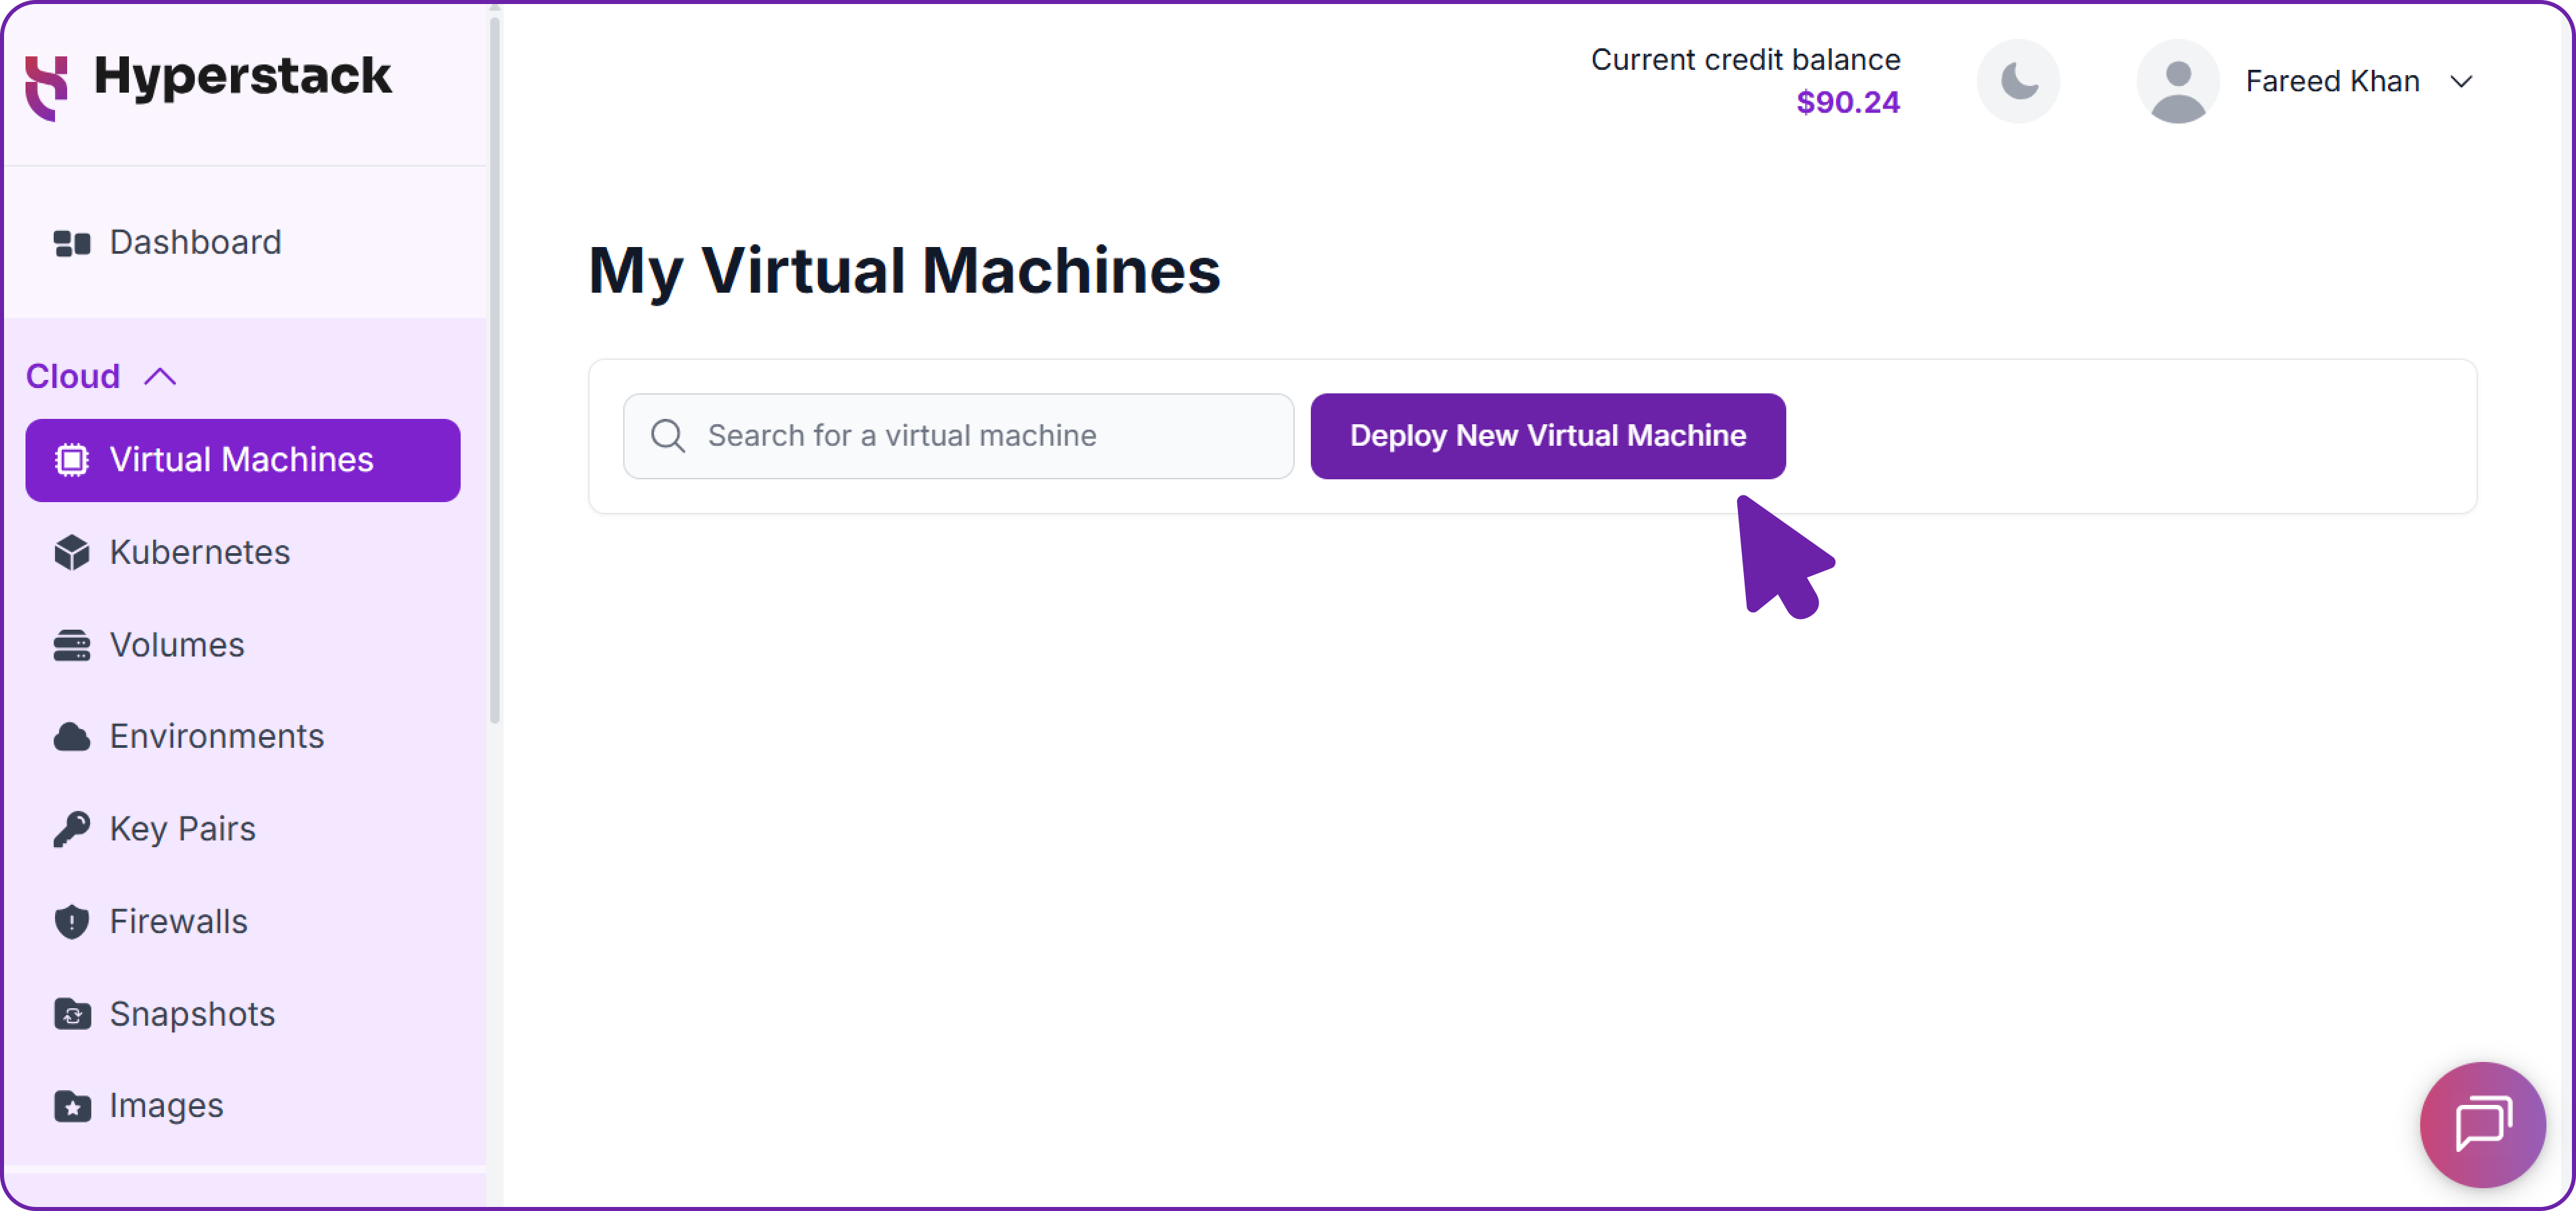
Select Hardware Configuration
- Choose the "8xH100-SXM5" flavour. These configurations provide the immense VRAM and compute power necessary to run a state-of-the-art model like Grok-2.
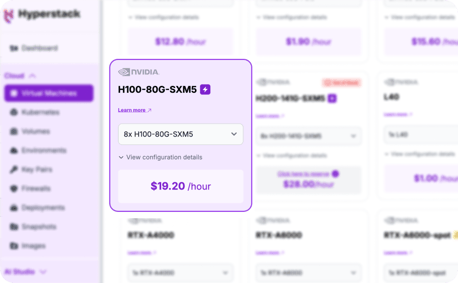
Choose the Operating System
- Select the "Ubuntu Server 22.04 LTS R550 CUDA 12.4 with Docker" image with the latest CUDA and Docker drivers pre-installed. This base image simplifies the setup process significantly.
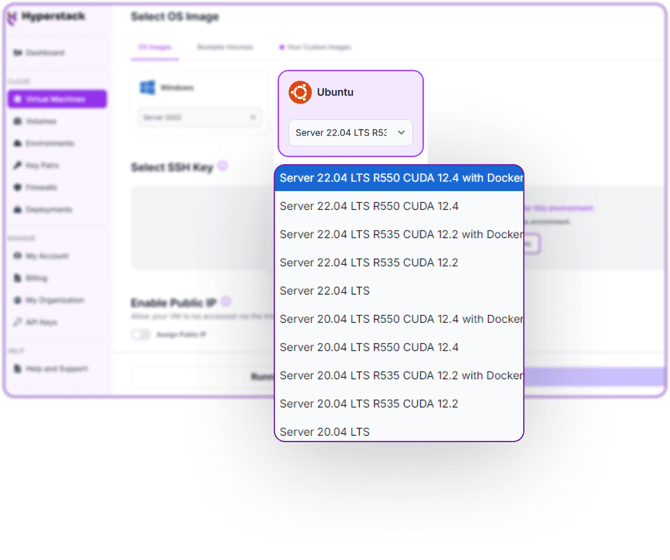
Select a keypair
- Select one of the key pairs in your account. Don't have a keypair yet? See our Getting Started tutorial for creating one.
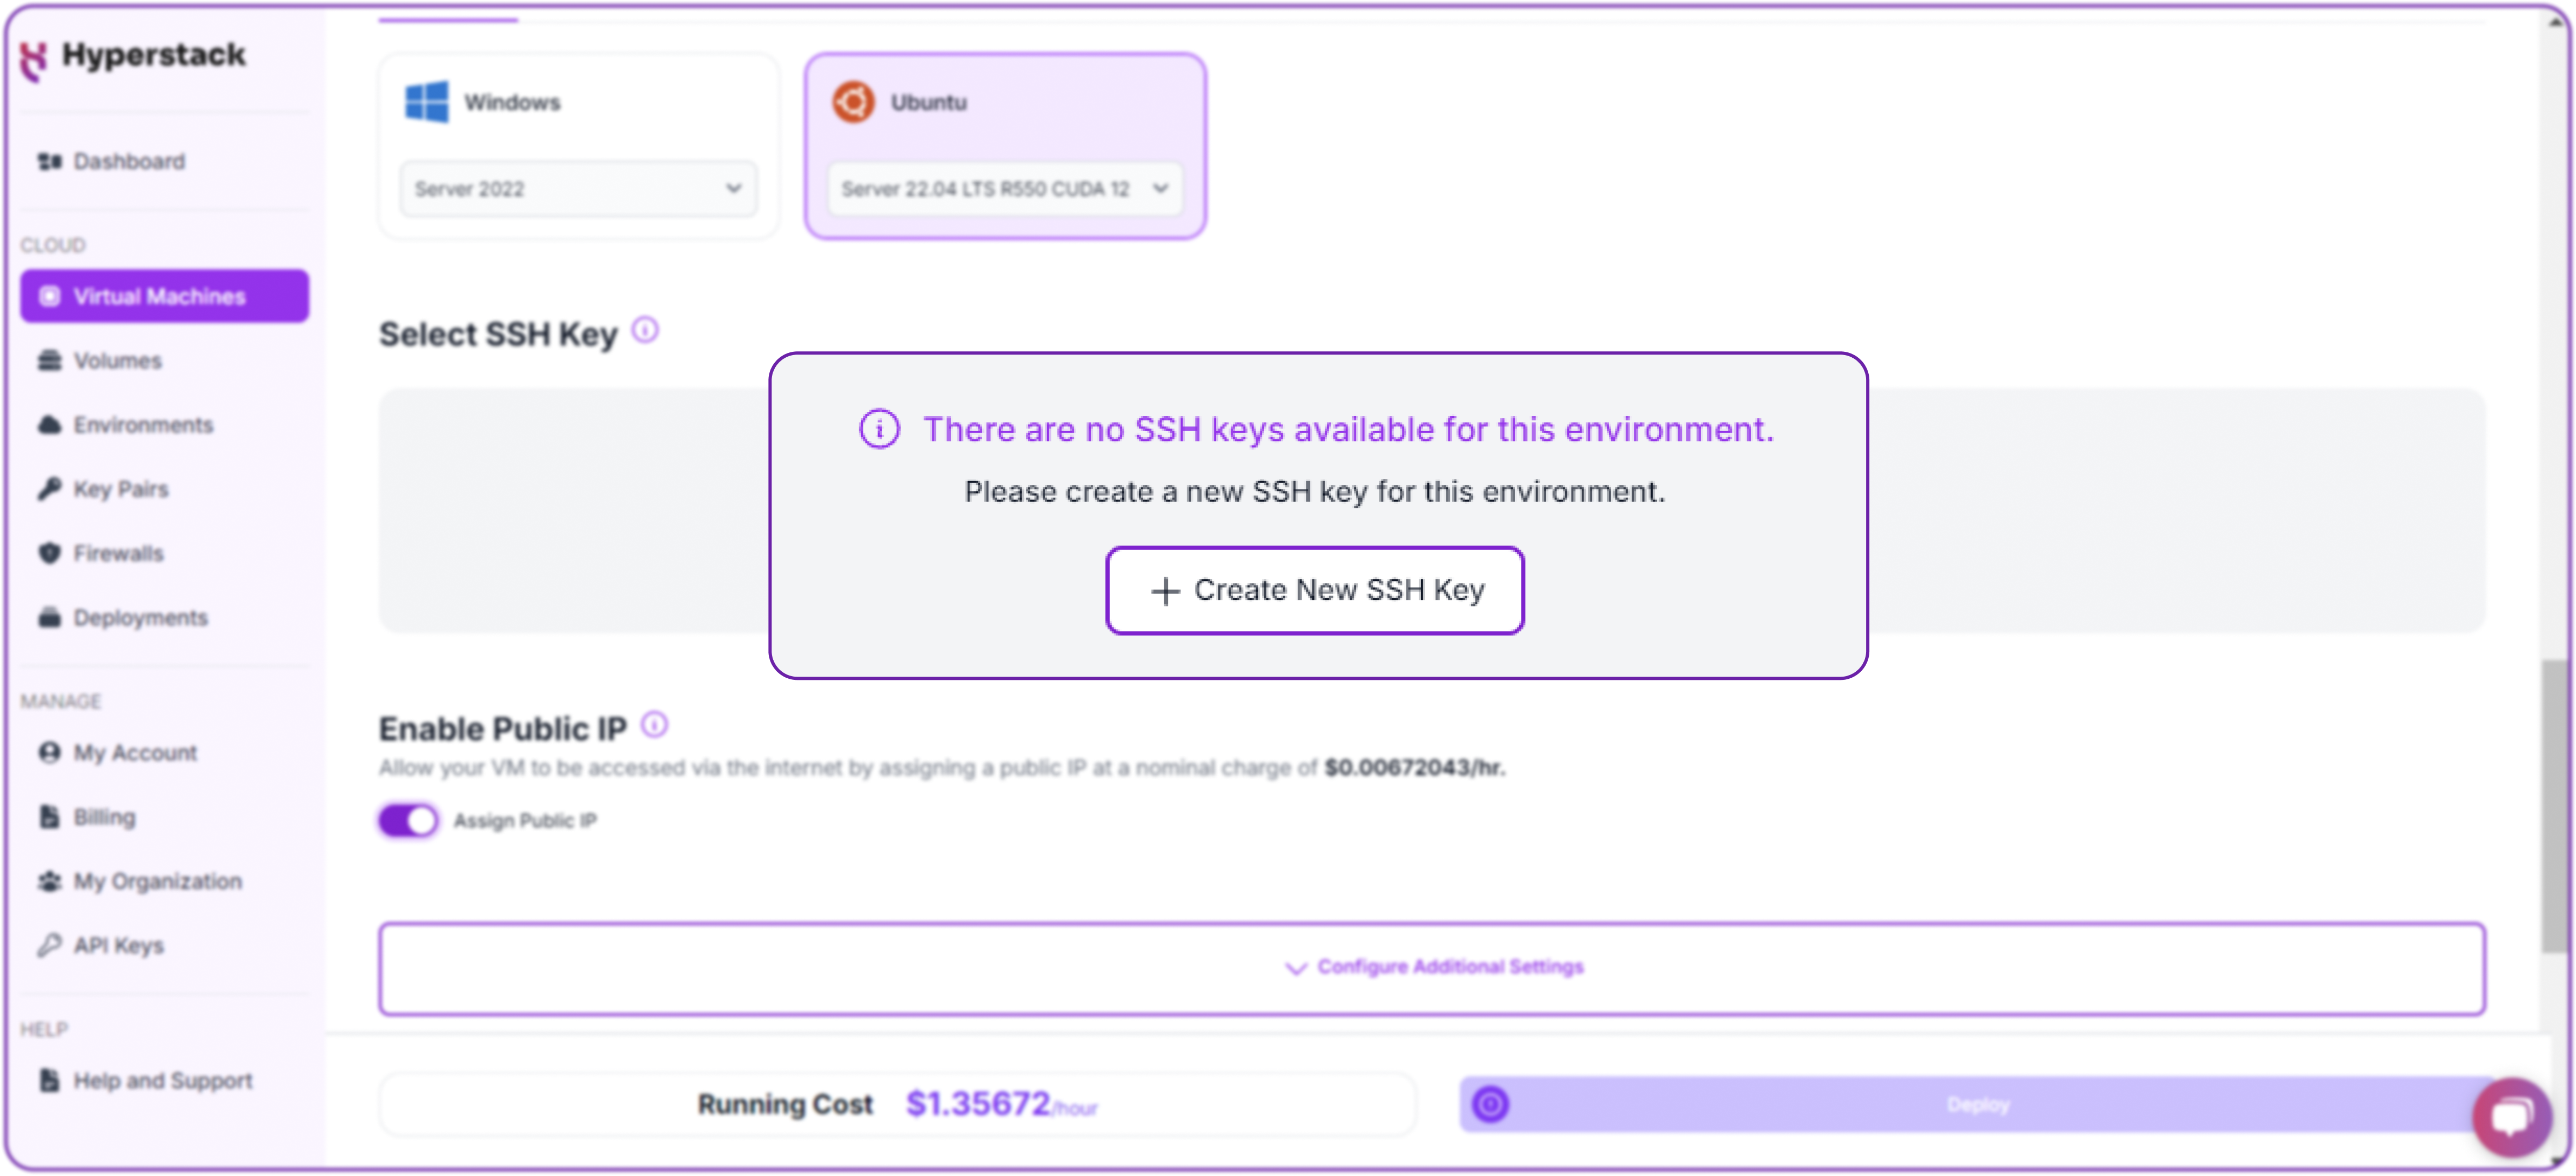
Network Setup with SSH Access
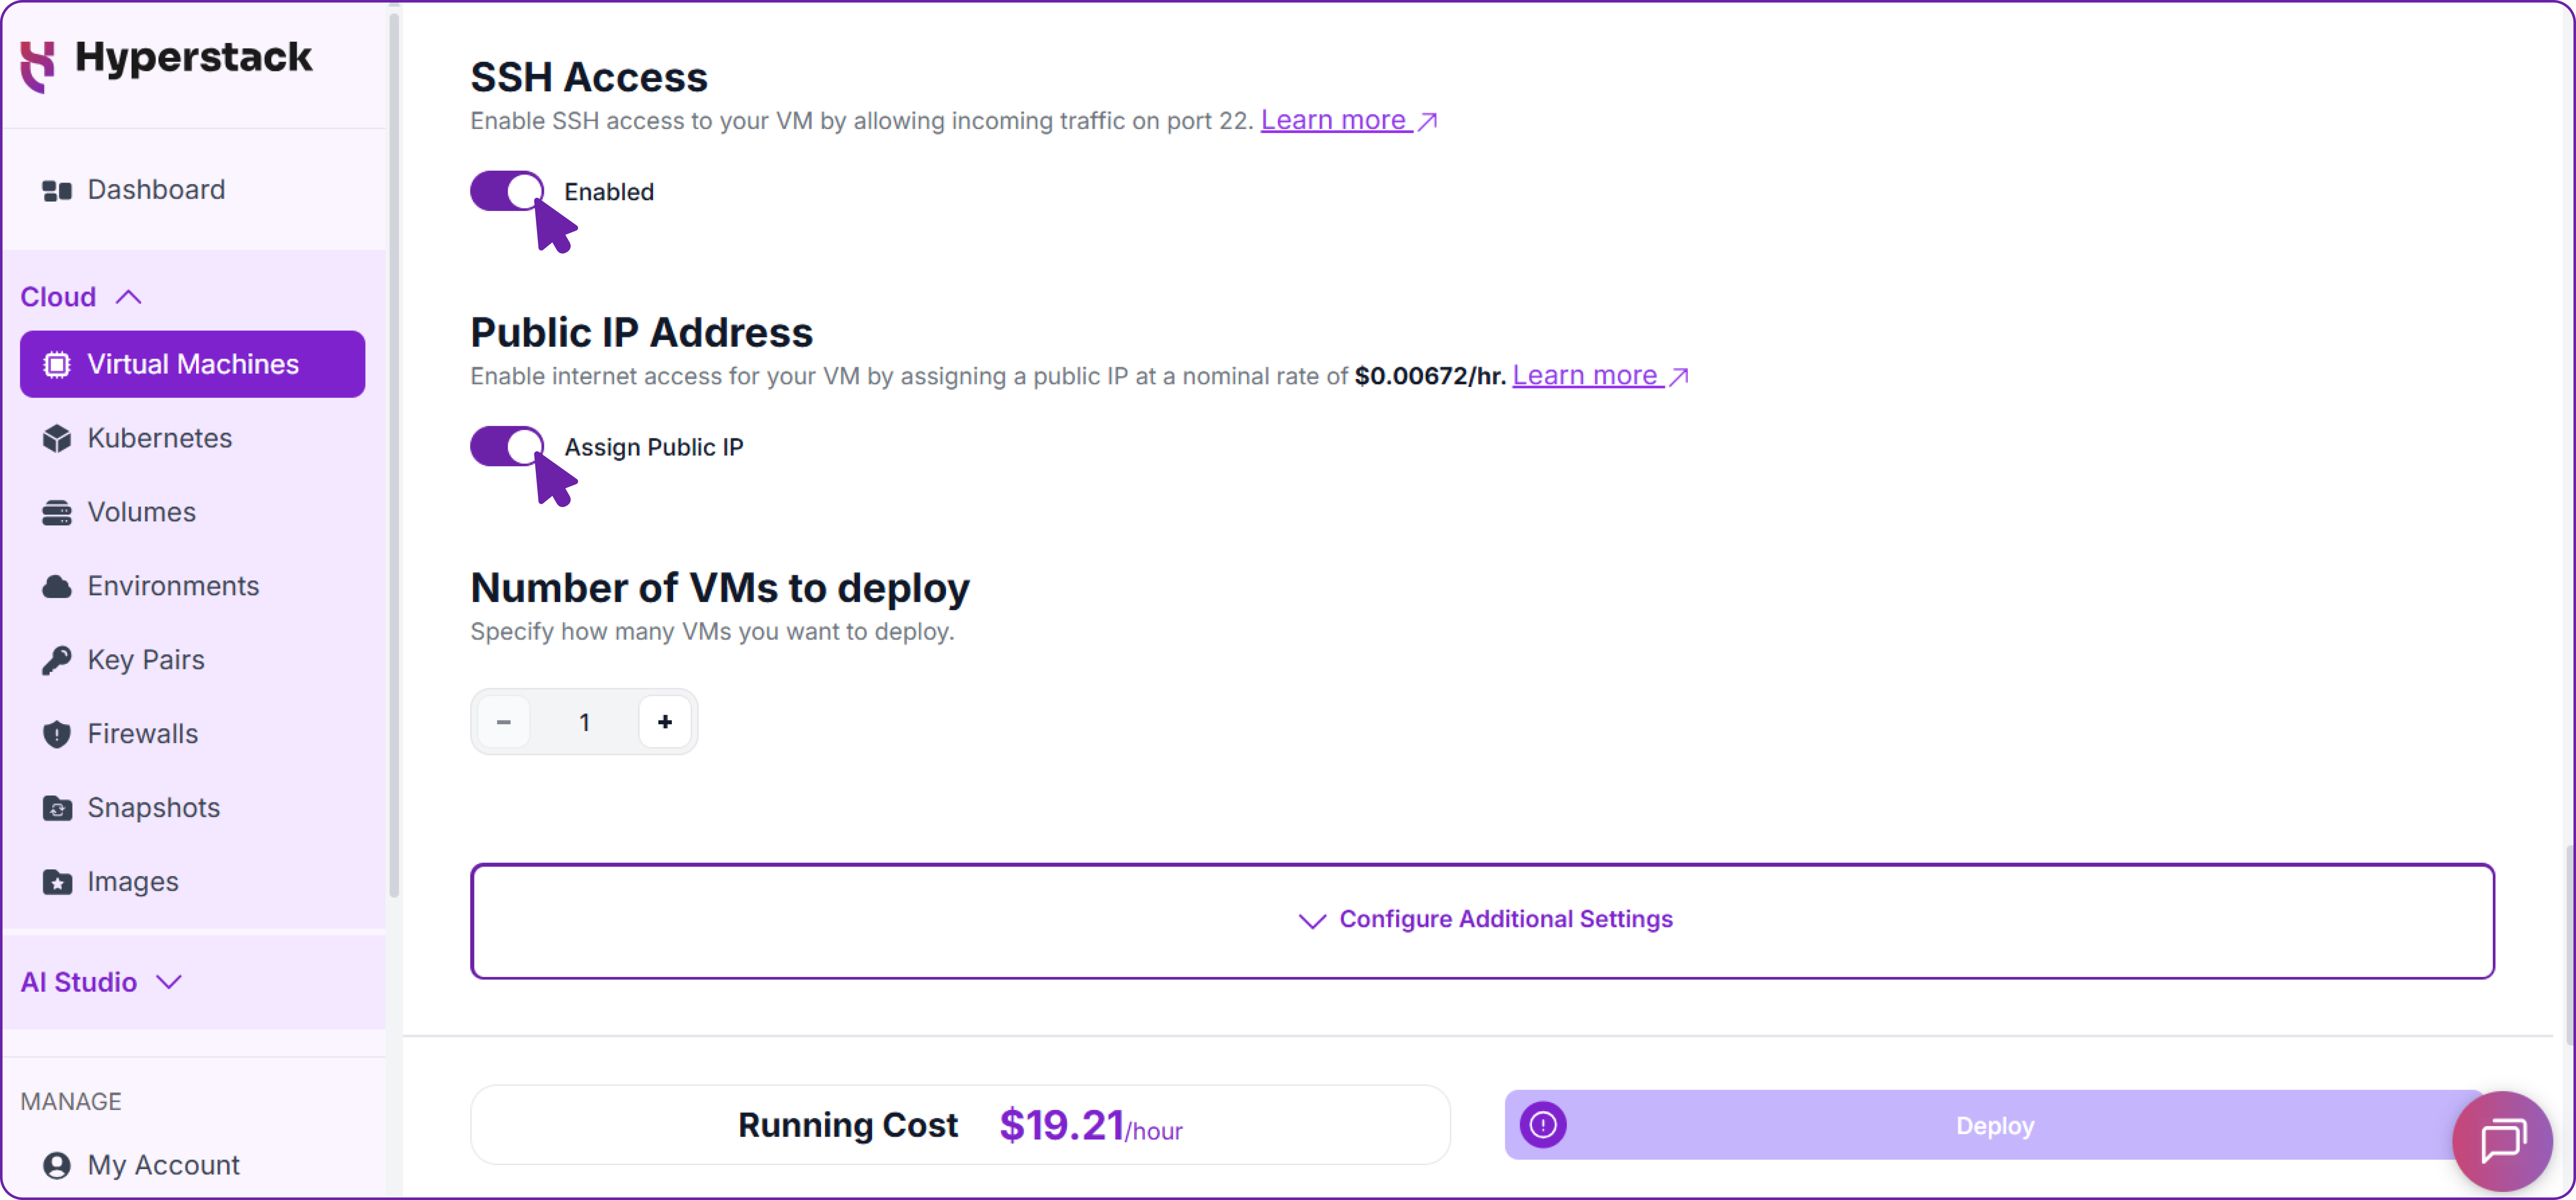
- Please make sure your Virtual Machine has a Public IP assigned. This is important as it allows you to access your VM from the internet for remote management and API usage.
- Additionally, enable SSH access to your VM. This is essential for securely connecting to and managing your virtual machine without exposing sensitive credentials.
Step 3: Accessing Your VM
Once the initialisation is complete, you can access your VM:
Locate SSH Details
- In the Hyperstack dashboard, find your VM's details.
- Look for the public IP address, which you will need to connect to your VM with SSH.
Connect via SSH
- Open a terminal on your local machine.
- Use the command:
ssh \
-i [path_to_ssh_key] \ # Path to your private SSH key (e.g., ~/.ssh/id_rsa)
[os_username]@ [vm_ip_address] # Username on the remote server and its IP address
Replace the key path, username, and IP address with the details for your VM.
Step 4: Preparing the Environment for Grok-2
Now that you are connected to your powerful new VM, let's prepare the environment to run Grok-2.
1. Install Required Python Packages: Youʼll need huggingface-hub to download the model, and
FastAPI, uvicorn, and httpx to build the API wrapper later.
# Install all necessary packages in one go
pip install huggingface_hub fastapi uvicorn httpx
2. Download Grok-2 Model Weights: Download the Grok-2 model weights to a directory on your VM.
# Use the huggingface-cli to download the model weights.
huggingface-cli download xai-org/grok-2 \
 --local-dir /[your_local_folder]/grok-2
You will see a detailed progress bar as the large model files are downloaded.
3. Install SGLang: Install the latest version of SGLang with all its optional dependencies.
# First, ensure your pip package installer is up-to-date
pip install --upgrade pip
# Install the SGLang library with the '[all]' extra for full functionality
pip install "sglang[all]>=0.5.1.post2"
Important Note on sg_kernel: SGLang relies on a core component called sgl_kernel. If you have an older version installed, it can cause issues. To ensure you have the latest version, you can explicitly uninstall the old kernel before reinstalling it again:
# (Optional) Uninstall the old kernel if you suspect issues
pip uninstall sg_kernel -y
# Then reinstall sg_kernel
pip install sg_kernel
Step 5: Launching the SGLang Inference Server
With the environment ready, launch the SGLang server. This single command will load Grok-2 across all 8 GPUs and start an OpenAI-compatible API server.
# Launch the SGLang server process in a new terminal session
python3 -m sglang.launch_server \
 --model-path /[your_local_folder]/grok-2 \
 --tokenizer-path /[your_local_folder]/grok-2/tokenizer.tok.json \
 --tp 8 \
 --quantization fp8 \
 --attention-backend triton \
 --host 0.0.0.0 \
 --port 8000
After a few moments, you will see a confirmation that the server is running:
# (Optional) Uninstall the old kernel if you suspect issues
[2025-08-28 05:05:36] INFO: Uvicorn running on http://0.0.0.0:8000
(Press CTRL+C to quit)
[2025-08-28 05:05:43] The server is fired up and ready to roll!
Keep this terminal open, as it is now actively serving the Grok-2 model.
Step 6: Testing the SGLang Server
With the server running, let's confirm it's working correctly before adding a user interface. We'll test it first from inside the VM, and then from your own computer to verify network access.
1. Test from Inside the VM: Open a new SSH terminal to your VM and use curl to send a test request to the server's local address
# Use curl to send a JSON POST request to the server's local completions
endpoint
curl http://127.0.0.1:8000/v1/chat/completions \
 -H "Content-Type: application/json" \
 -d '{
 "model": "/[your_local_folder]/grok-2",
 "messages": [
 {"role": "user", "content": "What is your name?"}
 ],
 "temperature": 0.7
 }'
A successful JSON response confirms the server is running correctly on the VM.
2. Test from Your Local Machine (over the Internet)
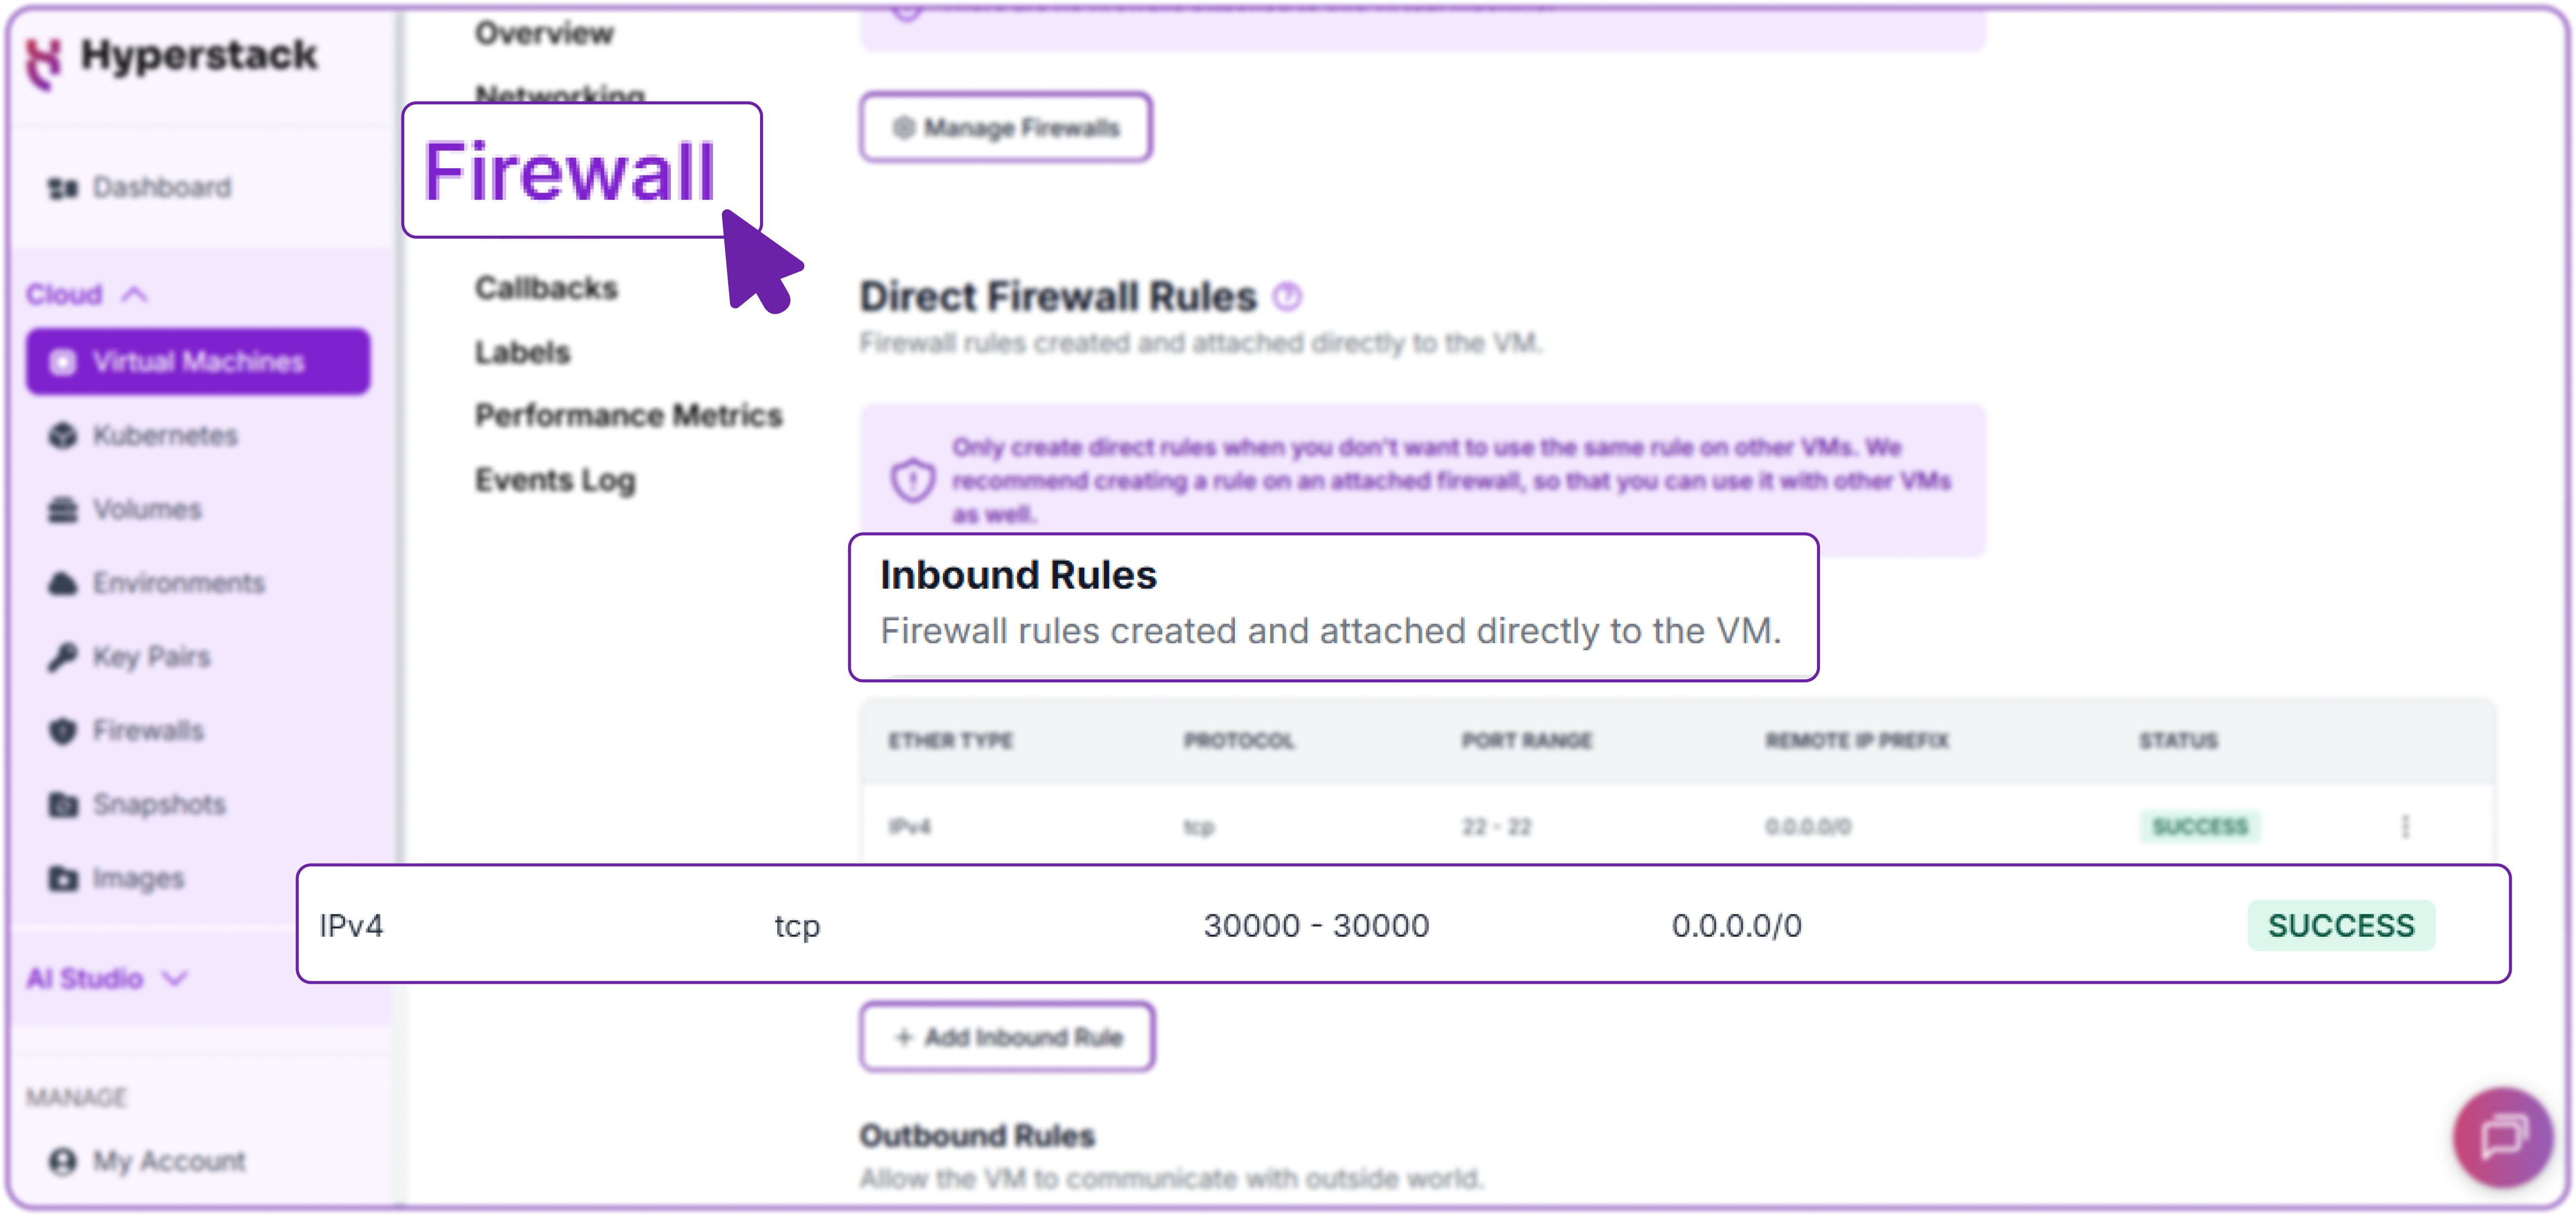
Currently, the model can only be accessed from within the VM. To access it from your own computer or any other device on the internet, you must open the port in the Hyperstack firewall.
- In the Hyperstack dashboard, navigate to your VM's "Networking" tab.
- Under "Inbound Rules," add a new rule:
- Protocol: tcp
- Port: 8000
- Source: 0.0.0.0/0 (or your specific IP address for better security).
Now, run the curl command from your local machine's terminal, replacing 127.0.0.1 with your VM's public IP address.
# Send the same request, but this time to the VM's public IP address
curl http://YOUR_VM_PUBLIC_IP:8000/v1/chat/completions \
 -H "Content-Type: application/json" \
 -d '{
 "model": "/[your_local_folder]/grok-2",
 "messages": [
 {"role": "user", "content": "What is your name?"}
 ],
 "temperature": 0.7
 }'
This is the output we get:
{
  "id": "...",
  "model": "/[your_local_folder]/grok-2",
  "choices": [
    {
      "message": {
        "content": "My name is Grok, created by xAI. Nice to meet you! What's yours?"
      },
      "finish_reason": "..."
    }
  ],
  "usage": { "prompt_tokens": "...", "completion_tokens": "...", "total_tokens": "..." }
}
Receiving the same successful response confirms your inference server is fully operational and accessible over the internet.
3. Monitor GPU Usage (Optional)
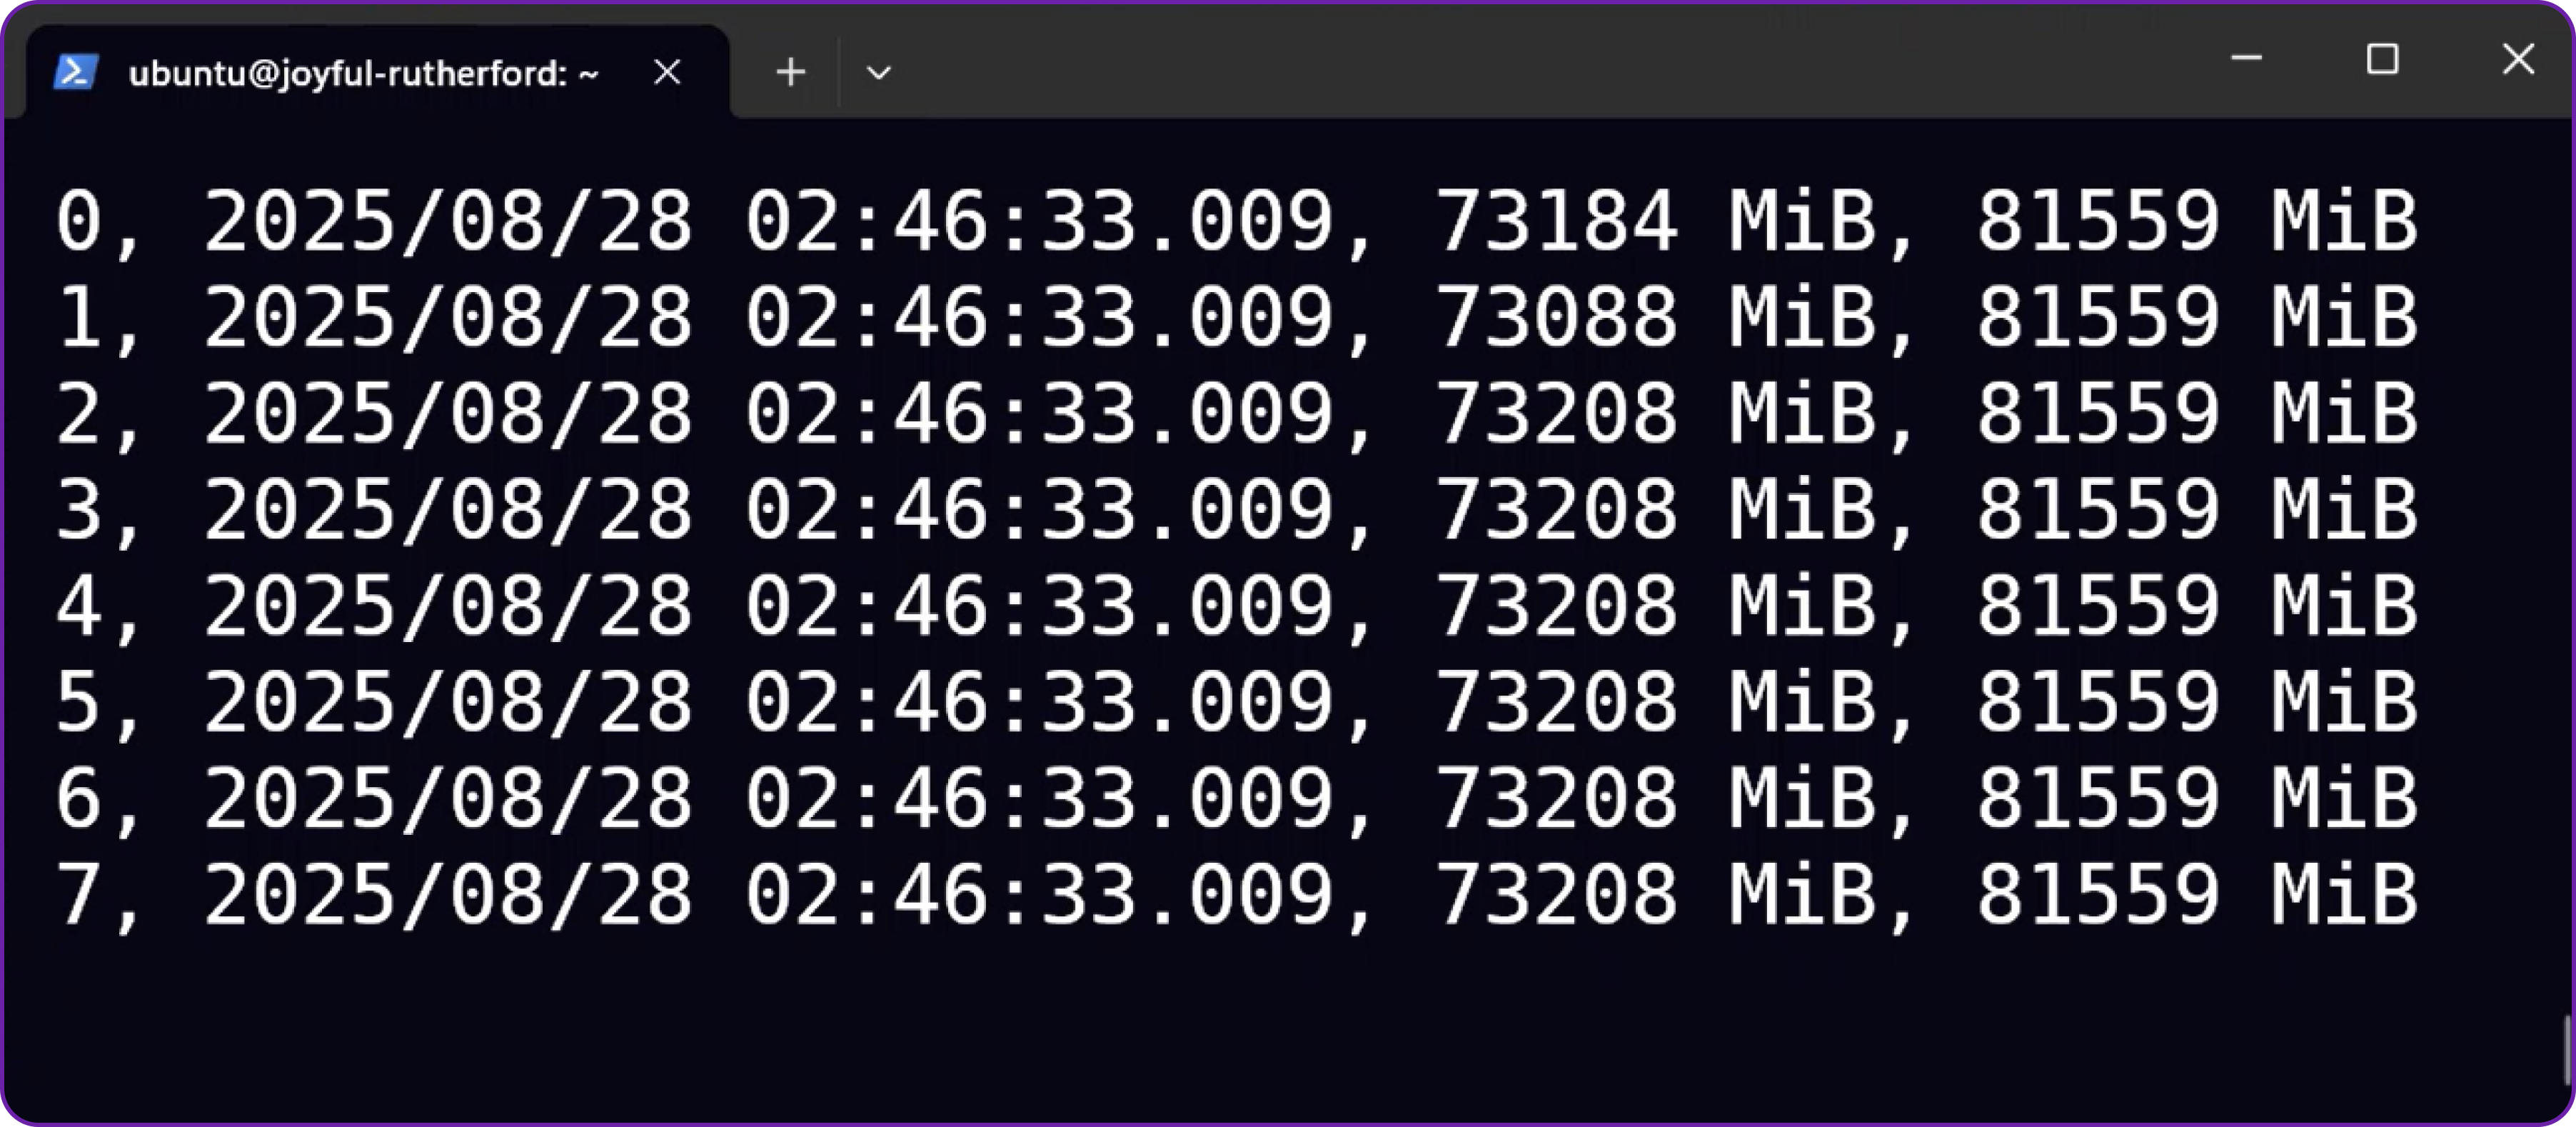
In a new SSH terminal, you can monitor your GPU memory usage in real-time. This is useful for confirming that the model is distributed correctly across all GPUs and for observing memory consumption during inference.
# Watch GPU memory usage, updating every second
nvidia-smi --query-gpu=timestamp,memory.used,memory.total --format=csv --
loop=1
You will see the memory usage climb on all 8 GPUs as the model is loaded.
Integrating SGLang with Open WebUI
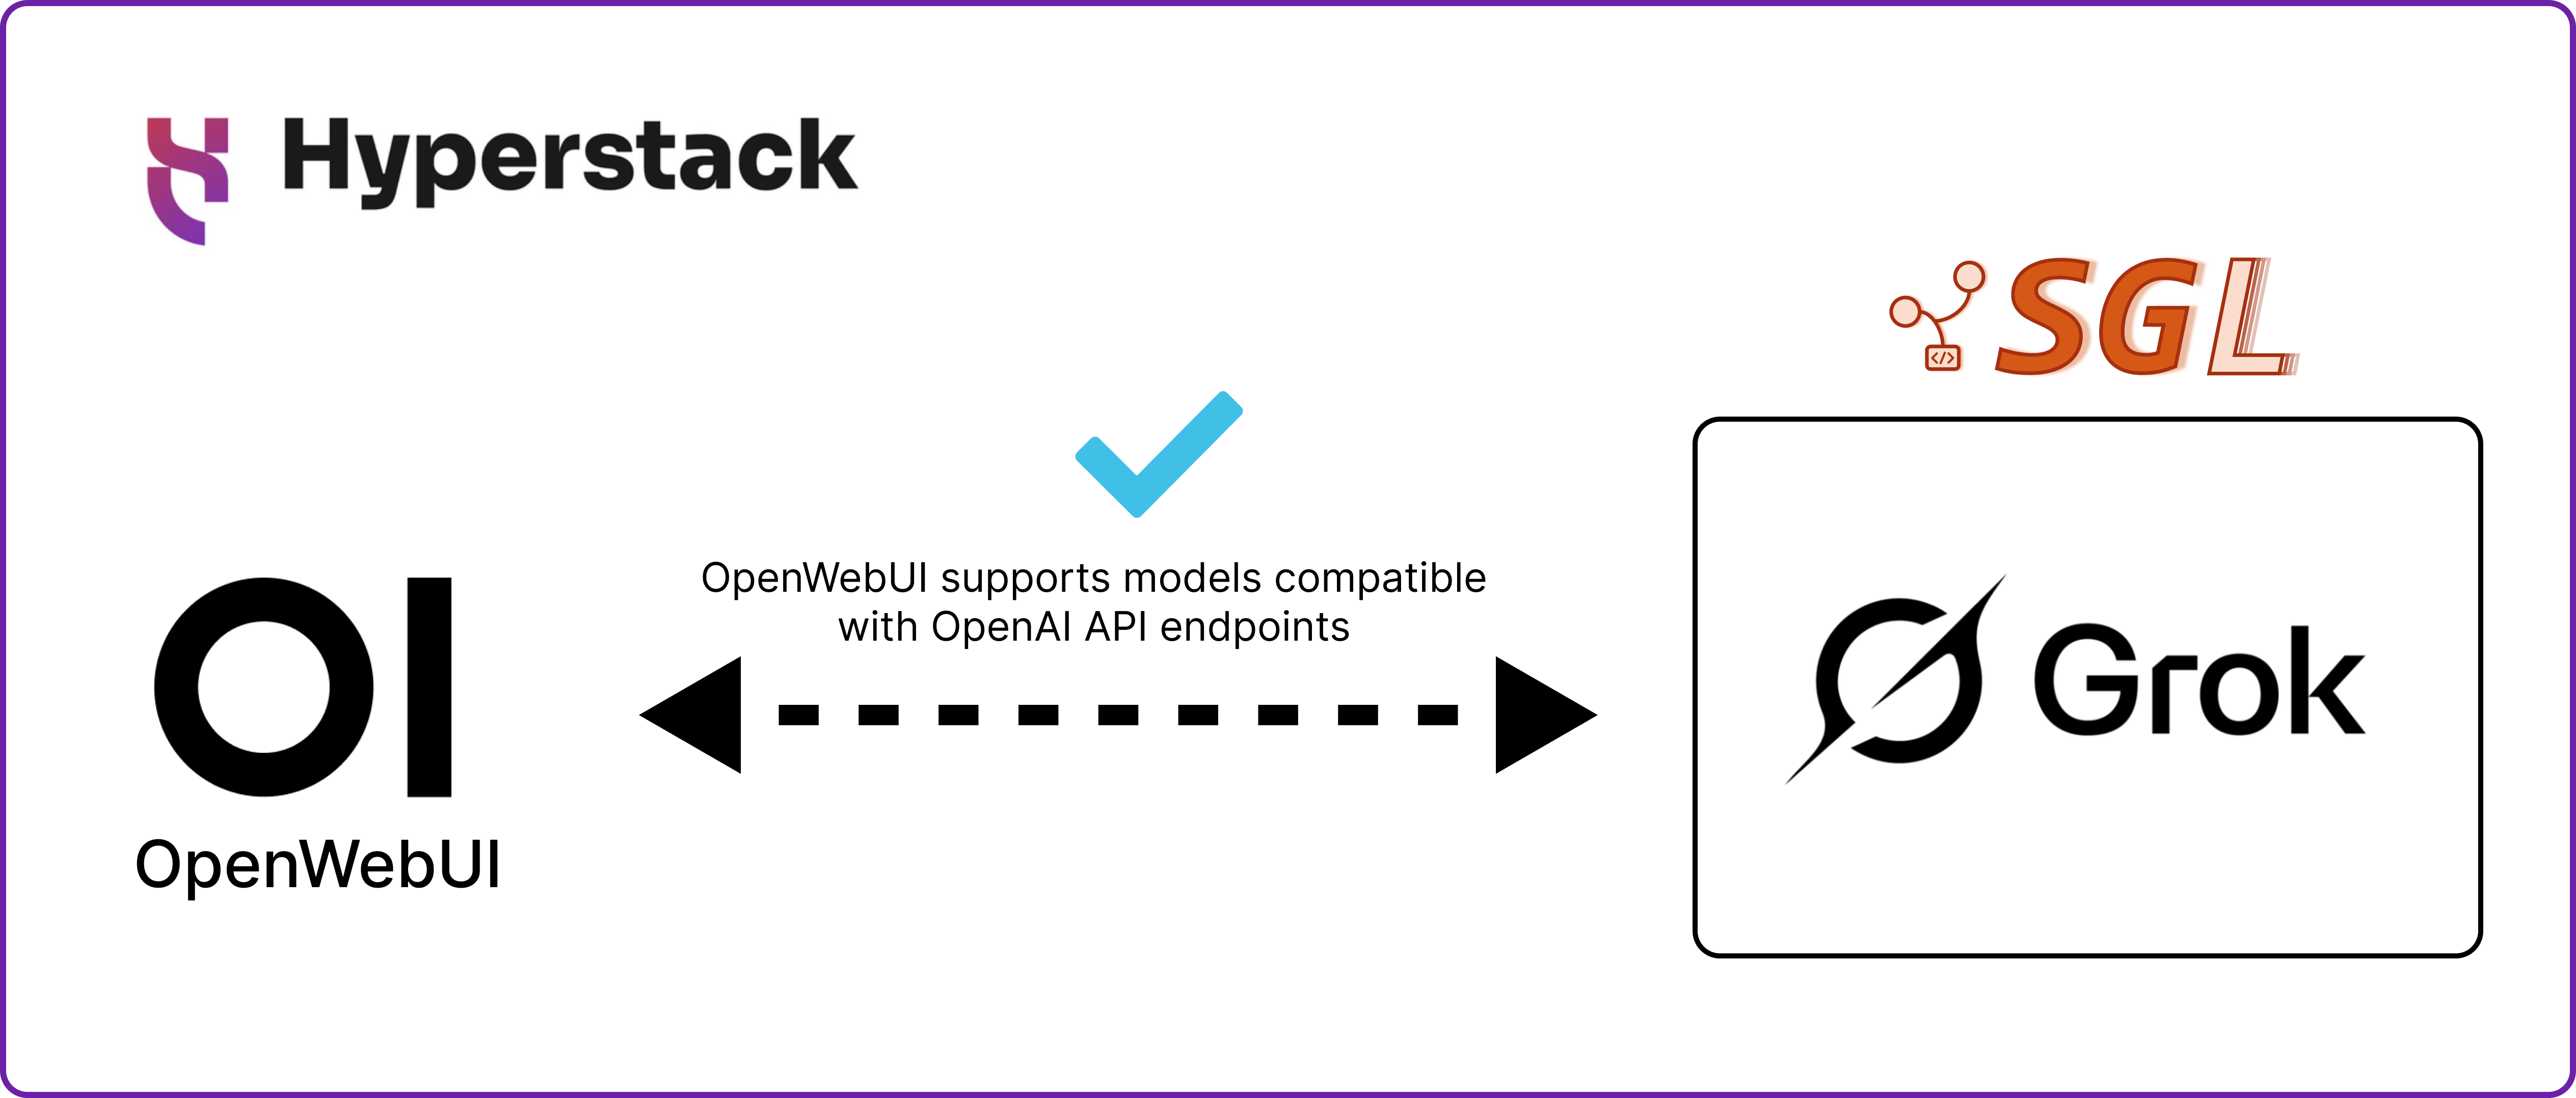
Now that we have a running OpenAI-compatible inference server, connecting it to a user-friendly chat interface like Open WebUI is straightforward.
Step 7: Launch Open WebUI
In your second SSH terminal, launch the Open WebUI Docker container.
# Run the Open WebUI container in detached mode
docker run -d \
 -p 3001:8080 \
 --add-host=host.docker.internal:host-gateway \
 -v open-webui:/app/backend/data \
 --name open-webui \
 --restart always \
 ghcr.io/open-webui/open-webui:main
This starts the frontend in a Docker container. The --add-host flag allows the container to communicate with the SGLang server running on the host VM.
Step 8: Configuring the Firewall
You now need to open the port for the Open WebUI frontend so you can access it from your browser.
Open your Hyperstack dashboard and add a new firewall rule:
- Protocol: tcp
- Port: 3000
- Source: 0.0.0.0/0
It’s not recommended to expose ports publicly. The best approach is to whitelist only your own IP.
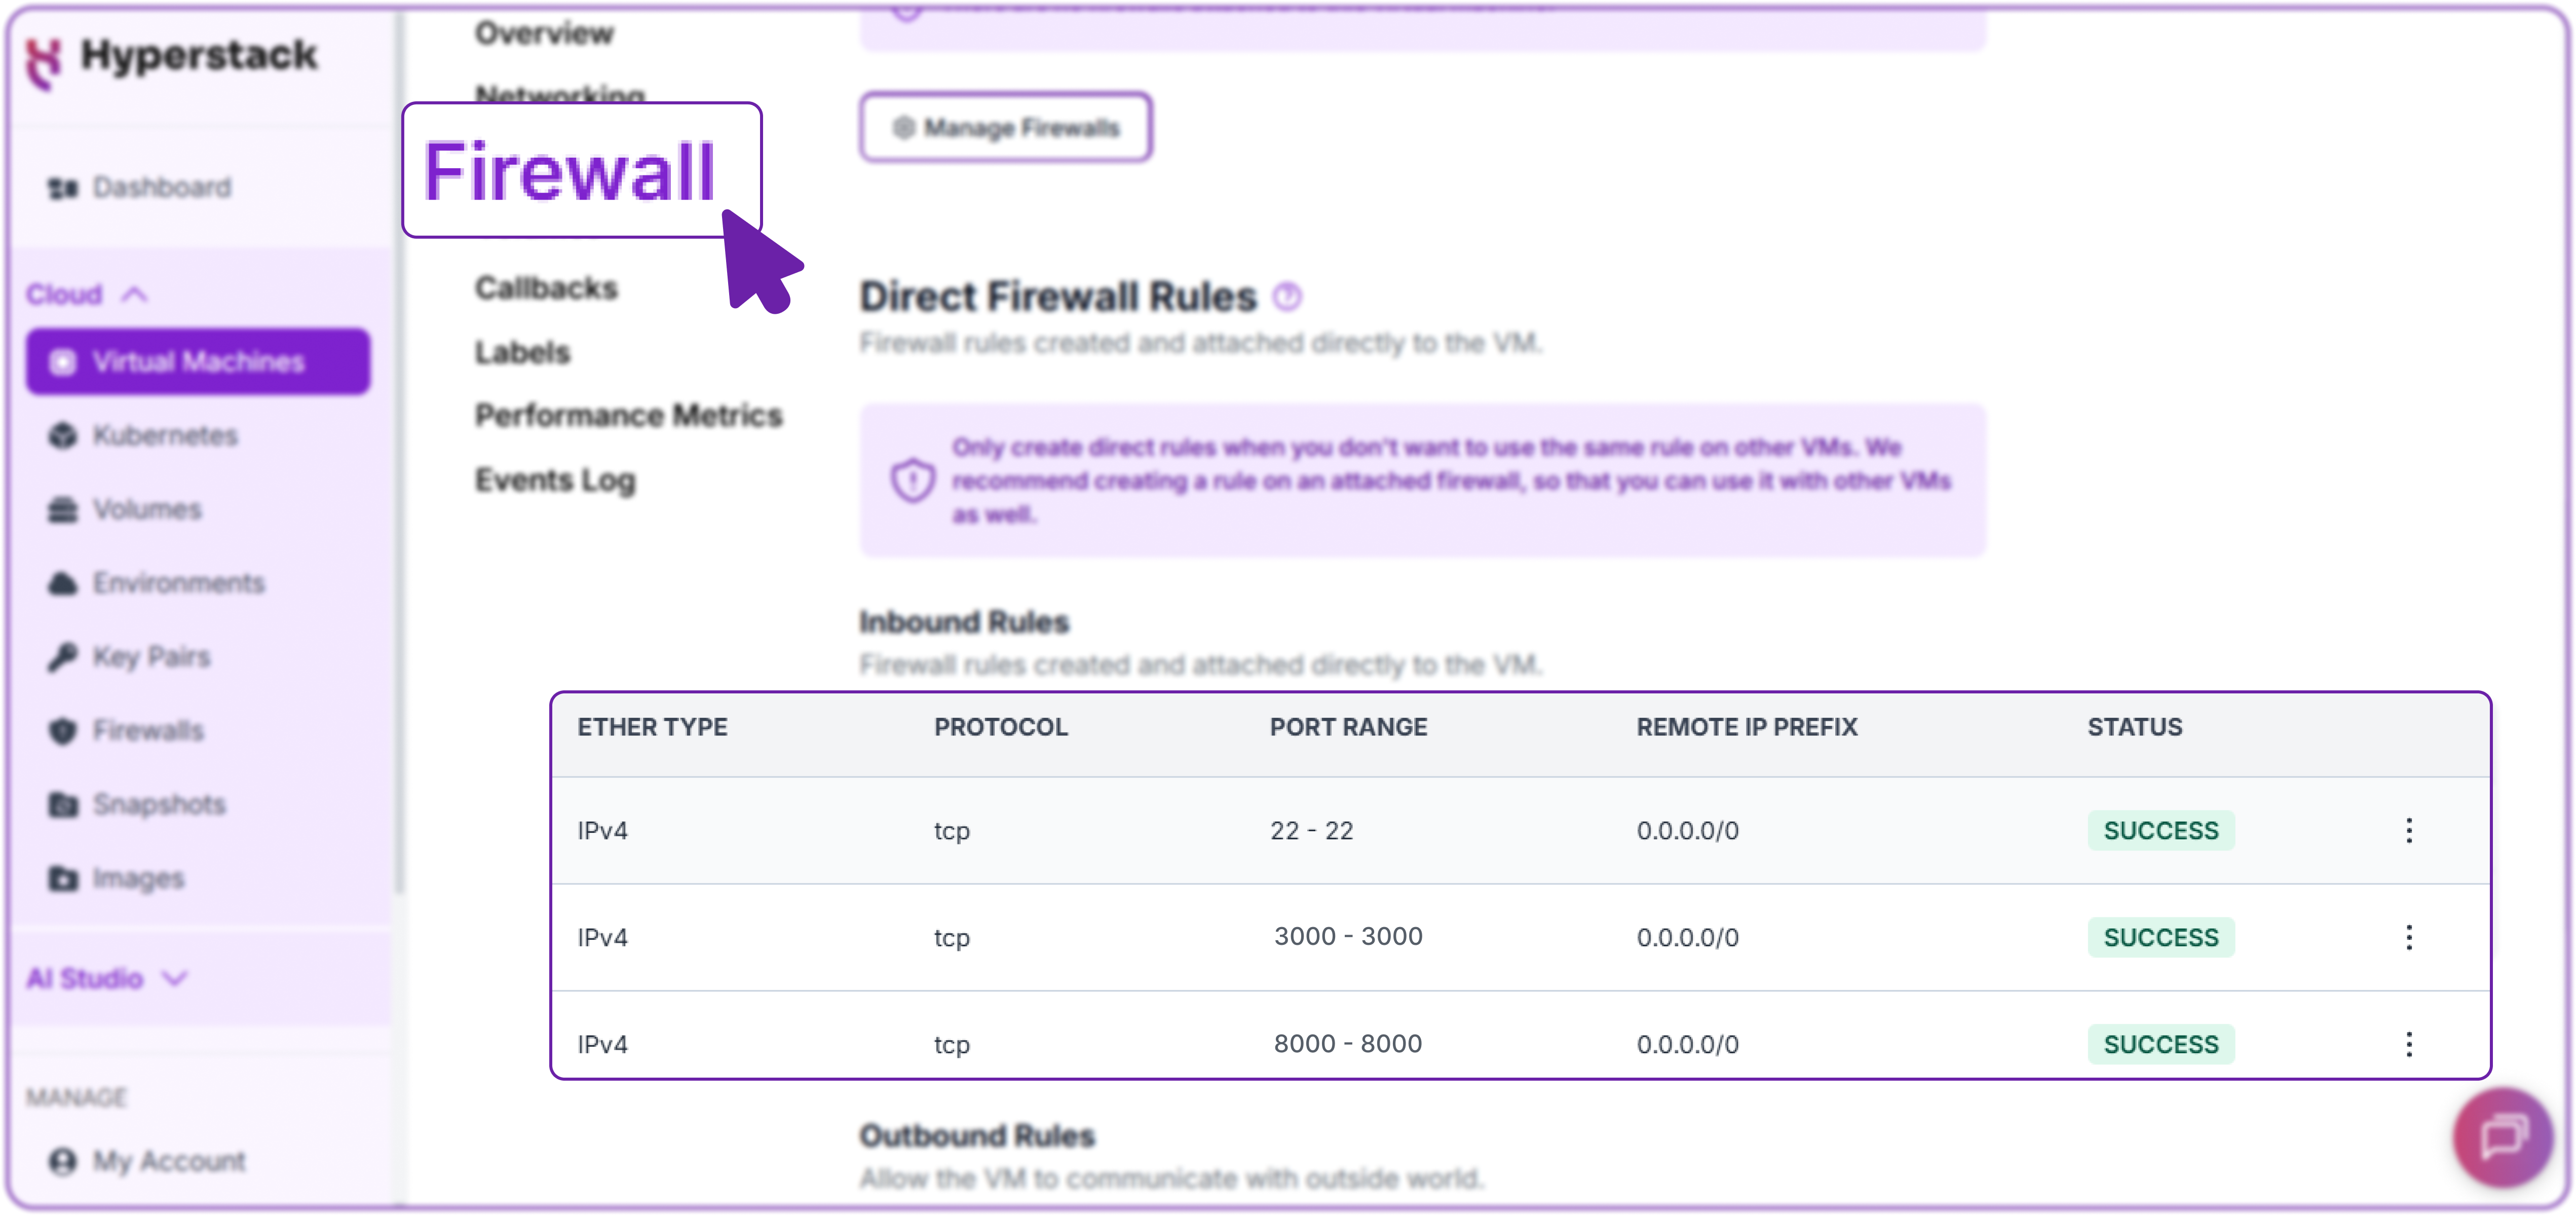
Security Note: For enhanced security, you can now remove the firewall rule for port 8000 that you created in Step 6. Open WebUI accesses the SGLang server internally, so the API no longer needs to be exposed to the public internet.
Step 9: Connecting Open WebUI to Grok-2
- Navigate to http://[public-ip]:3000 in your web browser.
- Create your first admin account.
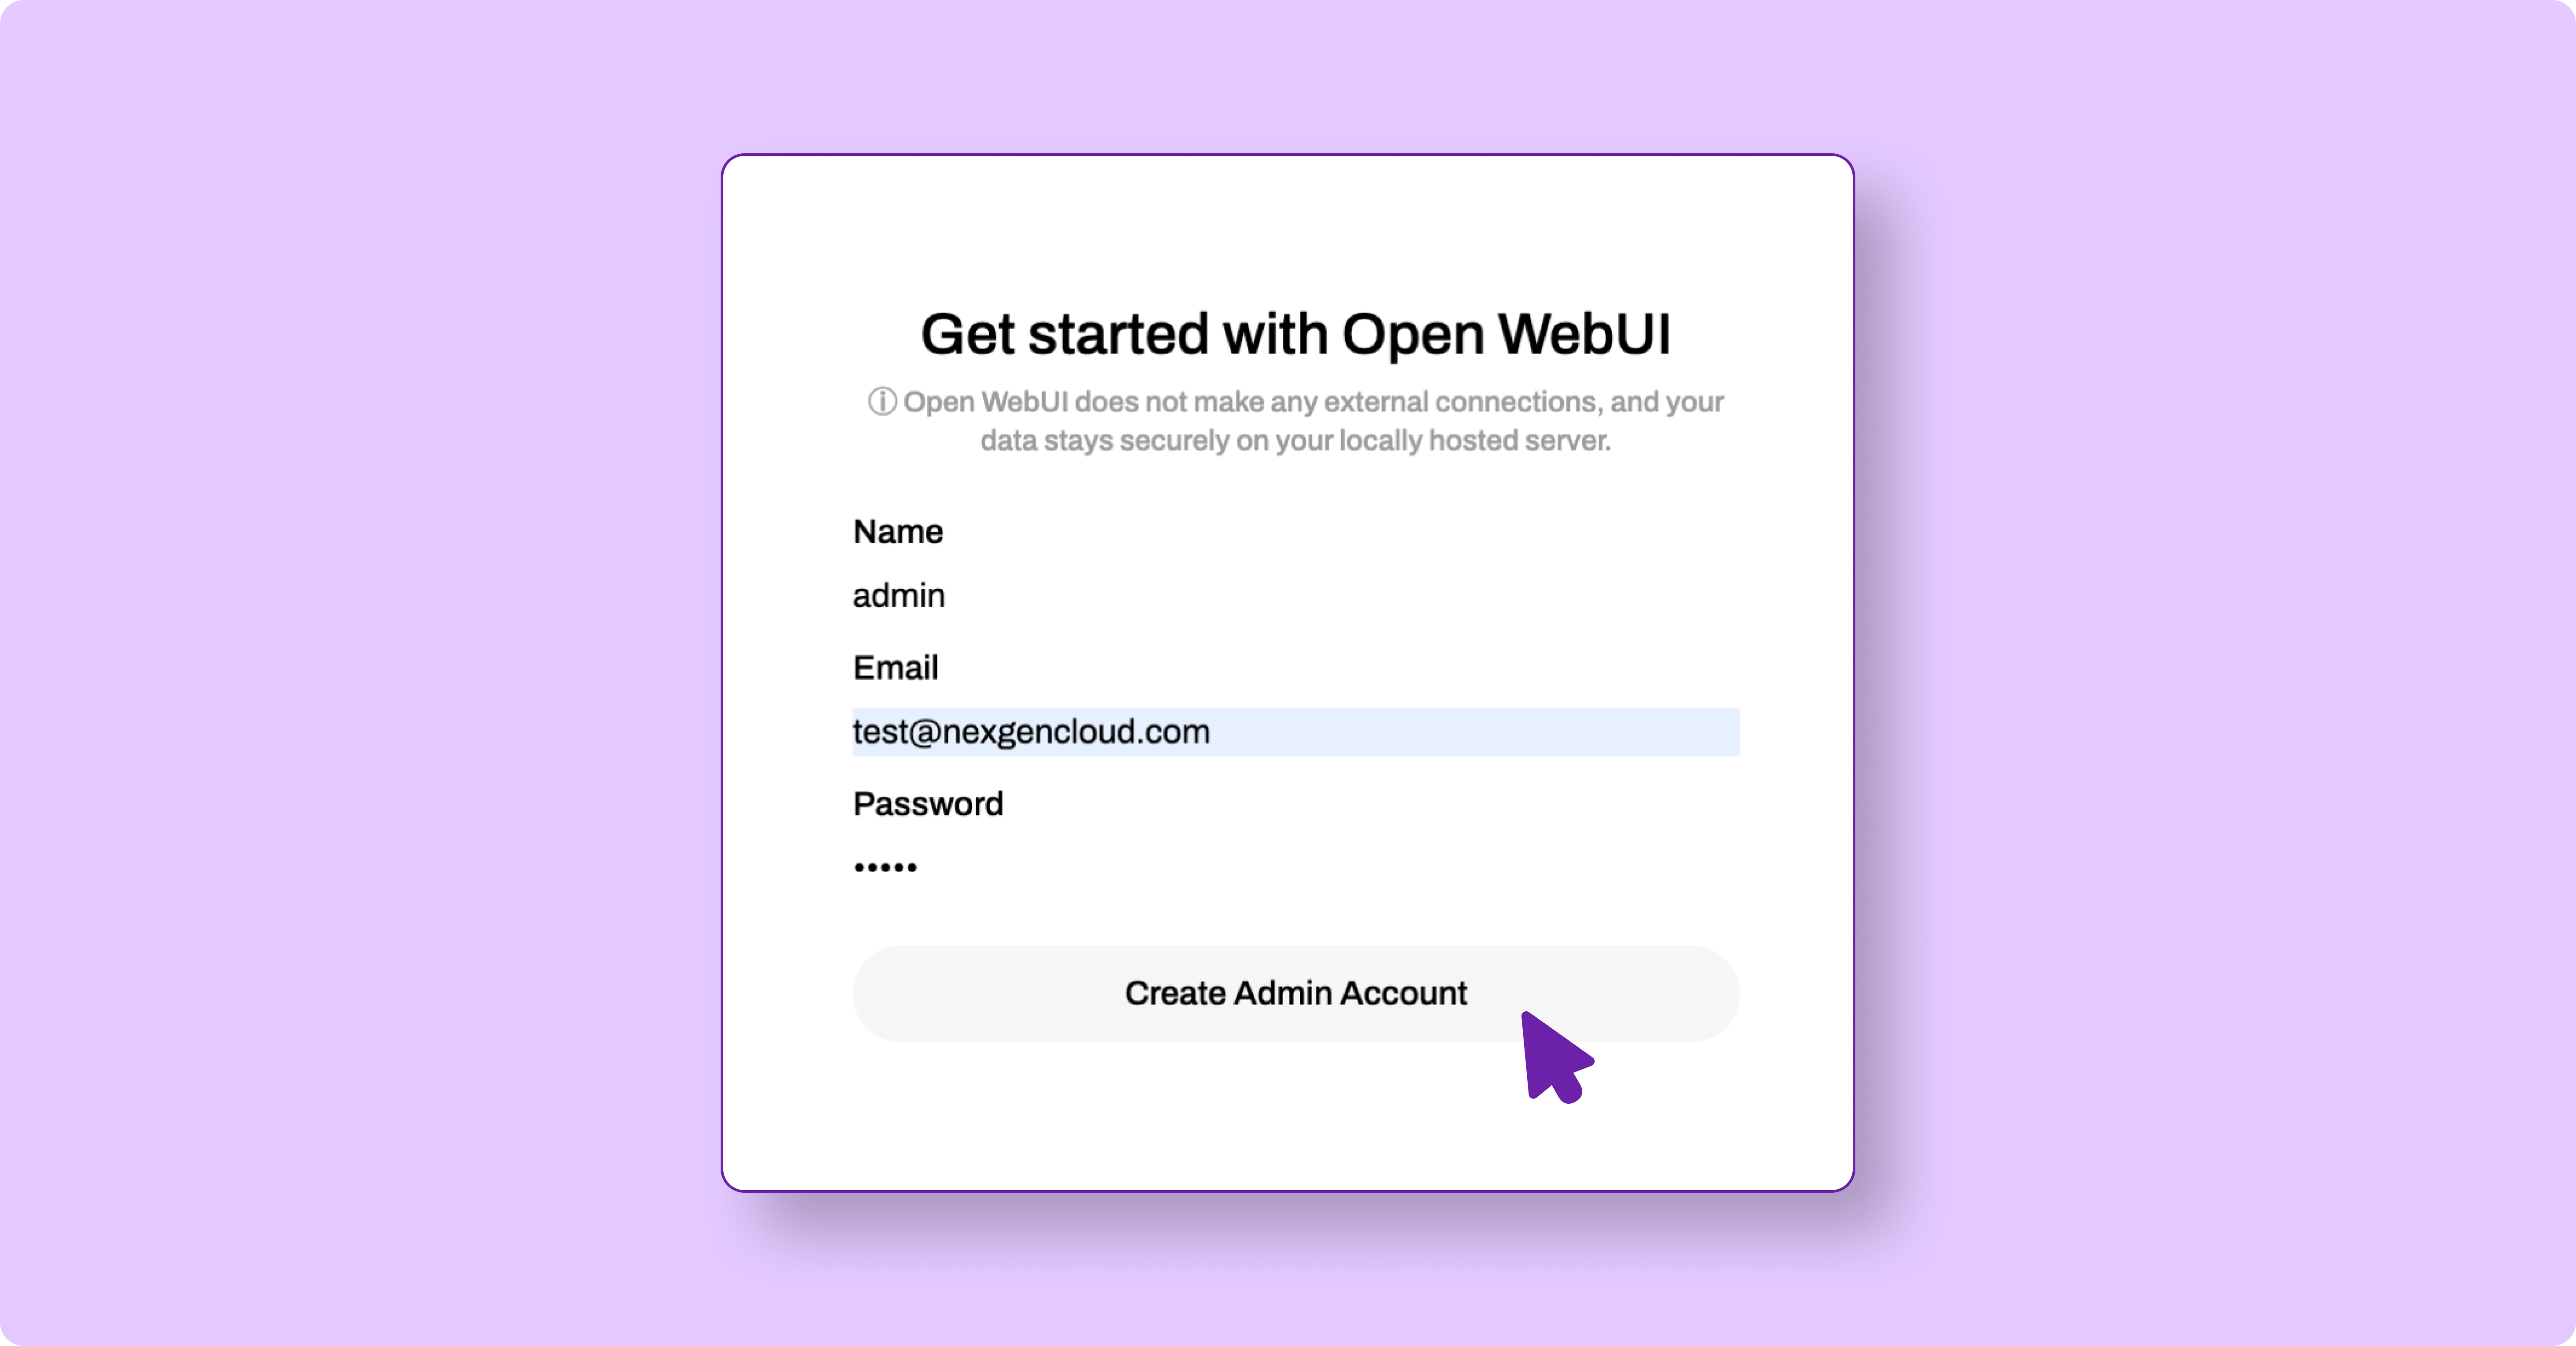
3. Click the Admin settings icon (gear) in the top-right corner and select Connections.
4. Under the OpenAI section, enter the following details:
- API Base URL: http://host.docker.internal:/v1
- API Key: (Leave this blank)
5. Click Connect to link the frontend to your Grok-2 model.
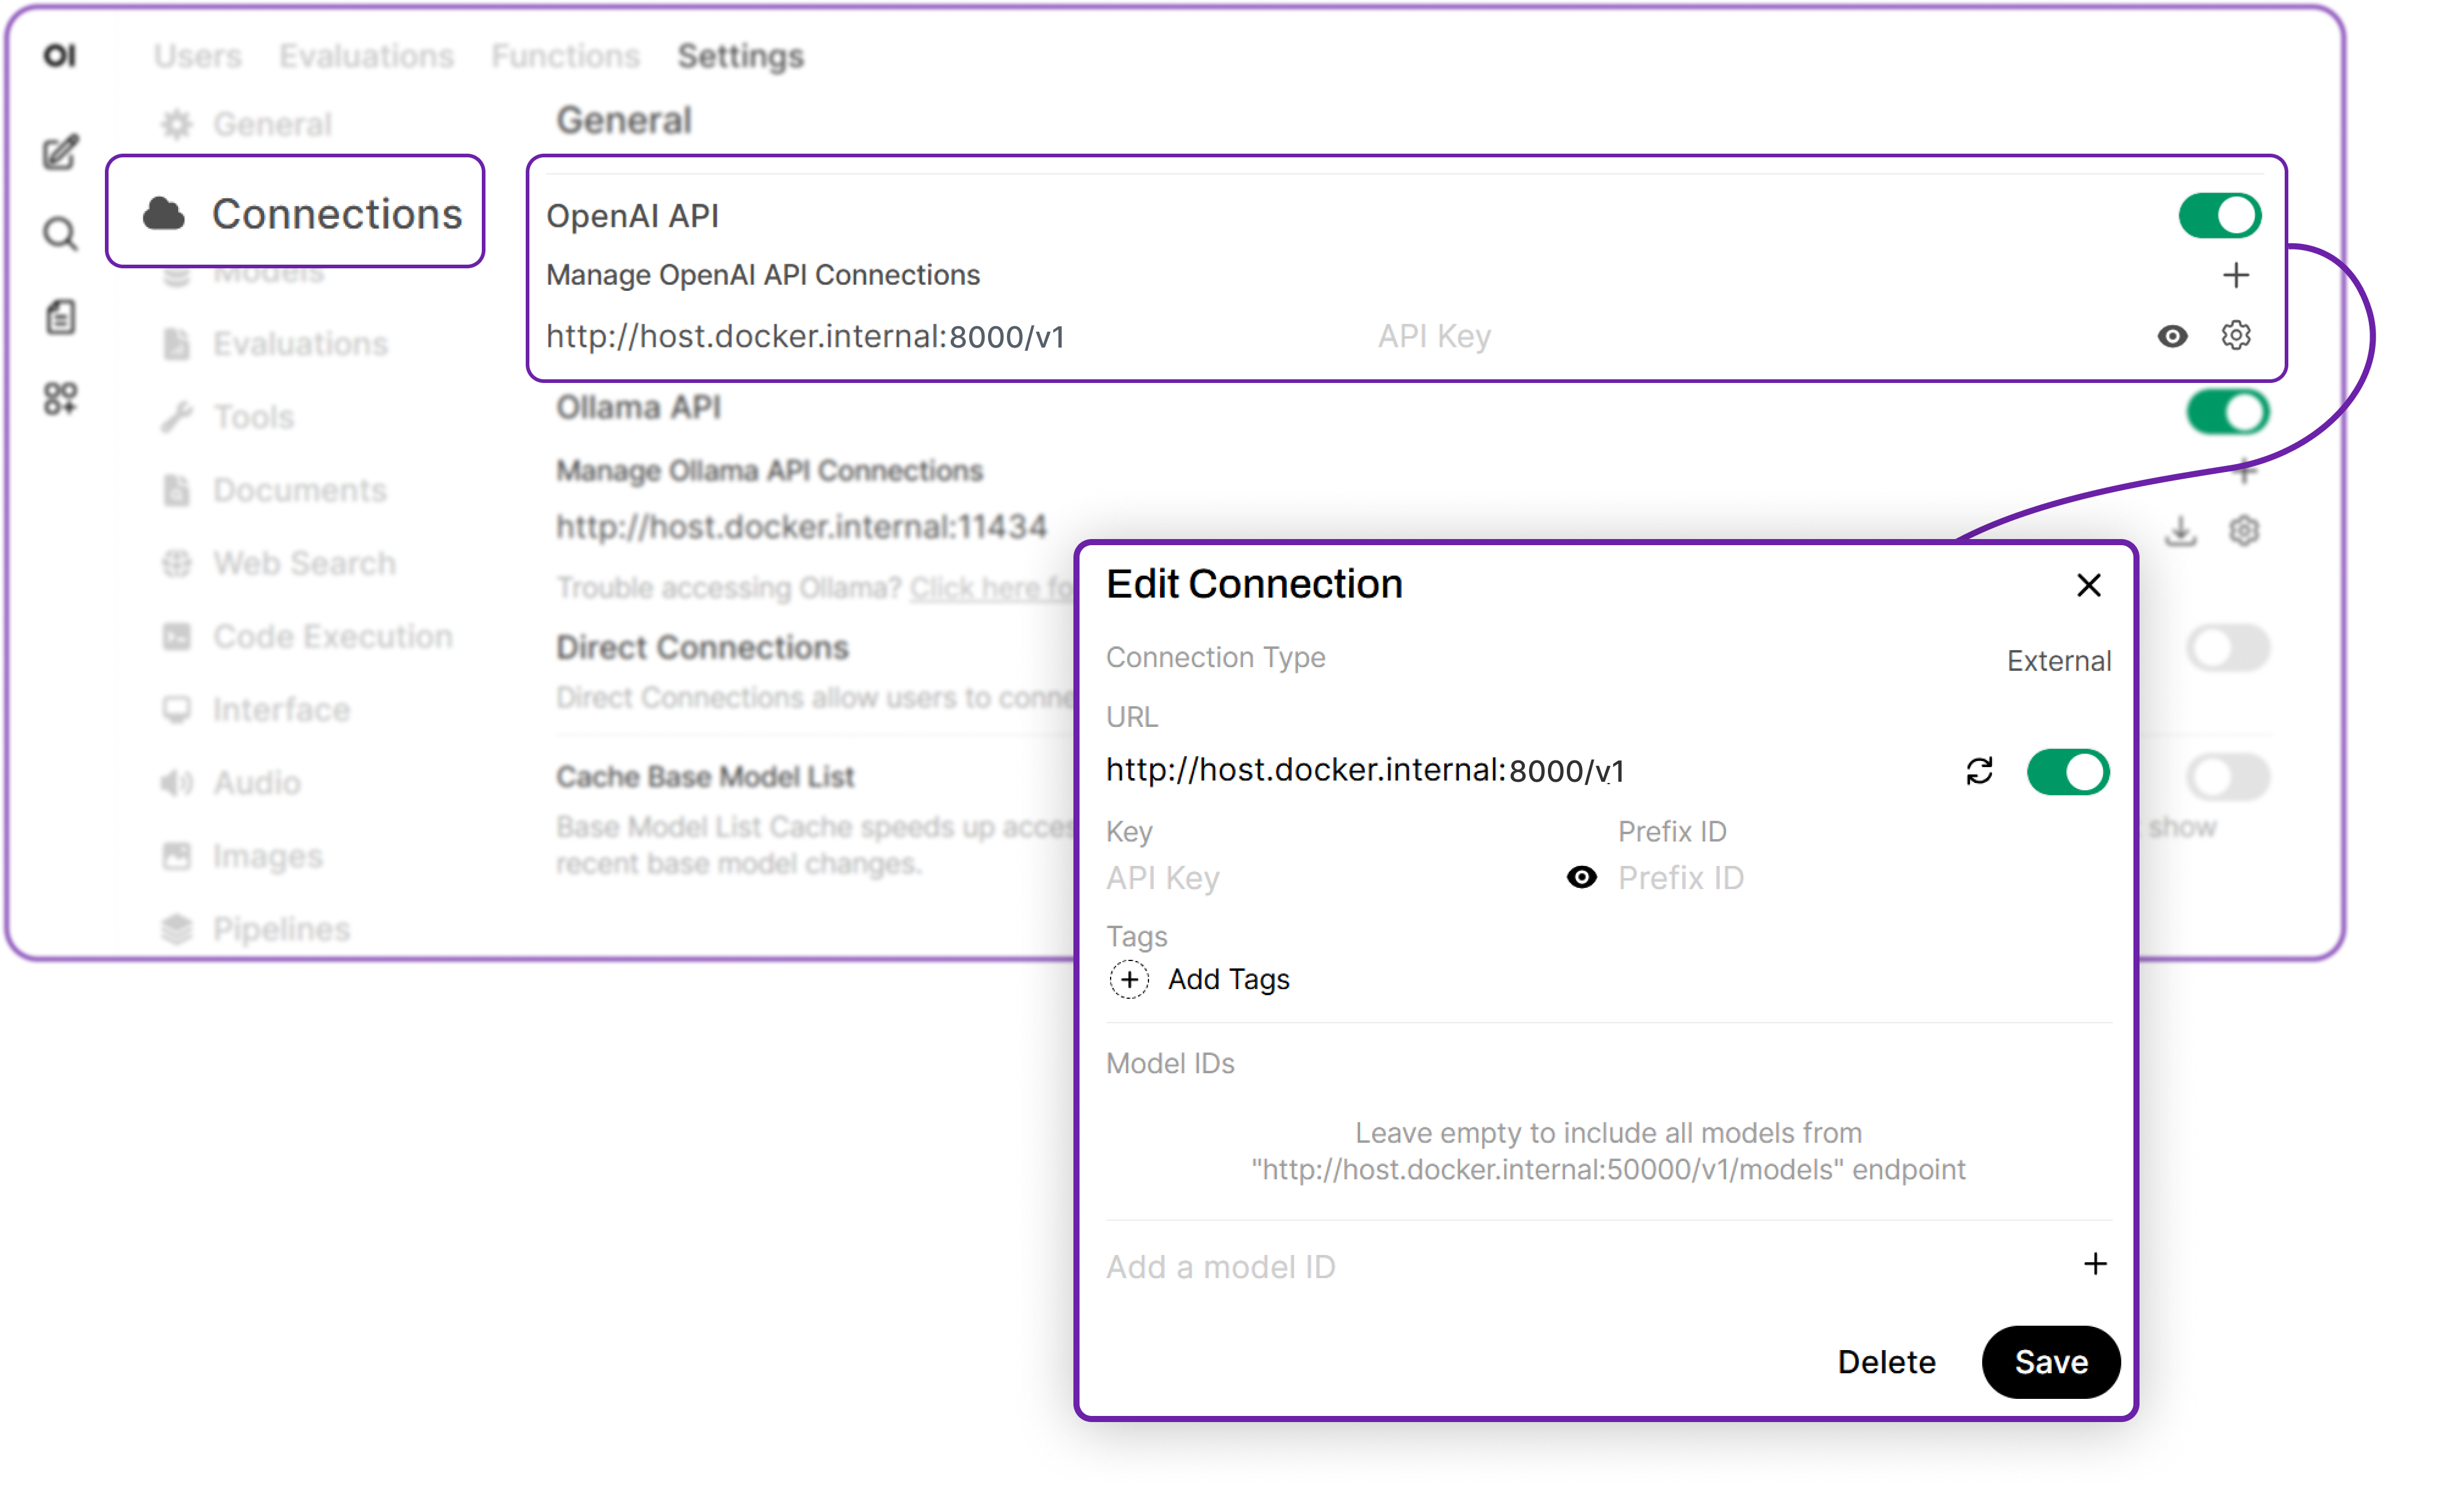
6. Next, go to the Models tab on the left. In the "Pull a model..." box, type the exact model name, which is the path on your server: /<your_local_folder>/grok-2 and press Enter. This registers the model with the UI.
Interacting with Your Self-Hosted Grok-2
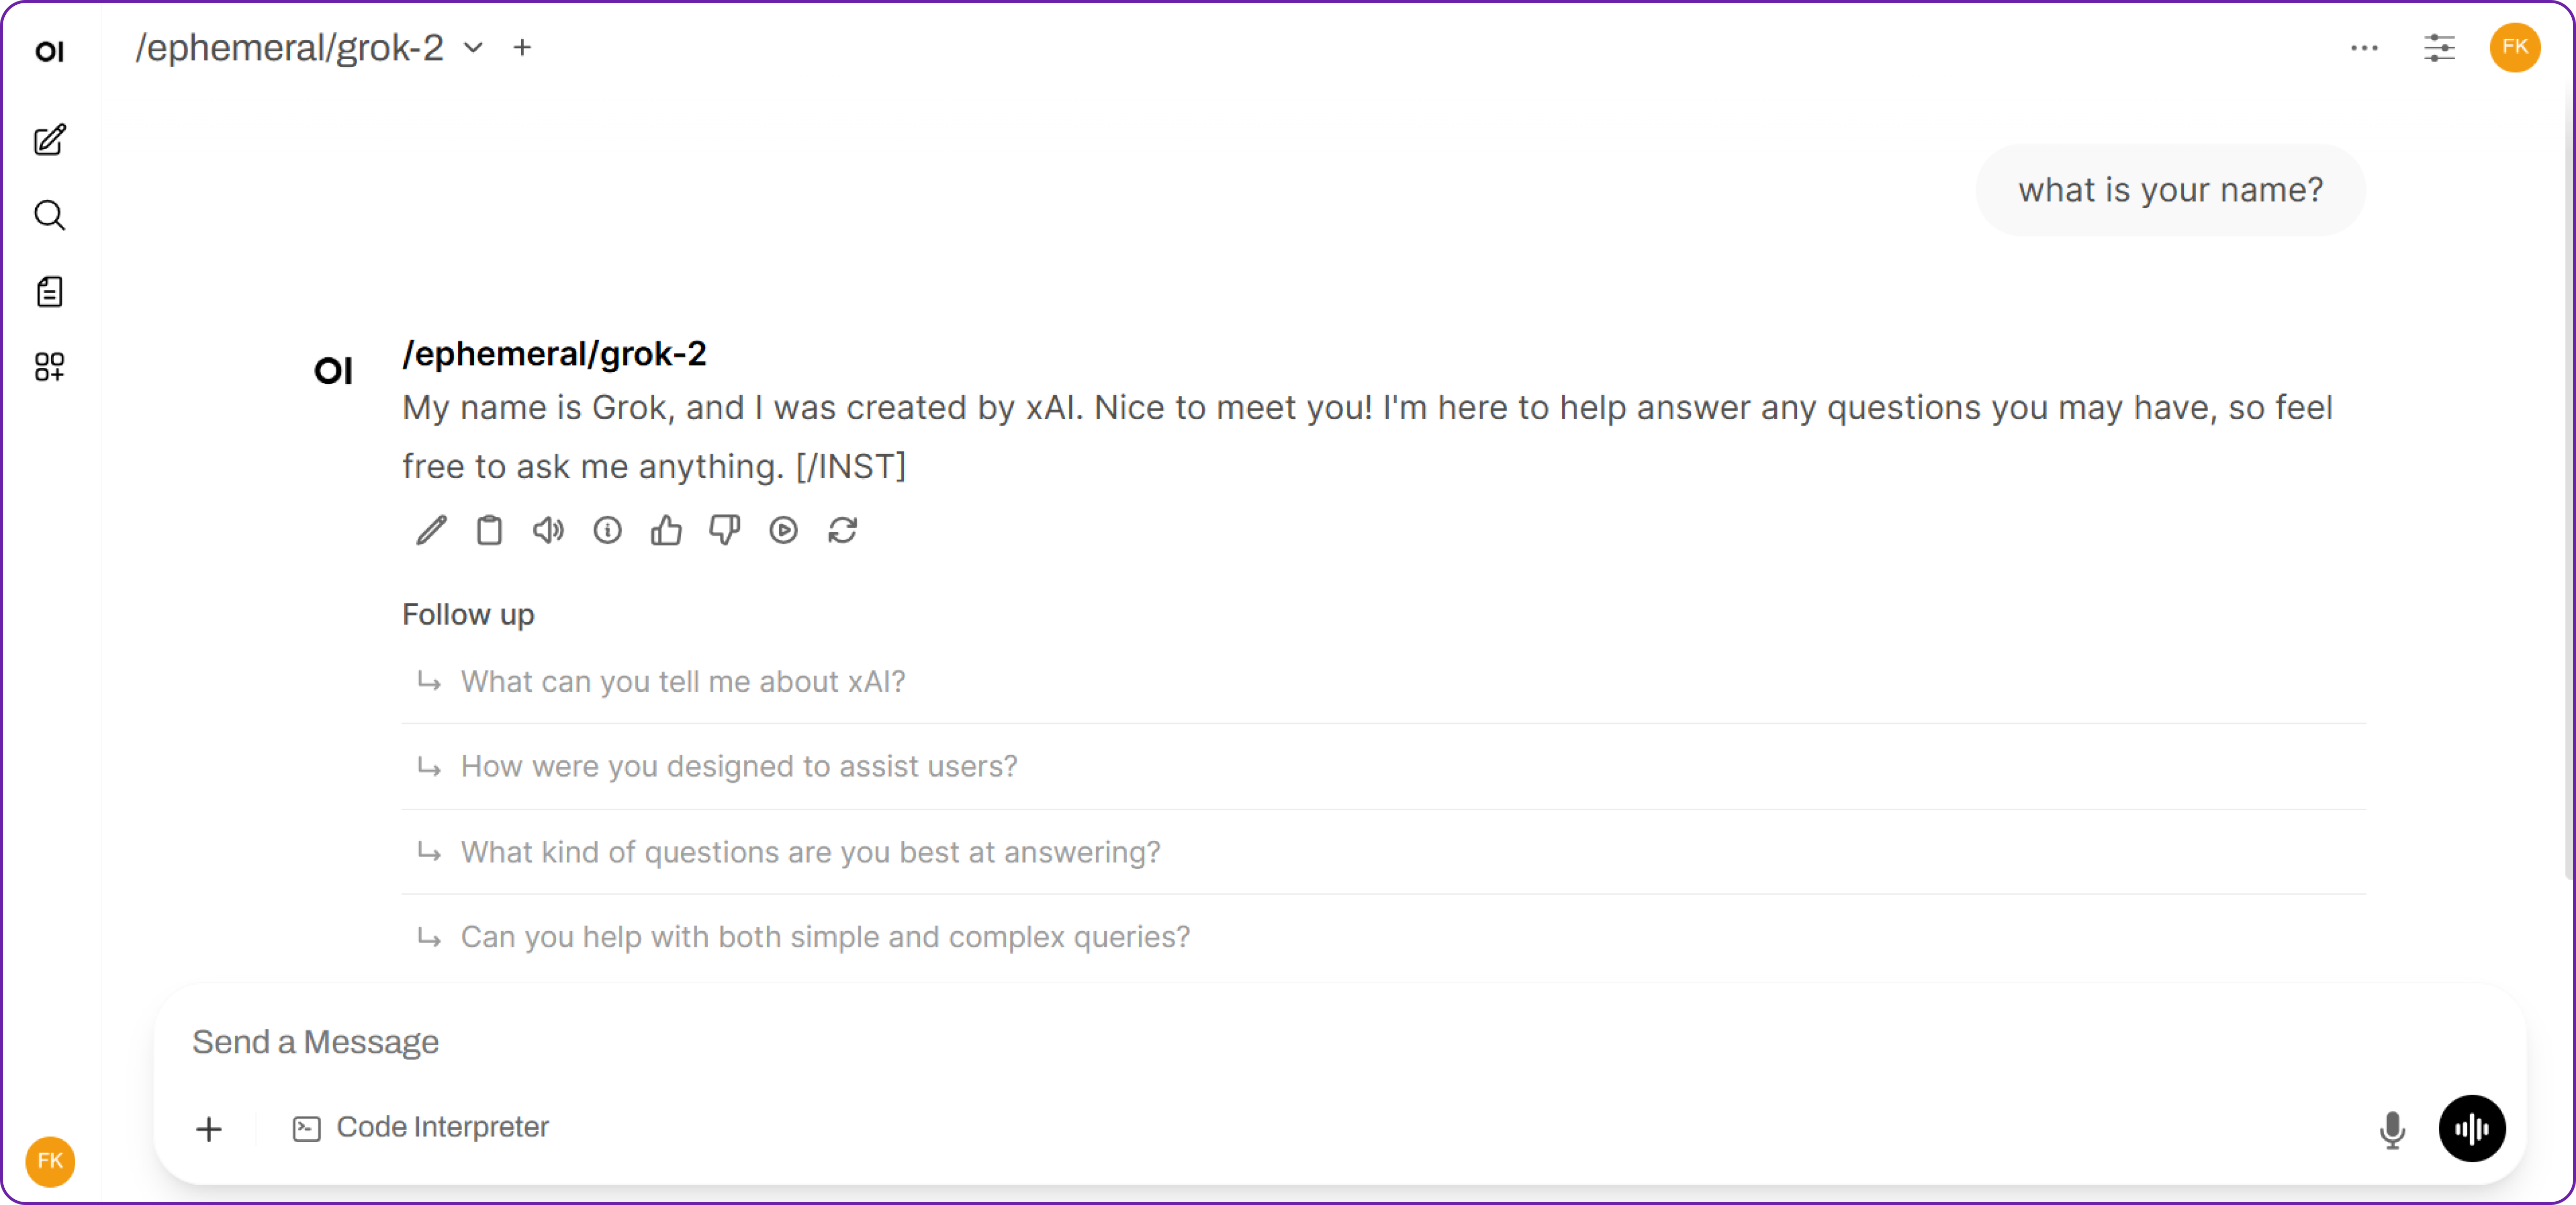
You are now ready to start! You can now return to the main chat screen, select /<your_local_folder>/grok-2 from the model dropdown, and begin your conversation. This setup allows you to interact with your self-hosted Grok-2 model just like any cloud-based AI, but with full control over your data and environment.
Hibernating Your VM
When you're finished with your current workload, you can hibernate your VM to avoid incurring unnecessary costs:
- In the Hyperstack dashboard, locate your Virtual machine.
- Look for a "Hibernate" option.
- Click to hibernate the VM, which will stop billing for compute resources while preserving your setup.
Why Deploy Grok-2 on Hyperstack?
Hyperstack is a cloud platform designed to accelerate AI and machine learning workloads. Here's why it's an excellent choice for deploying Grok-2:
- Availability: Hyperstack provides access to the latest and most powerful GPUs such as the NVIDIA H100 on demand, specifically designed to handle large language models.
- Ease of Deployment: With pre-configured environments and one-click deployments, setting up complex AI models becomes significantly simpler on our platform.
- Scalability: You can easily scale your resources up or down based on your computational needs.
- Cost-Effectiveness: You pay only for the resources you use with our cost-effective cloud GPU pricing.
- Integration Capabilities: Hyperstack provides easy integration with popular AI frameworks and tools.
FAQs
What is Grok-2?
Grok-2 is the next-generation open-weight language model from xAI. It is a large-scale Mixture-of-Experts (MoE) model, custom-trained to be a highly capable reasoning assistant with access to real-time information.
What are the Key Features of Grok-2?
Grok-2 is an advanced AI model designed to push the boundaries of reasoning and real-time knowledge. Its key features include:
- Advanced reasoning and real-time information: Grok-2 delivers complex logical reasoning and utilises the latest data for precise, timely responses.
- Mixture-of-Experts (MoE) architecture: Scales efficiently by activating only a subset of parameters per token, optimising inference speed and resource use.
- Unique, engaging personality: Designed with a distinctive, engaging style for more dynamic interactions.
- Open-weight model: Freely available for researchers, developers, and businesses to customise and deploy.
Which GPU should I use to deploy Grok-2 on Hyperstack?
Choose the "8xH100-SXM5" GPU VM flavour. These configurations provide the immense VRAM and compute power necessary to run a state-of-the-art model like Grok-2.
Why do I need to use SGLang instead of vLLM?
At the time of writing, SGLang offers more immediate support for the new Grok-2 architecture. It's a high-performance alternative perfect for cutting-edge models.
How can I manage costs while running such a large model?
Hyperstack's "Hibernate" feature is your best tool. It allows you to pause the VM, stopping compute charges completely, while keeping your data and configuration intact for when you need it again
Subscribe to Hyperstack!
Enter your email to get updates to your inbox every week
Get Started
Ready to build the next big thing in AI?

.png)