
.png)
TABLE OF CONTENTS
NVIDIA H100 SXM GPUs On-Demand
Key Takeaways
- Generate images from many leading models, including FLUX.1, FLUX.2, Qwen-Image and Stable Diffusion 3.5, through a single API key and a visual Playground, with no GPU to rent or model to download.
- The image API is serverless and asynchronous, so you submit a job, receive a job_id straight away, then poll the task endpoint until the result is ready, the same way for both text-to-image and image-to-image.
- Use the Playground for quick, hands-on experiments and prompt tuning, then move to the API for production and automation, with both routes reaching exactly the same models.
- Control every result with a few parameters such as image_size, guidance_scale, num_inference_steps, seed and num_images, and use image-to-image to restyle, relight or edit a picture you already have.
- Billing is per 16 by 16 pixel patch and reported on every request, which keeps costs transparent and low, at roughly 310 images per US dollar on FLUX.1-schnell at 1024 by 1024.
Hyperstack AI Studio can now generate images. Alongside its language models, the platform serves a growing line-up of text-to-image and image-to-image models, including FLUX.1, FLUX.2, Qwen-Image, Stable Diffusion 3.5 and more, behind a single serverless API and a point-and-click Playground. There is no GPU to rent, no container to build and no model to download. You send a prompt, and you get back an image.
There are two ways to use it. The Playground is the fastest way to experiment by hand, and the API is how you put image generation into a product or an automated pipeline. This guide covers both, with a heavy focus on the API. Each section pairs a runnable code block with the image it produces, so you can follow along and generate the same results on Hyperstack AI Studio.
Hyperstack describes AI Studio as a way to "deploy models with a click or integrate via serverless APIs" with "zero infrastructure setup". Image generation is a clean example of that promise, so let us look at how it works and then build with it.
How image generation works on AI Studio
The image API is serverless and asynchronous. You do not hold a connection open while the picture renders. Instead you submit a job, receive a numeric job_id straight away, and then poll a task endpoint until the result is ready. This "fire and poll" pattern is the single most important thing to understand before you write any code.
The fire-and-poll lifecycle
A single image request moves through four states. The POST never returns the image itself, only a job to poll.
Statuses are queued, in_progress, completed and failed. Image-to-image follows the same flow through POST /images/edits.
The full lifecycle is documented across the image generation overview and the get image result reference. Both surfaces, text-to-image and image-to-image, return a job_id that you poll in exactly the same way.
The image models available
AI Studio hosts a range of open-weight image models from several leading labs, all reachable through the same endpoint and the same API key. The table below shows the line-up available at the time of writing, together with what each one is good for; every name links to its model card. The exact list changes as models are added, so the most reliable approach is to query it from the API, which we do in the API section.
| Model | Task | Creator | Best for |
|---|---|---|---|
| FLUX.1-schnell | Text-to-image | Black Forest Labs | Fast, few-step drafts (1 to 4 steps) |
| FLUX.1-dev | Text-to-image | Black Forest Labs | High quality with strong prompt adherence |
| FLUX.1-Krea-dev | Text-to-image | Black Forest Labs | Aesthetic, photographic looks |
| Qwen-Image | Text-to-image | Alibaba Qwen | Rendering text and typography in images |
| Qwen-Image-2512 | Text-to-image | Alibaba Qwen | Photorealism with believable people |
| stable-diffusion-3.5-large | Text-to-image | Stability AI | Complex prompts and typography |
| stable-diffusion-3.5-medium | Text-to-image | Stability AI | Efficient multi-resolution generation |
| HunyuanImage-3.0 | Text-to-image | Tencent | Large-scale generation with reasoning |
| SRPO | Text-to-image | Tencent | Aesthetic realism, a refined FLUX.1-dev |
| Z-Image-Turbo | Text-to-image | Alibaba Tongyi | Near-instant, photorealistic drafts |
| FLUX.1-Kontext-dev | Image-to-image | Black Forest Labs | Instruction-based editing, multi-turn |
| FLUX.2-dev | Image-to-image | Black Forest Labs | Generation, editing and multi-reference blending |
| Qwen-Image-Edit | Image-to-image | Alibaba Qwen | Semantic and appearance edits |
| LongCat-Image-Edit | Image-to-image | Meituan | Local and global bilingual editing |
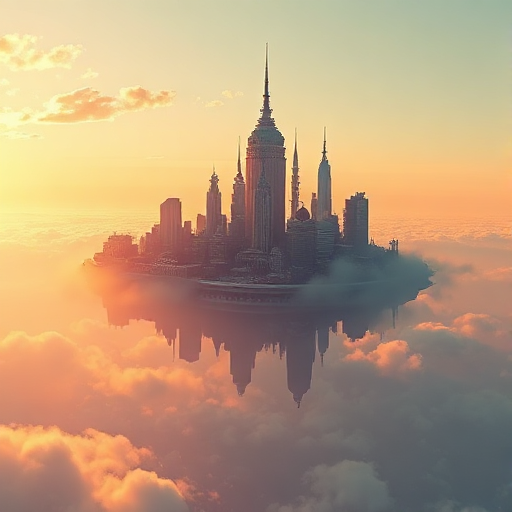
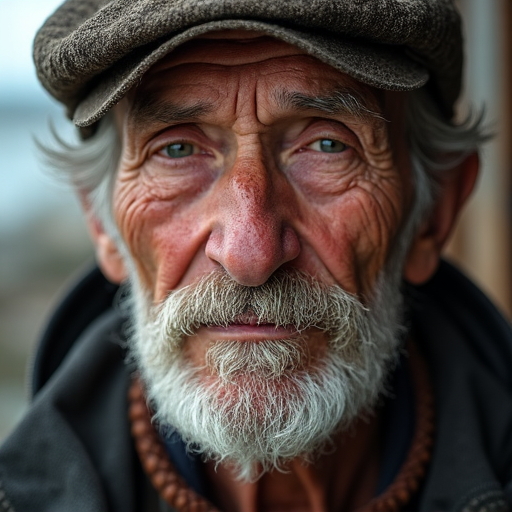
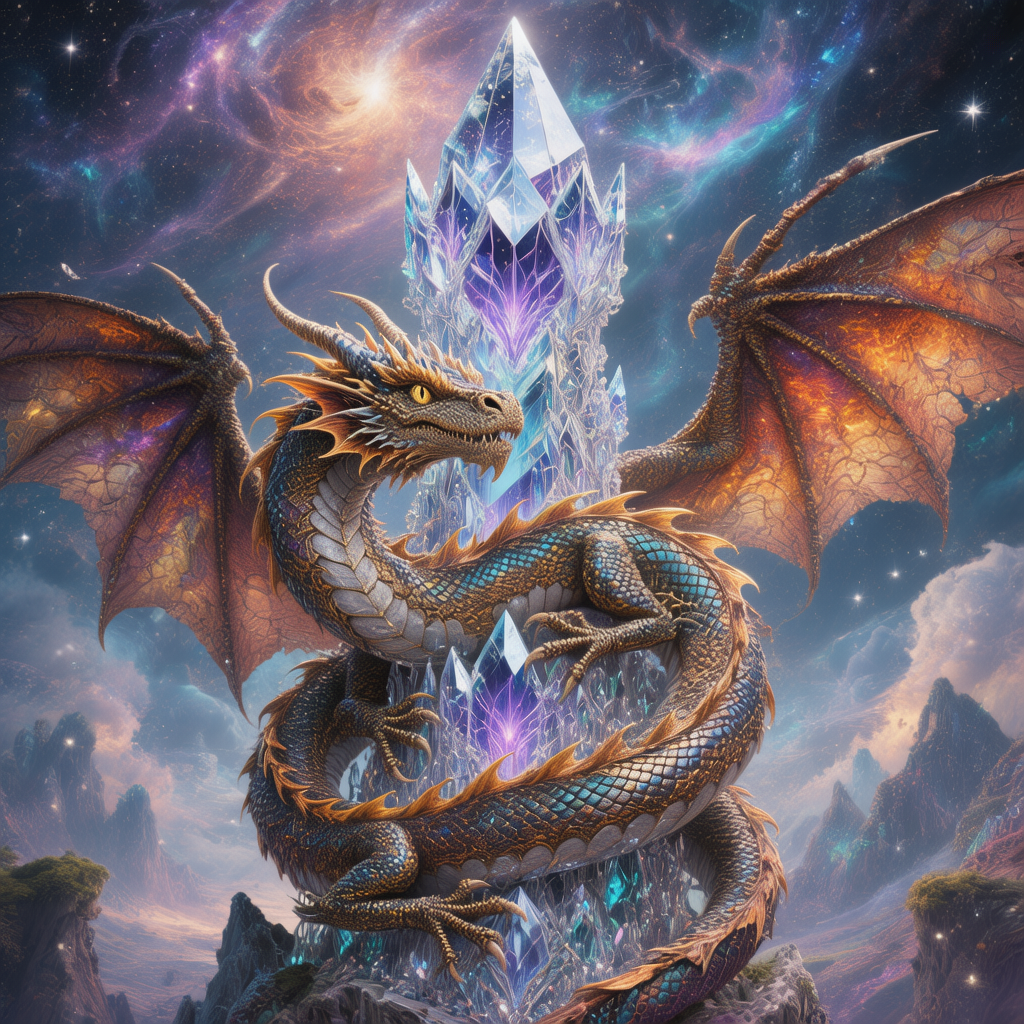
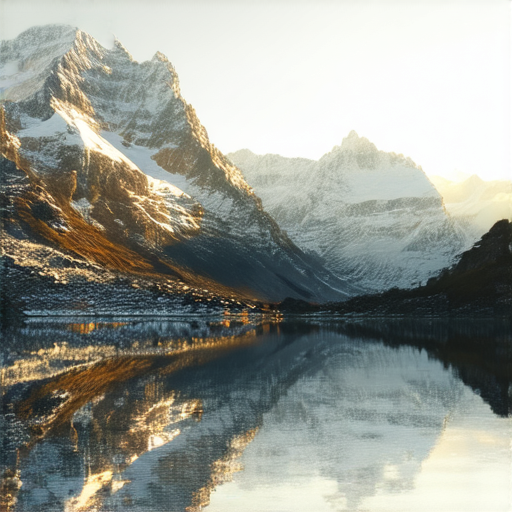
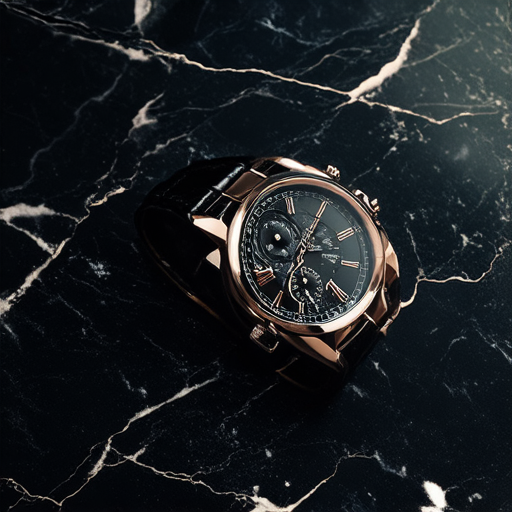
Rather than push one prompt through every model, here each model takes on a scene that plays to its strengths, from photorealism to fantasy to illustration. It is a better way to see the range on offer, and the whole gallery was produced through the API.

For the full catalogue of open-weight models on the platform, see the docs on Hyperstack hosted models and the models overview.
Two ways to generate images
There are two complementary paths to the same models. The Playground is a visual workspace inside the console, ideal for quick exploration, prompt tuning and comparing models side by side. The API is the production route, ideal for batch jobs, backends and any automation. We will look at the Playground first, then spend the rest of the guide on the API.
Option A: The AI Studio Playground (UI)
The Image Playground lets you generate and edit images without writing any code. You pick a model, type a prompt, adjust a few settings such as size and steps, then click generate. It is the quickest way to get a feel for each model before you reach for the API. Sign in at the Hyperstack console to try it.
Step 1: Sign in to the console
The Playground lives inside the Hyperstack console. Sign in with your email and password, or with Google, Microsoft or GitHub. If you are new, create an account first. The same login also issues the API key, so the Playground and the API share one account and one balance.
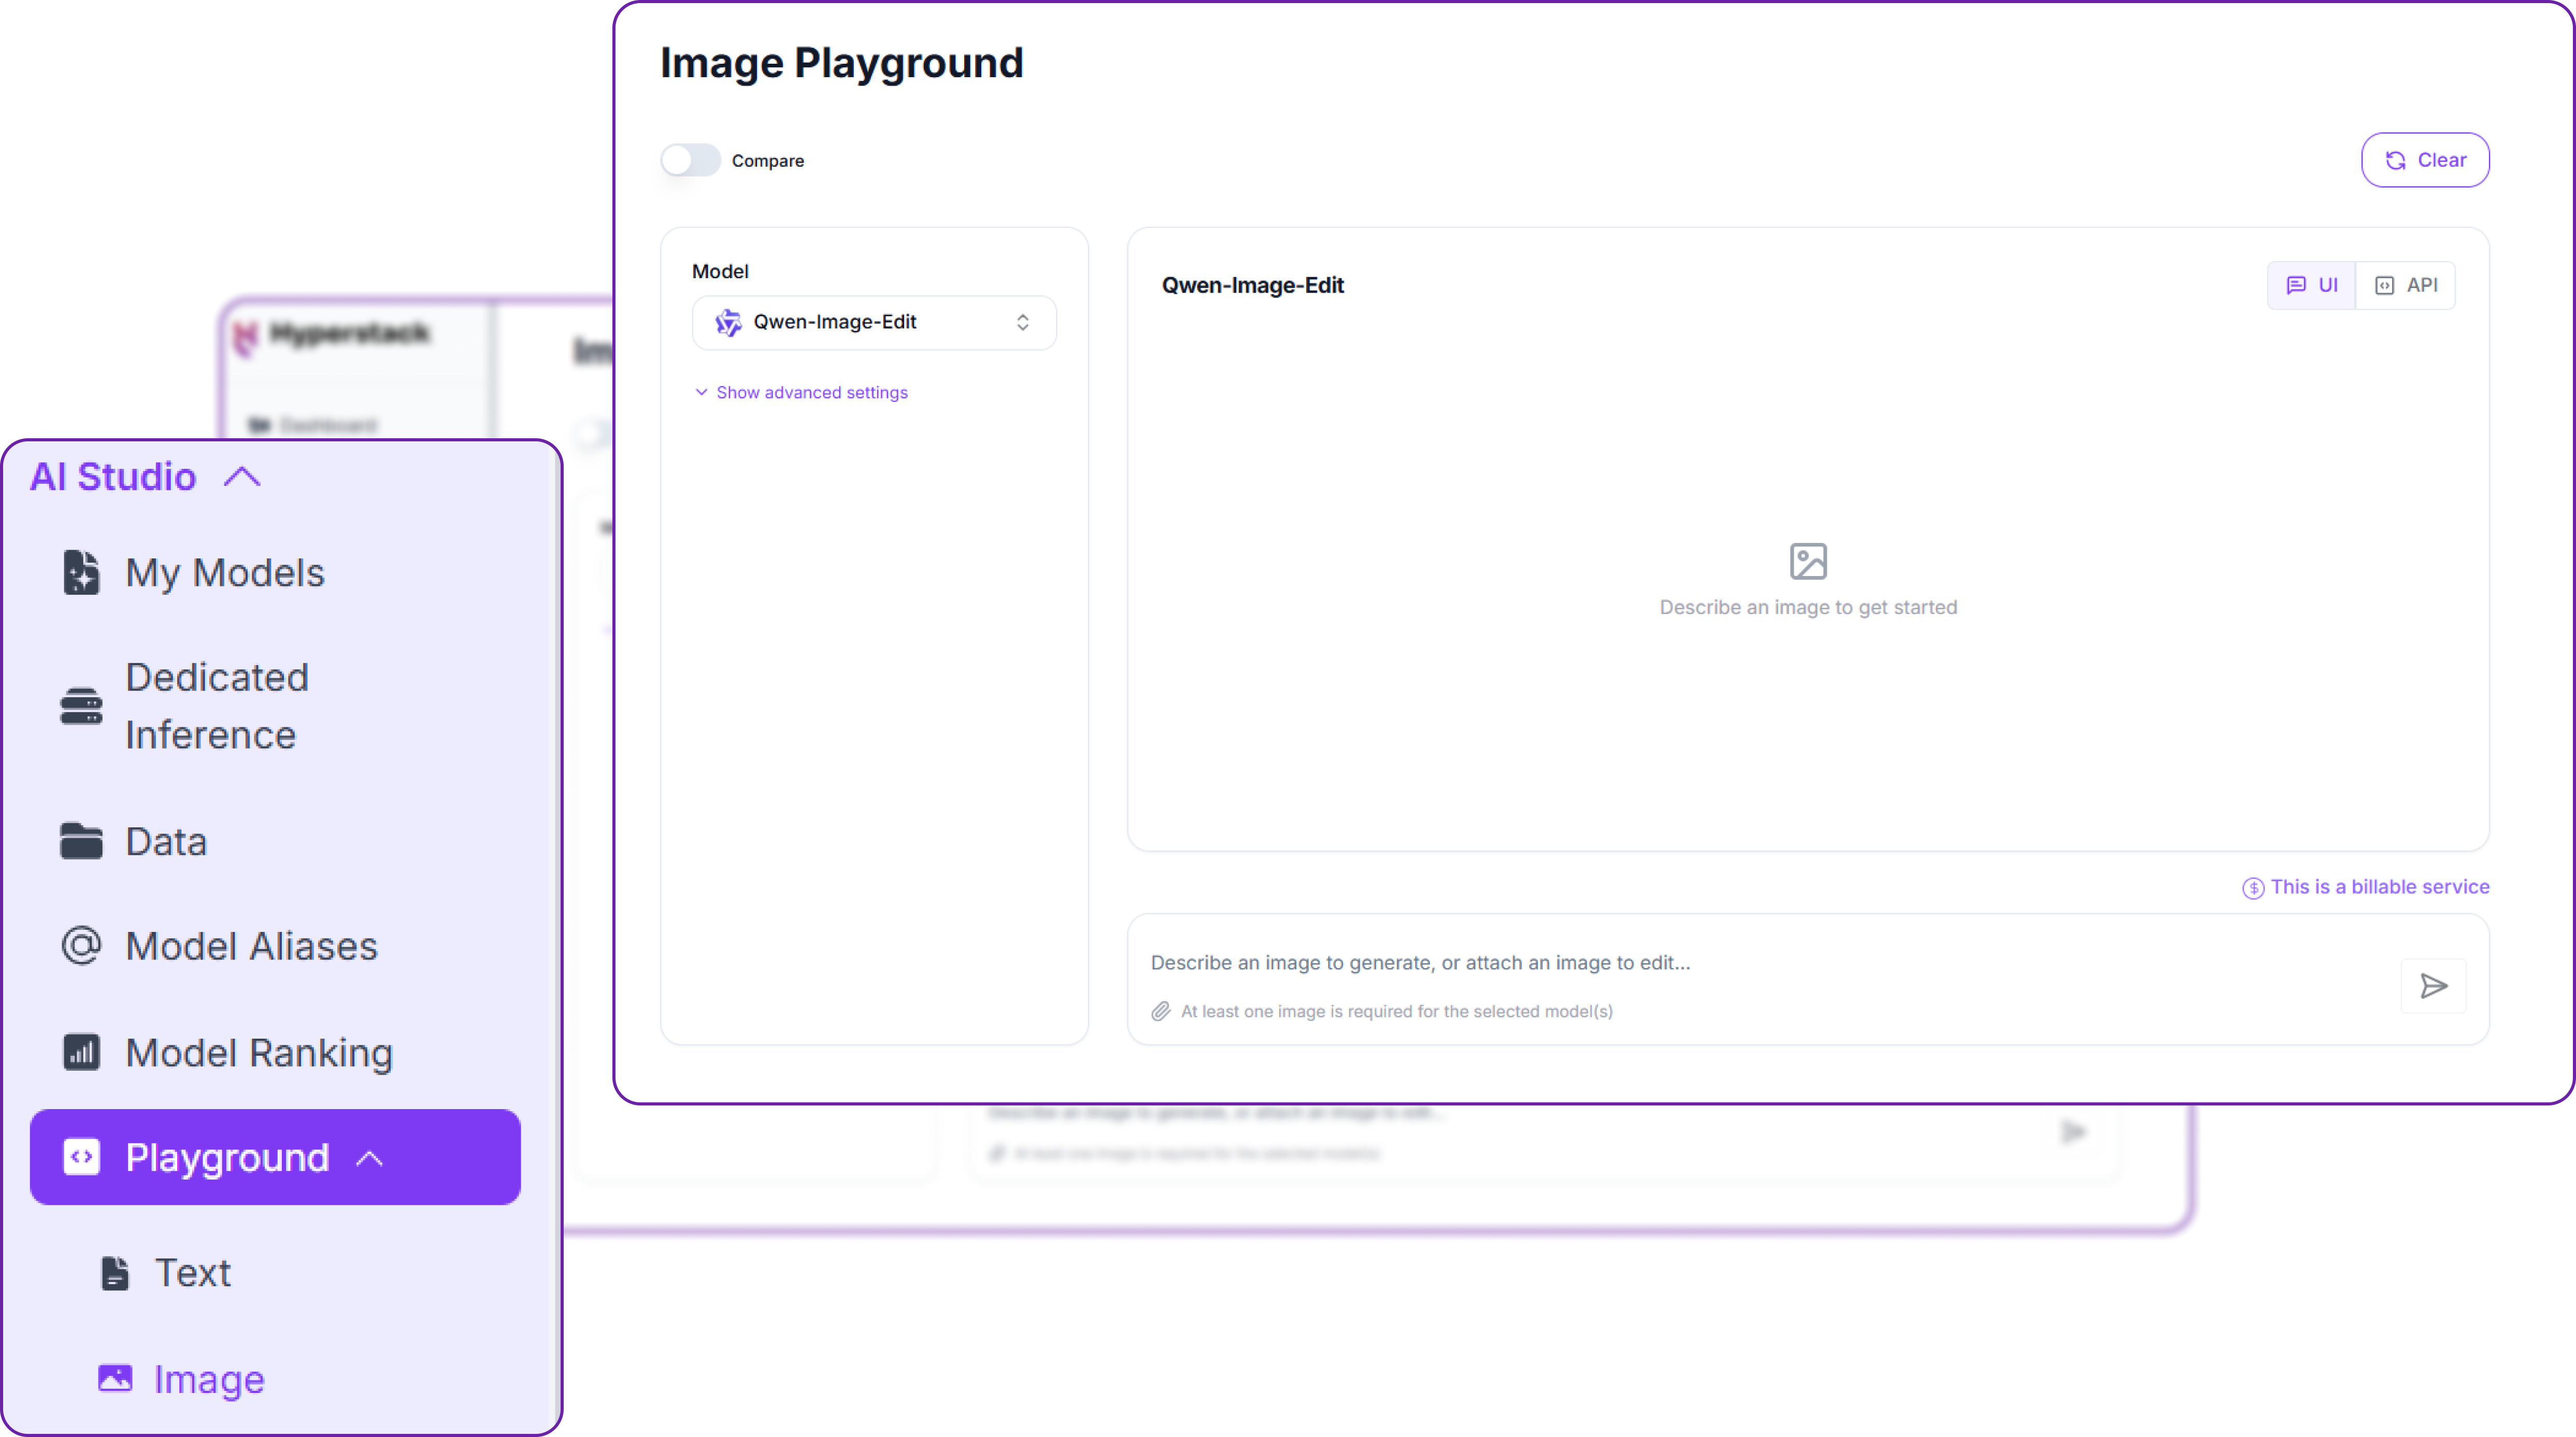
Step 2: Open the Image Playground
In the AI Studio sidebar, open Playground and choose Image. The workspace has three parts: the model selector with its advanced settings on the left, the canvas in the middle where results appear, and the prompt box along the bottom. A Compare toggle sits at the top left and a Clear button at the top right, and every result carries a small UI / API switch. Image generation is a billable service, drawing from the same balance as the API.
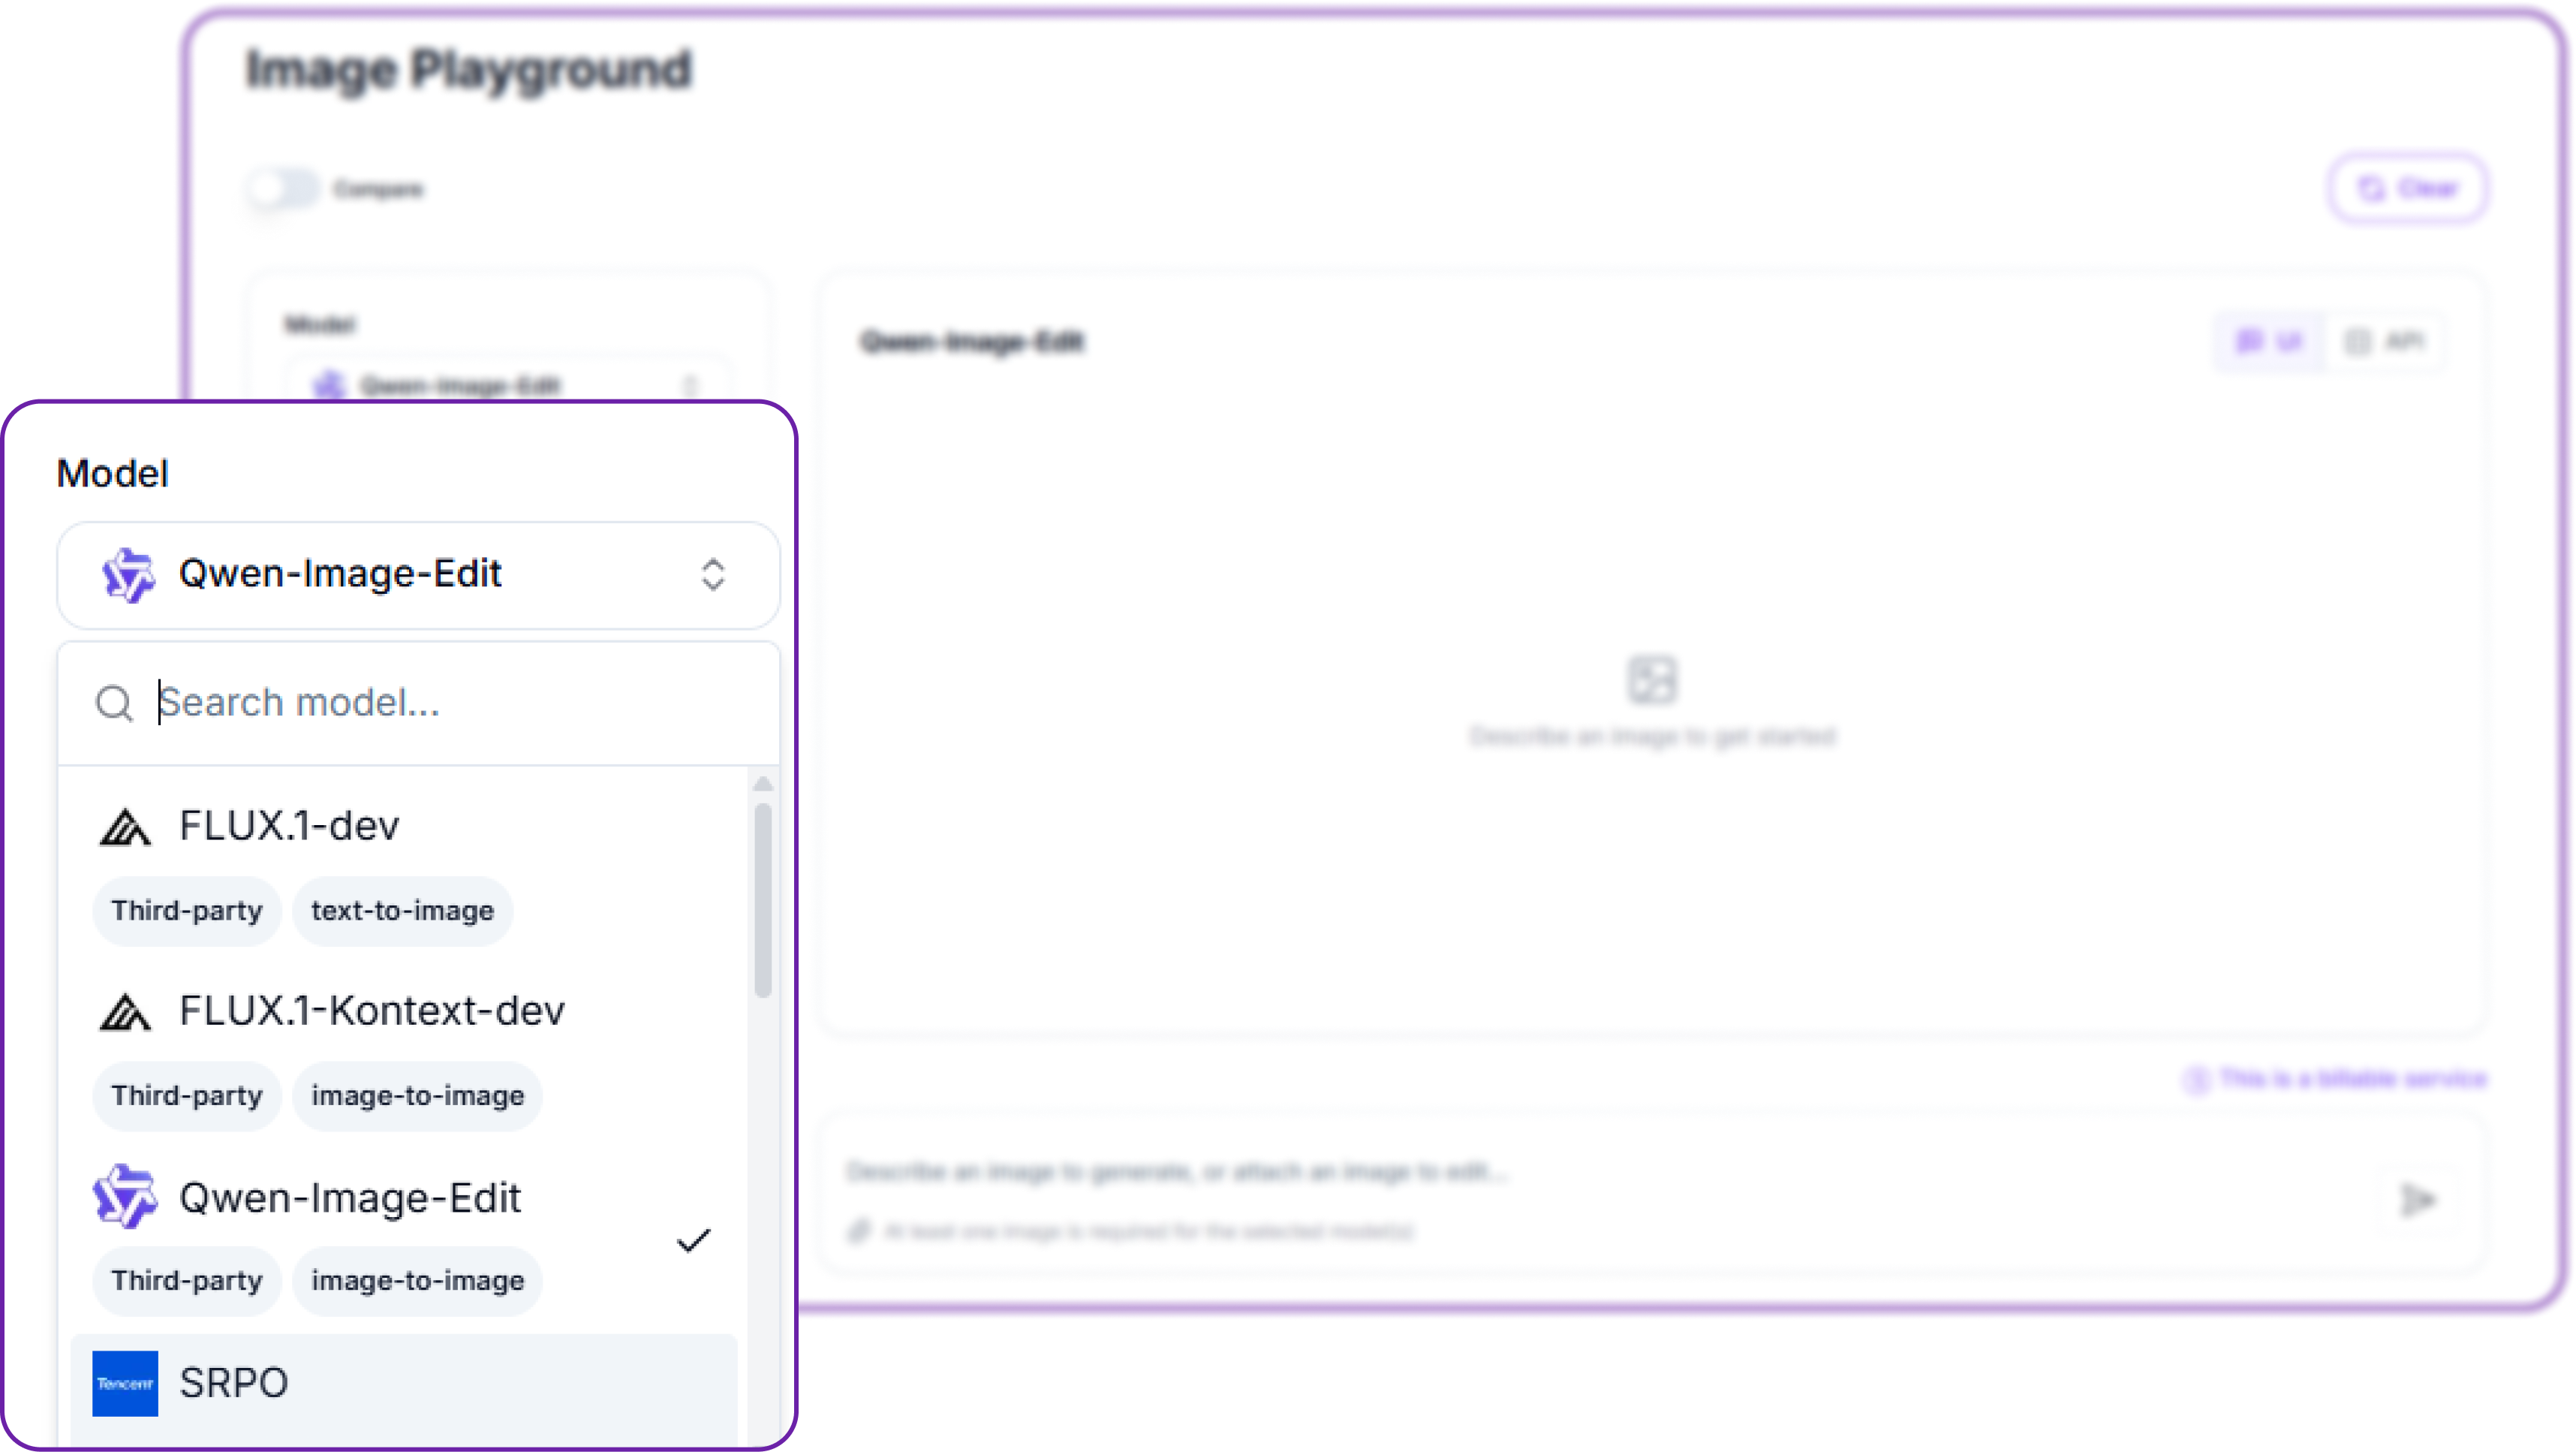
Step 3: Choose a model
Open the Model dropdown and pick from the same line-up the API serves. The search box filters the list, and each entry is tagged with its provider and its task, either text-to-image or image-to-image. A text-to-image model works from a prompt alone, while an image-to-image model such as Qwen-Image-Edit or FLUX.1-Kontext-dev also takes a source image to edit.
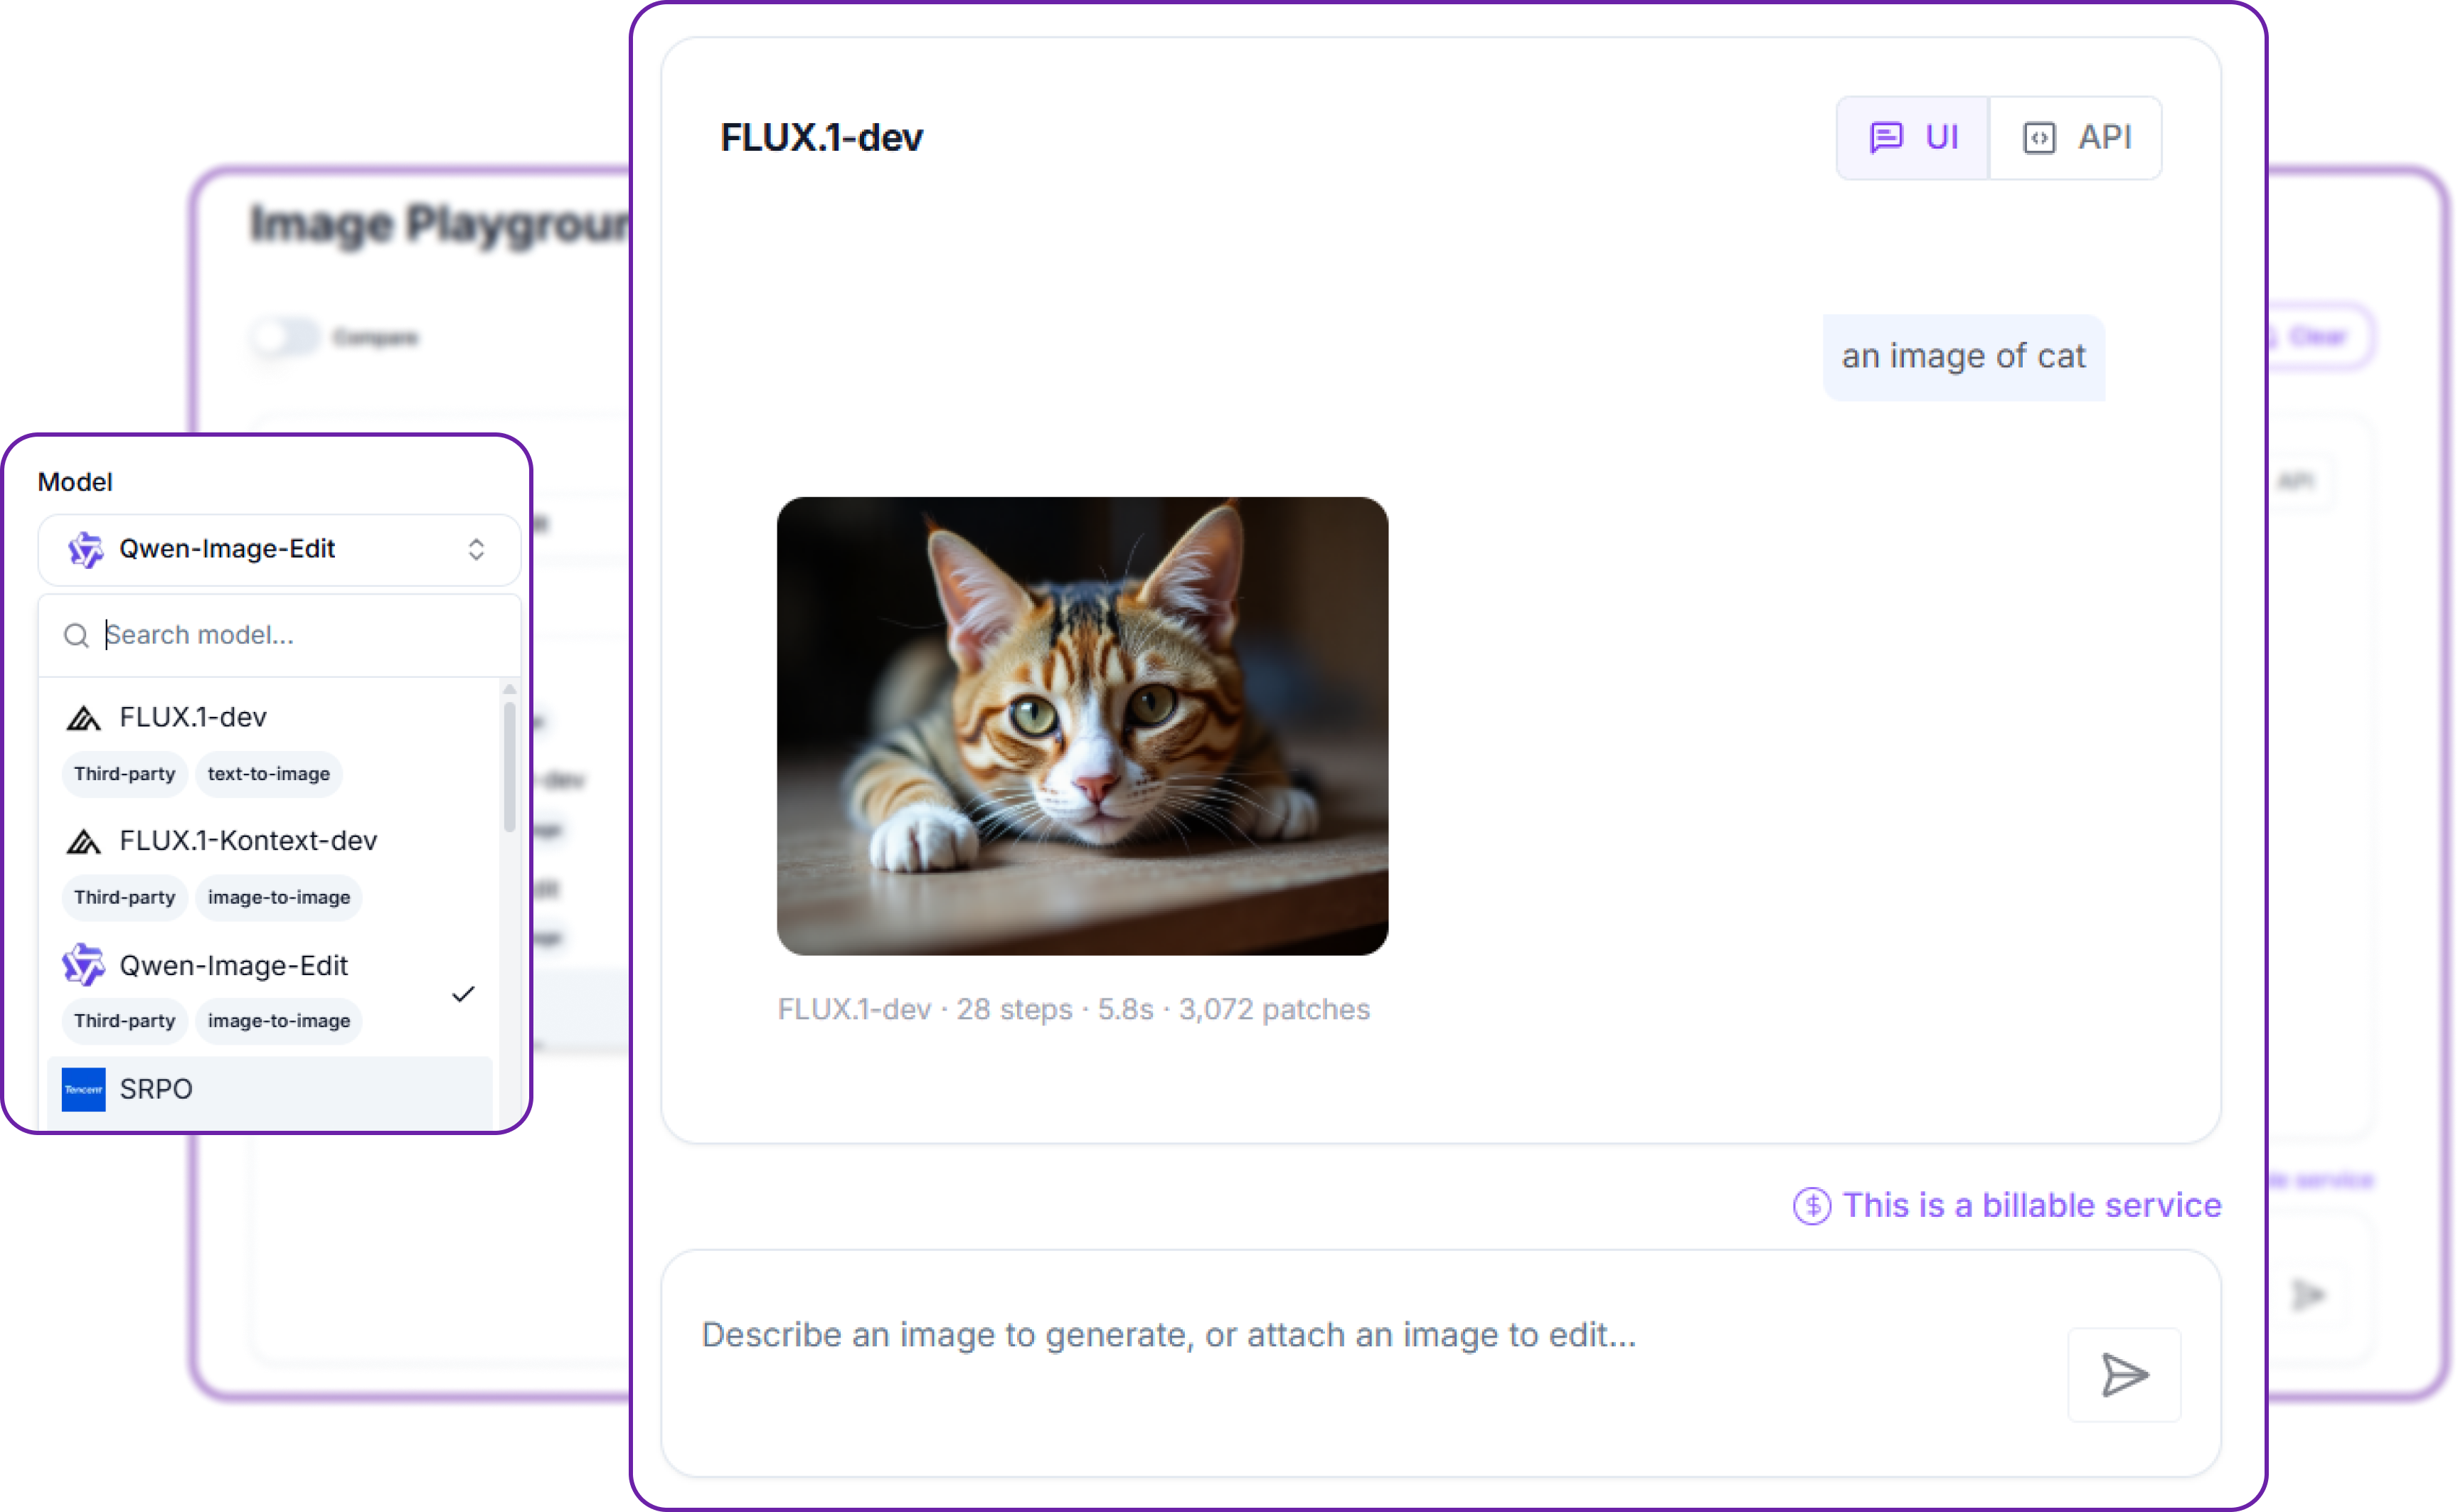
Step 4: Write a prompt and generate
Type a description in the prompt box and send it. The result appears in the canvas with a line of detail beneath it: the model, the number of steps, the time taken, and the patch count that was billed. A FLUX.1-dev image at its default of 28 steps, for instance, reports a few seconds and 3,072 patches. That patch figure is exactly what the cost section below is built on, so you can watch the price of an image as you create it. The UI / API switch on the result flips it to the matching API request, so you can move straight from a Playground result to code.
Step 5: Adjust the parameters
Select Show advanced settings to reveal the same controls the API exposes. Each one maps directly to a keyword you have already met:
- Image Size sets the aspect ratio and resolution, the dropdown form of
image_size. - Guidance Scale controls how strictly the model follows the prompt, the slider form of
guidance_scaleon the same 1 to 20 scale. - Num Images returns up to four pictures from one request, the slider form of
num_images. - Num Inference Steps trades speed for detail, the slider form of
num_inference_steps. - Seed fixes the starting point so a composition can be reproduced, the field form of
seed.
These parameters behave exactly as they do in the API. The Playground simply gives you sliders and a dropdown in place of keyword arguments, and Num Images set to two, for example, returns two pictures from the one prompt.
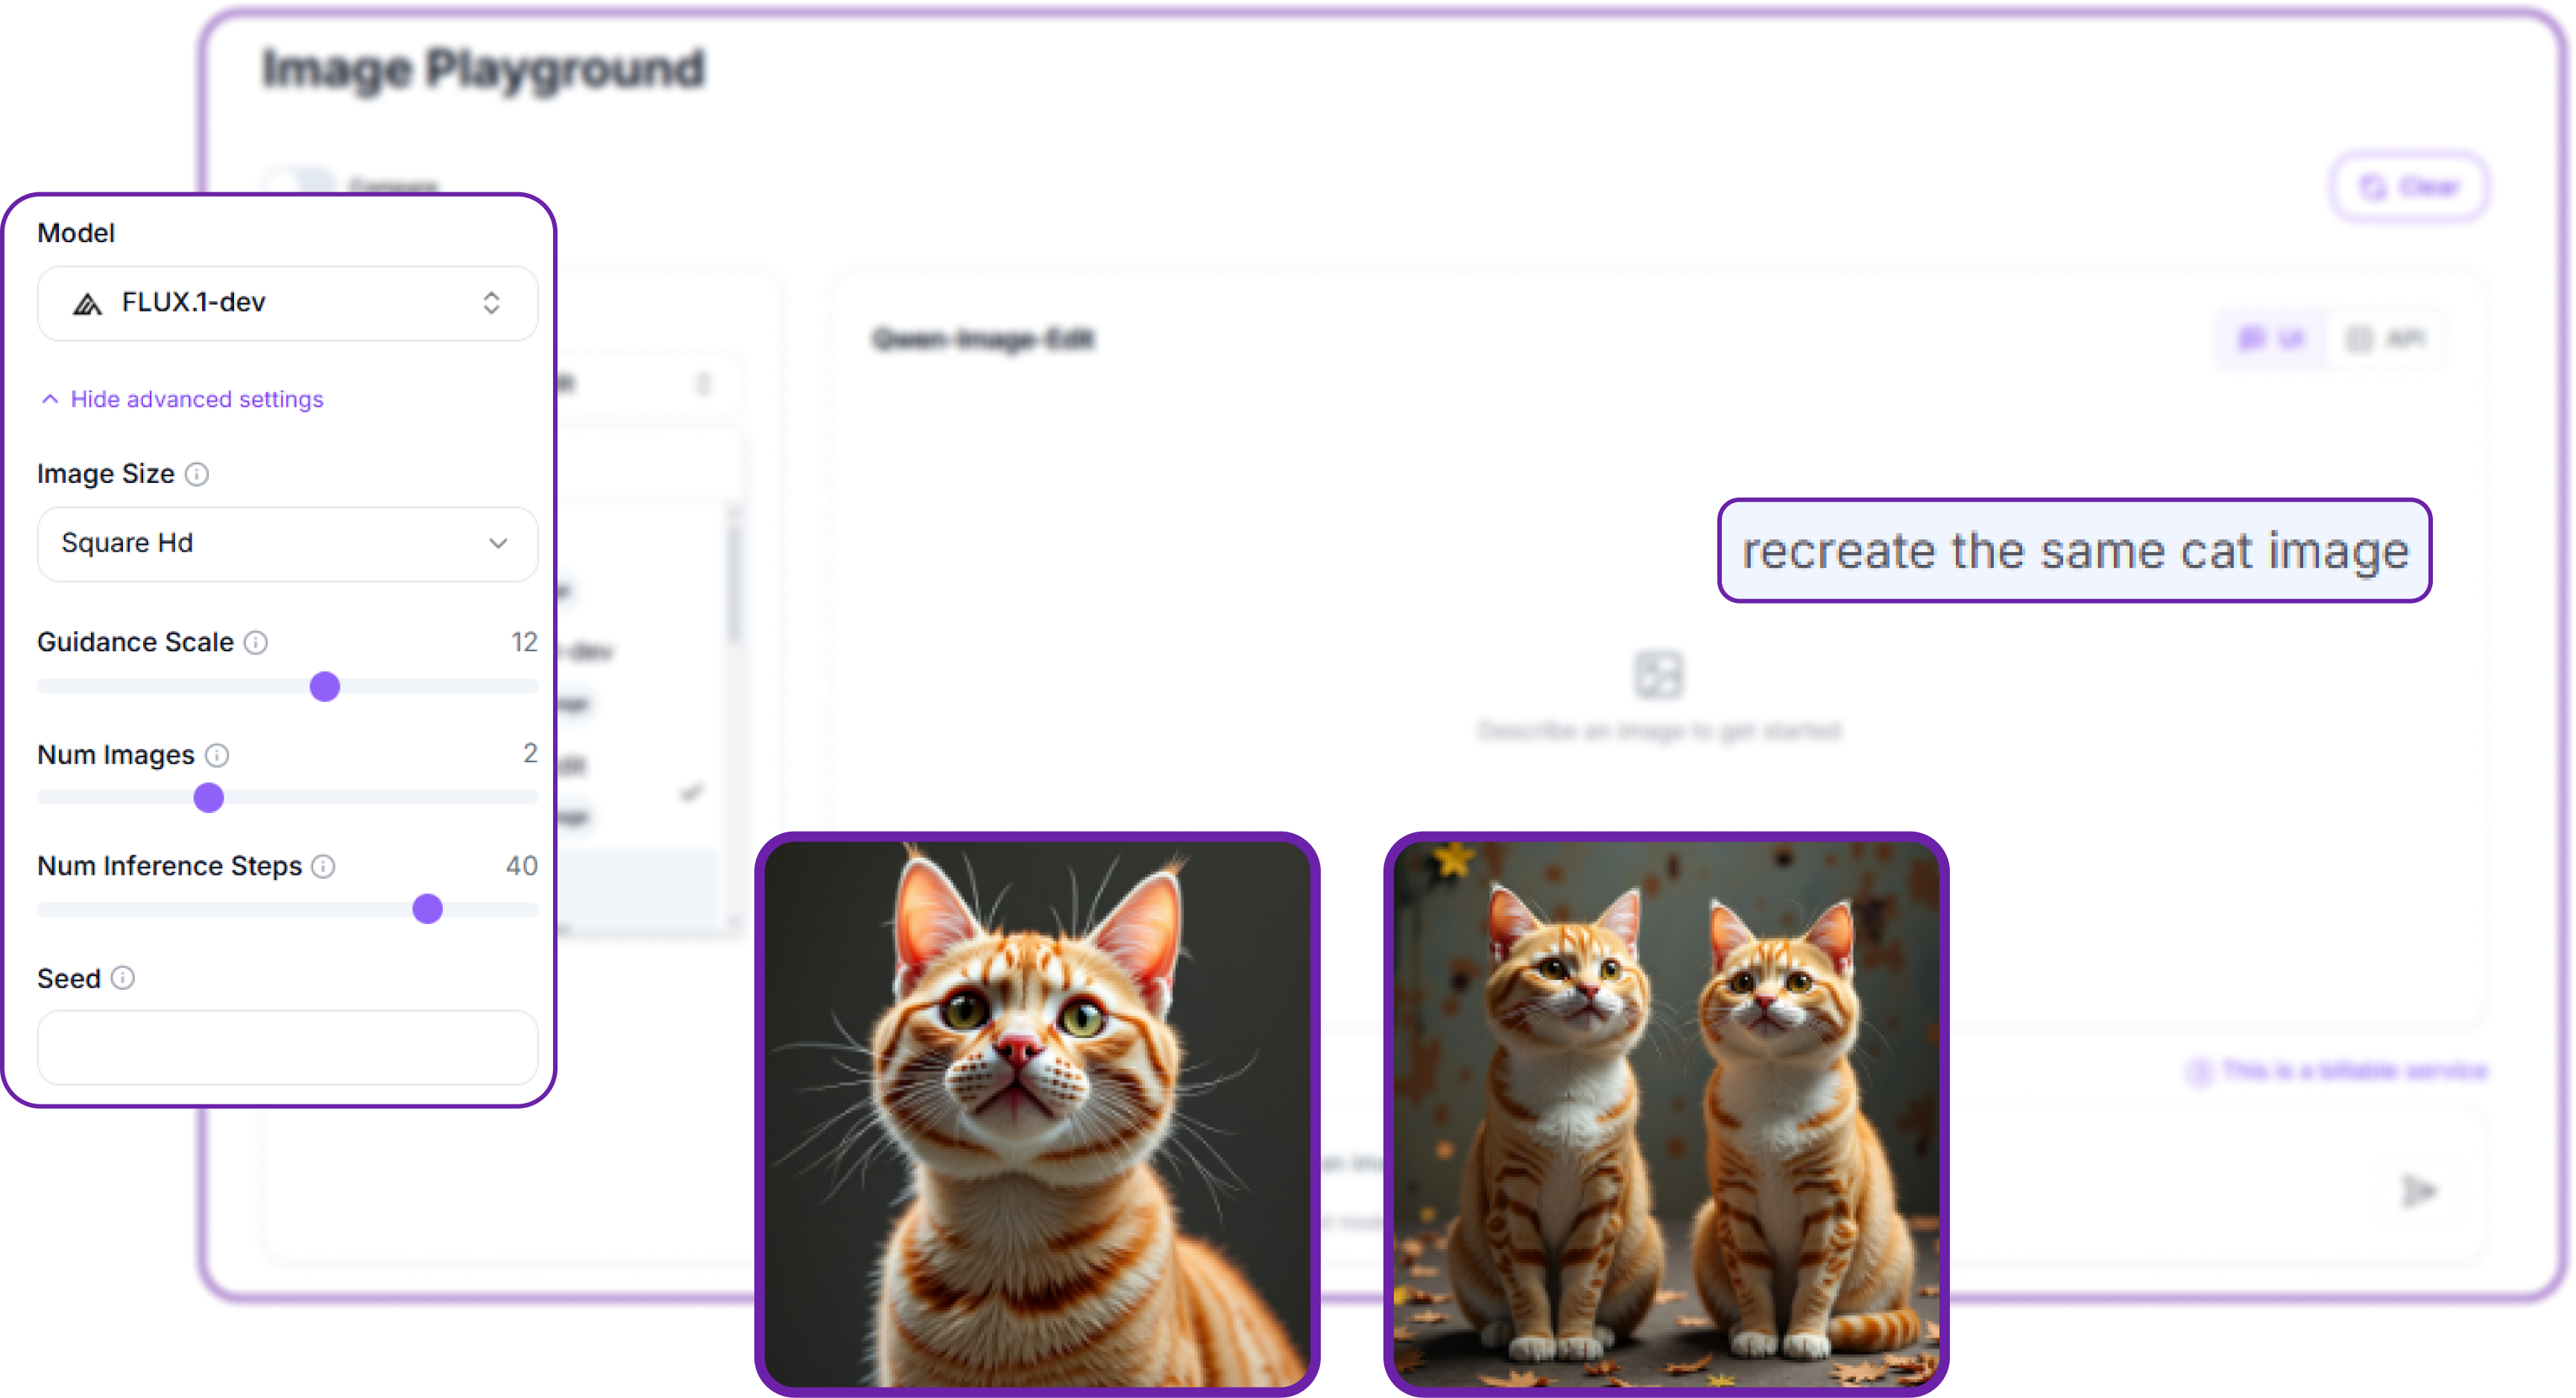
Step 6: Compare two models side by side
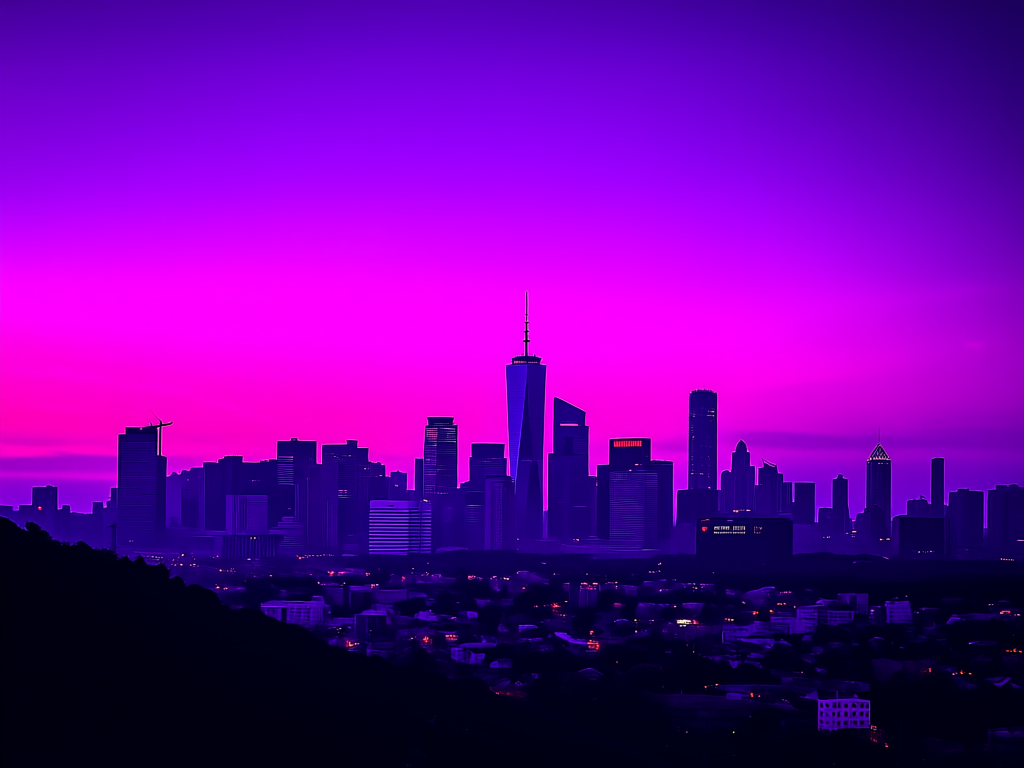
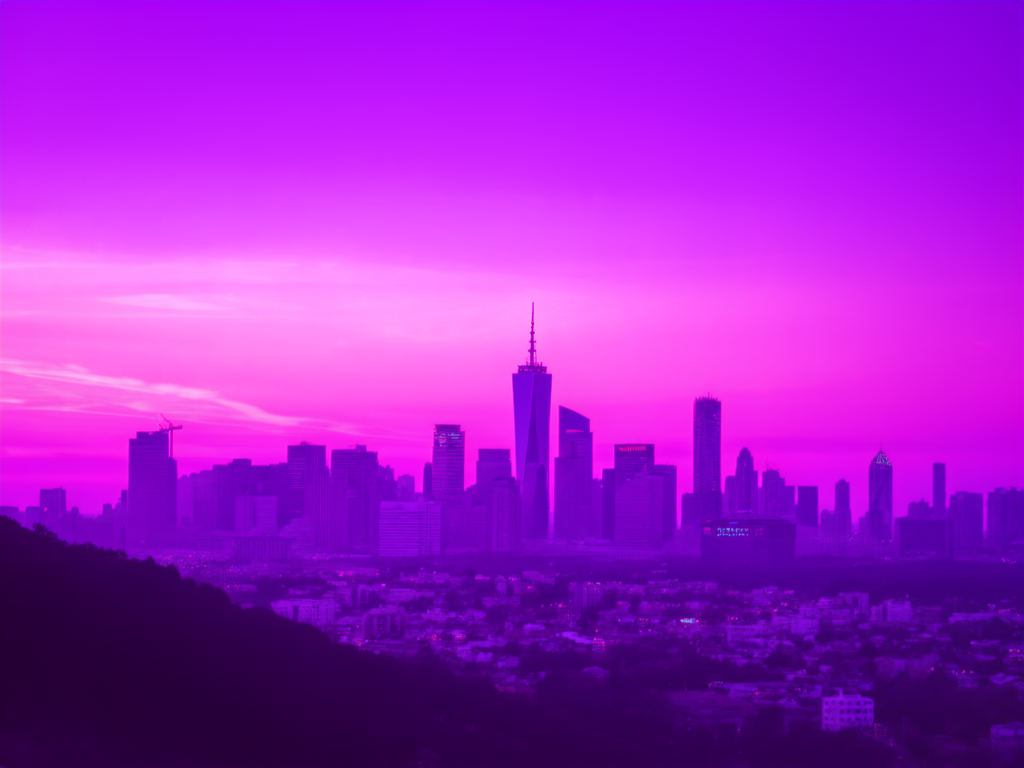
Turn on the Compare toggle to run one prompt through two models at once and view the results next to each other. Choose a model on each side, each with its own advanced settings if you wish, then send the prompt a single time. It is the quickest way to decide which model suits a brief, here FLUX.1-dev against FLUX.1-schnell on the same aerial view of a city.
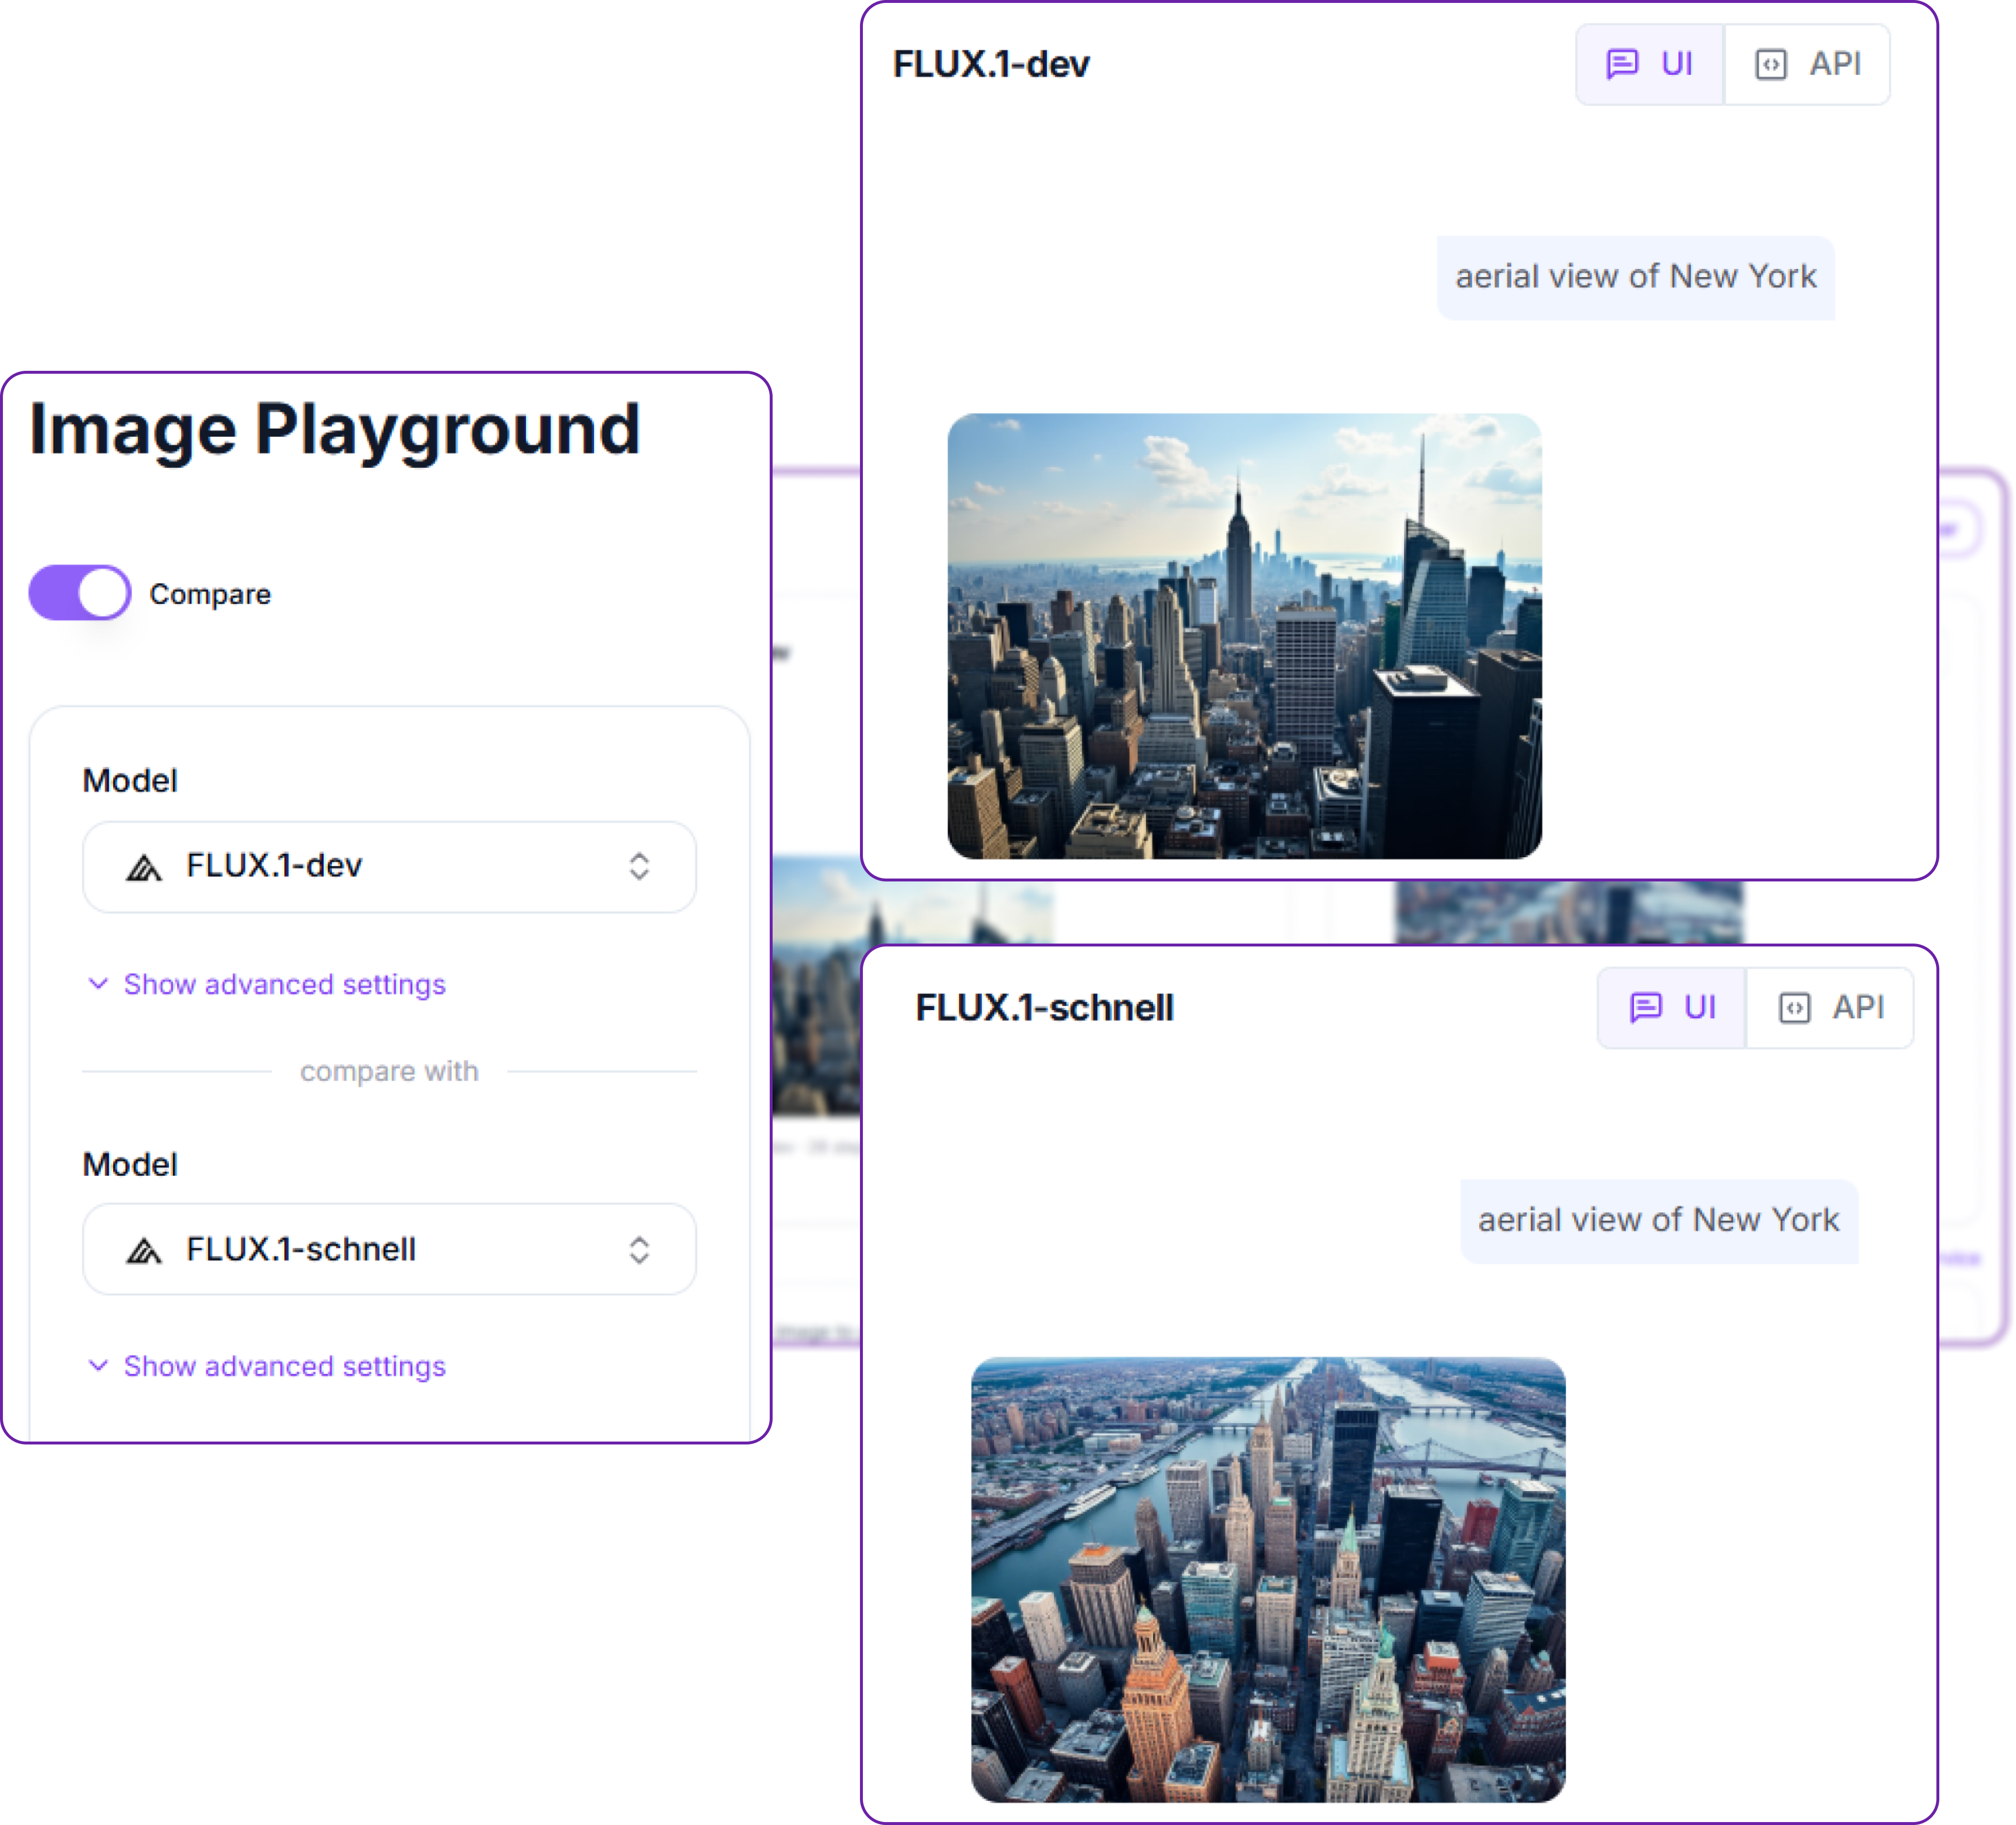
When a result looks right, save it, or flip the UI / API switch to copy the exact request and carry it into code.
Option B: The image generation API
This is where the platform shines. With a single API key you can call every image model, sweep parameters, batch requests and wire generation into your own software. The rest of this guide builds a small client step by step, then exercises every feature.
Step 1: Get an API key and set up authentication
Generate a key in the console, then keep it out of your source code. Every request to the image API authenticates with an api_key header, and there is no Bearer prefix. The key is opaque and scoped to the environment it was created in, as described in the authentication docs and the API key reference.
# Install the two libraries we need
pip install requests
import os
import requests
# Hyperstack AI Studio base URL and your API key
BASE_URL = "https://console.hyperstack.cloud/ai/api/v1"
API_KEY = os.environ["HYPERSTACK_API_KEY"] # set HYPERSTACK_API_KEY in your environment
# Authenticate with the api_key header (note: no "Bearer" prefix)
def headers(json_body=False):
h = {"api_key": API_KEY, "Accept": "application/json"}
if json_body:
h["Content-Type"] = "application/json"
return hStep 2: Build a tiny client (submit, poll, fetch)
Because the API is asynchronous, three small helpers cover almost everything: one to submit a job, one to poll until it finishes, and one to download the result. The result arrives as either a URL or a base64 string, so the fetch helper handles both.
import time, base64

SESSION = requests.Session()

# Submit a job. The POST returns a numeric job_id, not the image.
def submit(endpoint, payload):
    r = SESSION.post(f"{BASE_URL}{endpoint}", headers=headers(True), json=payload, timeout=60)
    r.raise_for_status()
    return r.json()["job_id"]

# Poll the task endpoint until the job is completed (or failed).
def poll_until_done(job_id, interval=3, timeout=360):
    deadline = time.time() + timeout
    while time.time() < deadline:
        task = SESSION.get(f"{BASE_URL}/images/tasks/{job_id}", headers=headers(), timeout=60).json()
        if task["status"] == "completed":
            return task
        if task["status"] == "failed":
            raise RuntimeError(task)
        time.sleep(interval)
    raise TimeoutError(job_id)

# Download the finished image(s): the API returns a url or base64.
def fetch_images(task):
    out = []
    for d in task["result"]["data"]:
        if d.get("url"):
            out.append(SESSION.get(d["url"], timeout=120).content)
        elif d.get("b64_json"):
            out.append(base64.b64decode(d["b64_json"]))
    return out

# Convenience: submit a text-to-image job and wait for the result.
def generate(model, prompt, **params):
    job_id = submit("/images/generations", {"model": model, "prompt": prompt, **params})
    return poll_until_done(job_id)
Step 3: Discover the image models from the API
Rather than hard-coding model names, ask the API which models are available for each task. The list base models endpoint accepts a modalities filter.
# List the image models available for inference, by modality
def list_models(modality):
    r = SESSION.get(f"{BASE_URL}/base_models",
                    headers=headers(),
                    params={"inference": "true", "modalities": modality},
                    timeout=60)
    return [m["model_name"] for m in r.json()["models"]]

print("text-to-image: ", list_models("text-to-image"))
print("image-to-image:", list_models("image-to-image"))
This prints the live model line-up:
text-to-image:  ['FLUX.1-dev', 'SRPO', 'Qwen-Image', 'FLUX.1-schnell', 'Qwen-Image-2512',
                 'HunyuanImage-3.0', 'stable-diffusion-3.5-medium', 'Z-Image-Turbo',
                 'FLUX.1-Krea-dev']
image-to-image: ['FLUX.1-Kontext-dev', 'Qwen-Image-Edit', 'FLUX.2-dev']
Step 4: Your first text-to-image request
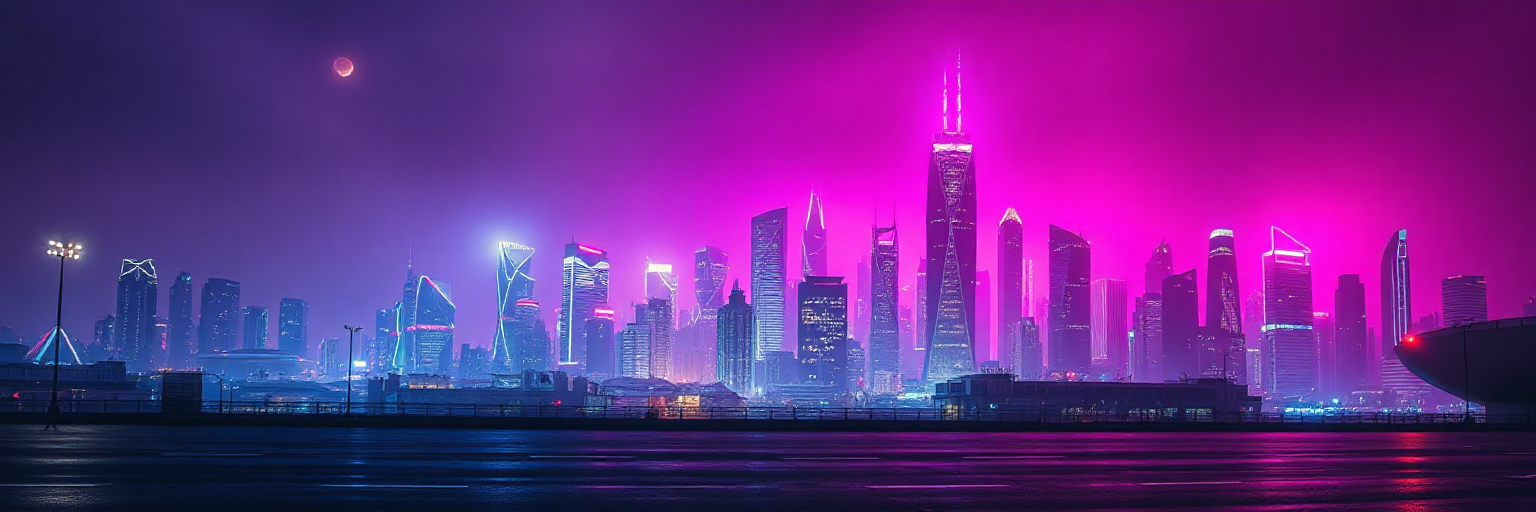
With the client in place, one call generates an image. We use FLUX.1-schnell, a fast few-step model, and a brand-styled prompt. The parameters are documented on the generate image from text reference.
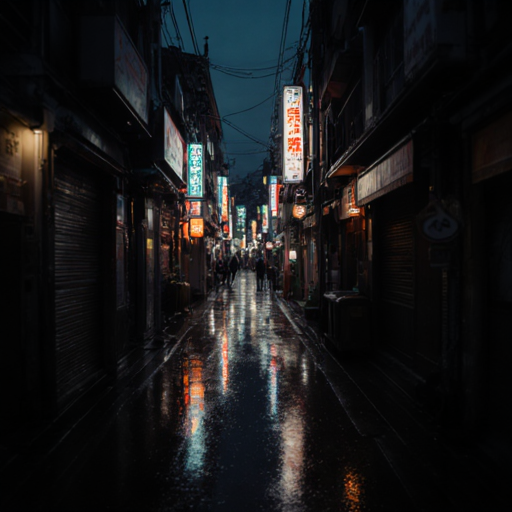
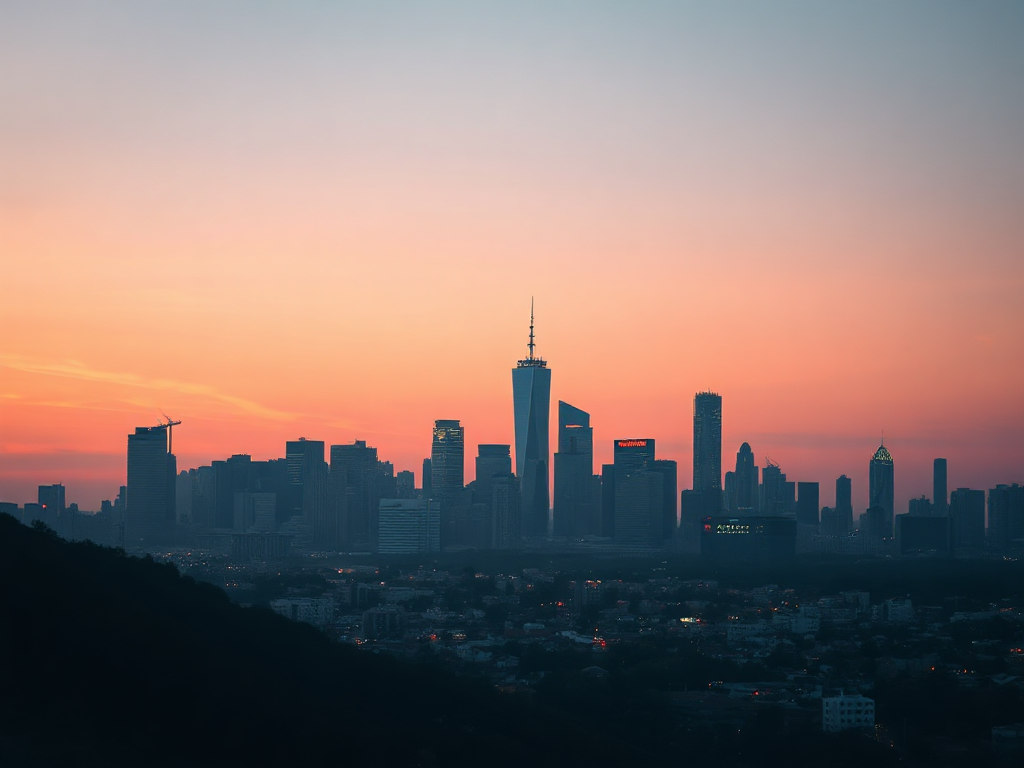
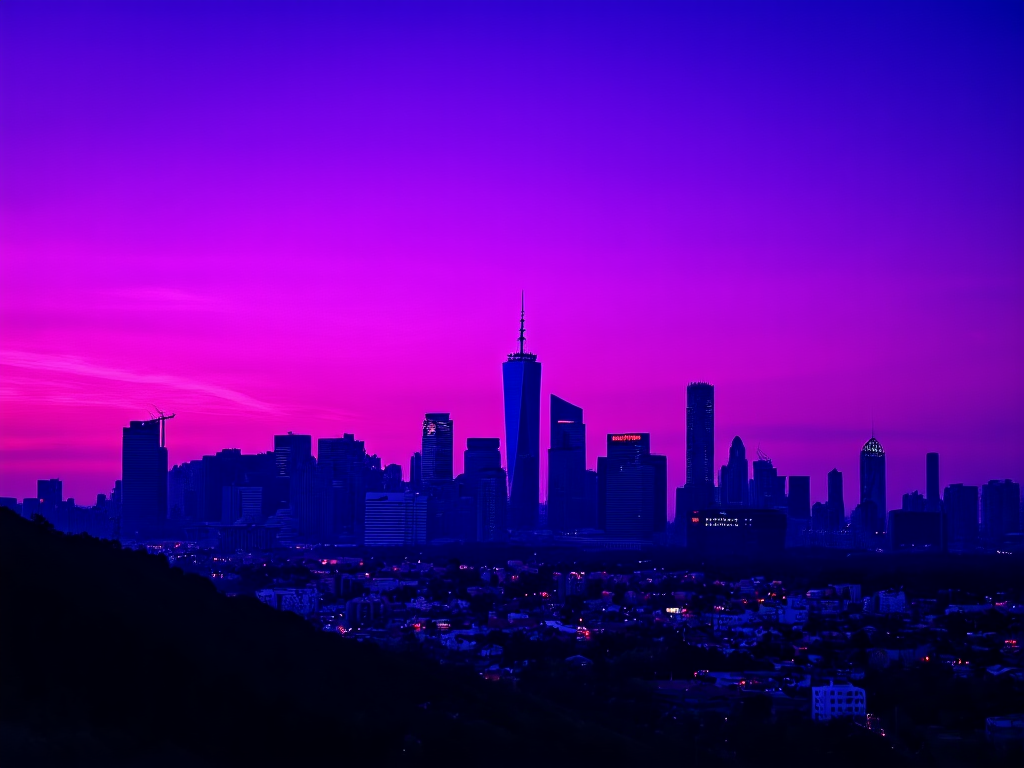
prompt = ("a wide panoramic futuristic city skyline at night, glowing violet and magenta neon, "
          "deep purple and indigo sky, light reflections on wet streets, cinematic ultra wide, highly detailed, no people")

task = generate(
    "FLUX.1-schnell",
    prompt,
    image_size={"width": 1536, "height": 512},
    num_inference_steps=4,
    seed=7,
    output_format="png",
)

open("city.png", "wb").write(fetch_images(task)[0])
The completed task is a small JSON document. The image arrives as a URL, and the usage block reports how much was billed (more on that later).
{
  "status": "completed",
  "result": {
    "created": "2026-06-19T13:21:29",
    "data": [{ "url": "https://...s3...png", "b64_json": null }],
    "usage": { "output_tokens": 3072, "total_tokens": 3072 }
  }
}
Step 5: Control the image size and aspect ratio
The image_size parameter takes one of six presets, or an explicit width and height as an object (not a "1024x768" string). The maximum side is 14142 pixels.
# Six aspect presets, plus one explicit width/height object
SIZES = ["square_hd", "square", "portrait_4_3", "portrait_16_9",
"landscape_4_3", "landscape_16_9", {"width": 768, "height": 512}]
for size in SIZES:
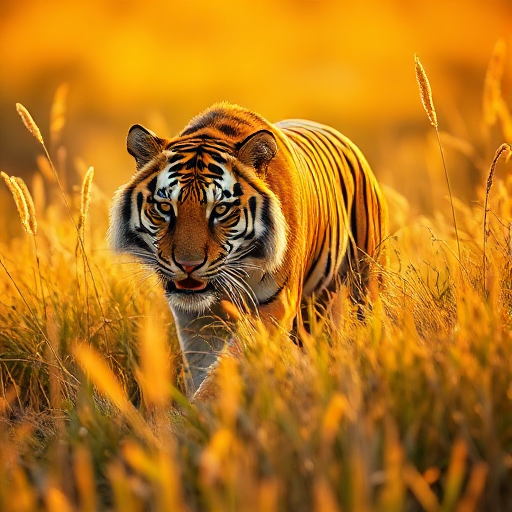
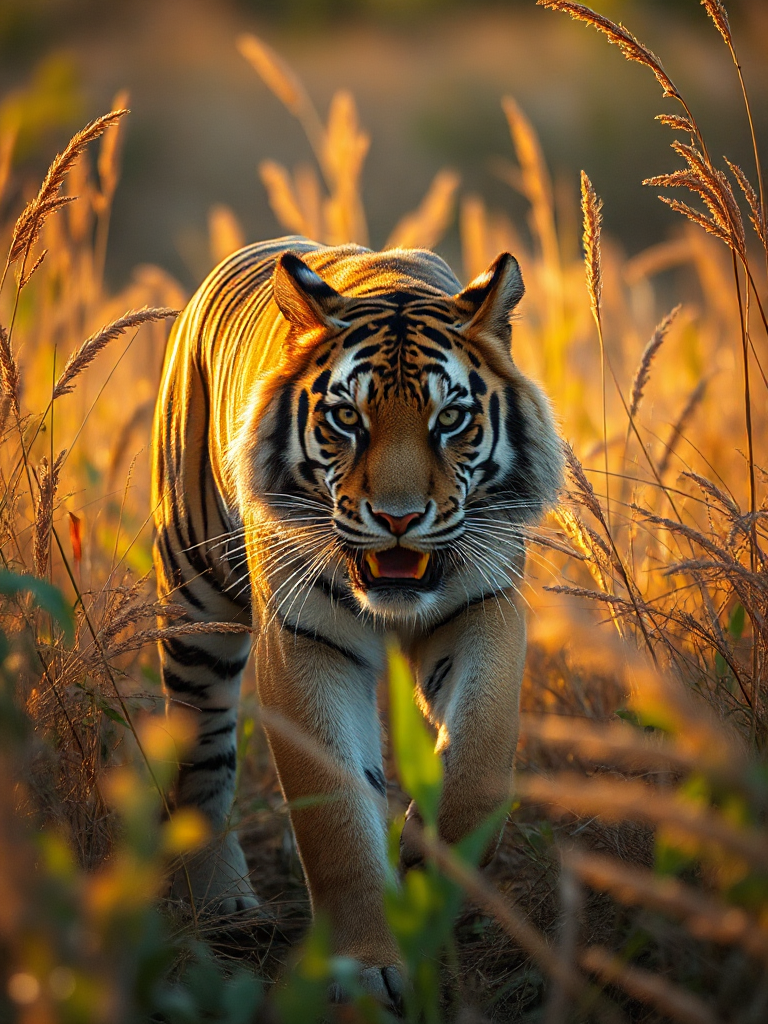
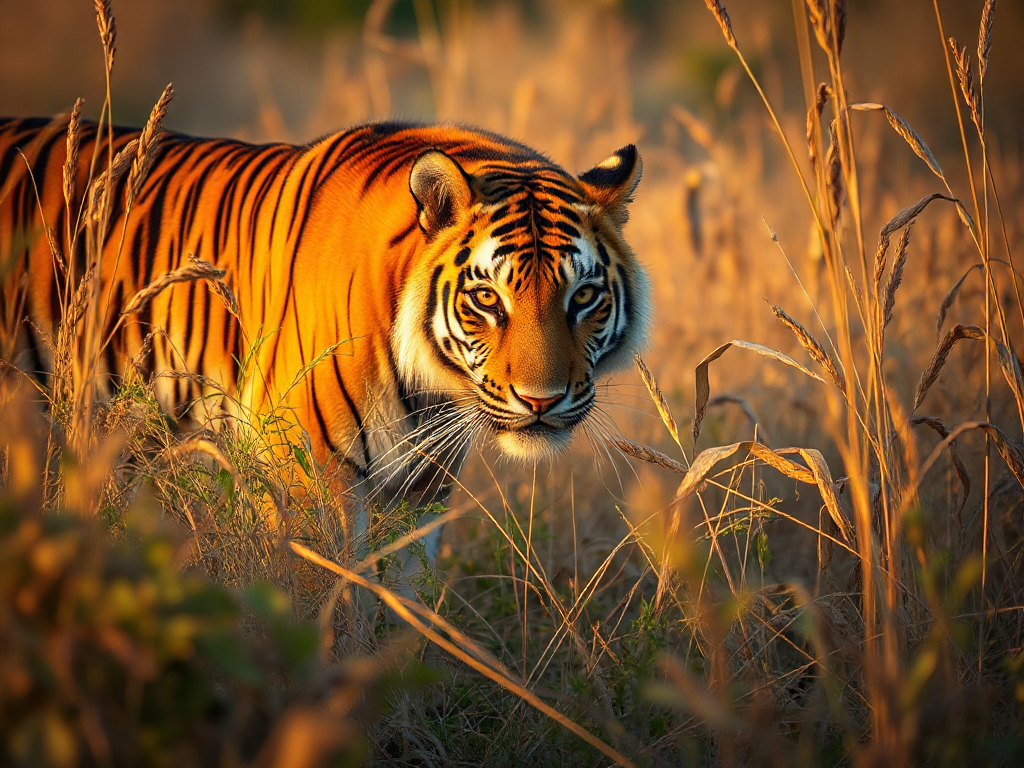
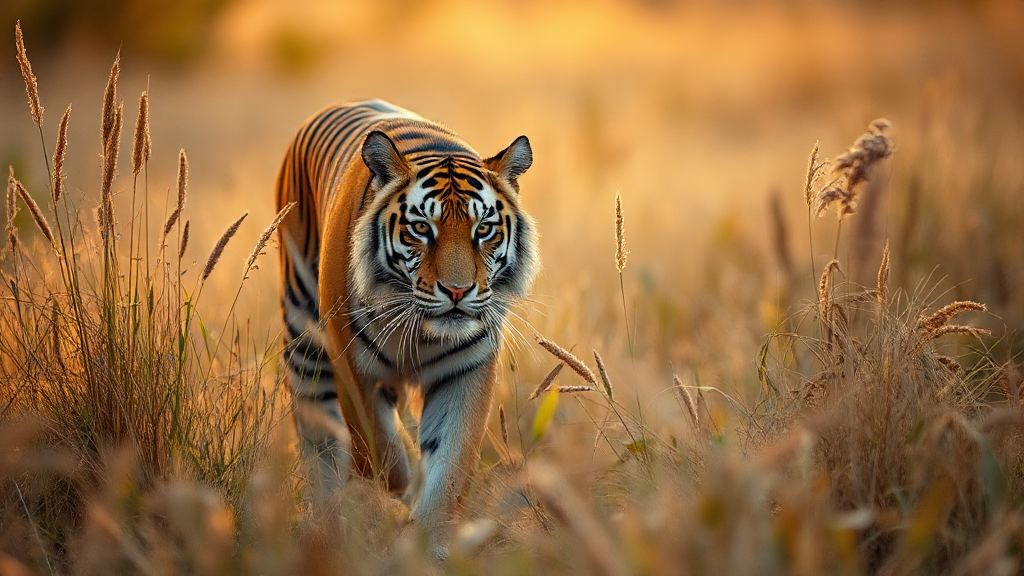
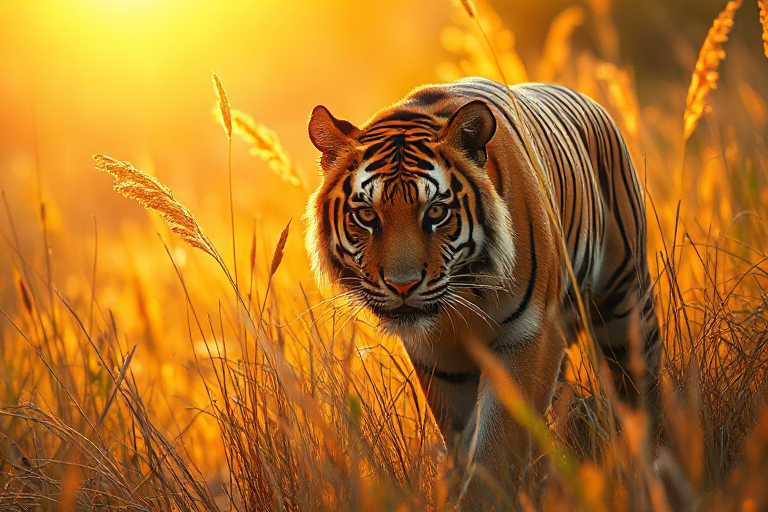
task = generate("FLUX.1-schnell", "a Bengal tiger in tall grass at sunrise", image_size=size,
num_inference_steps=4, seed=7)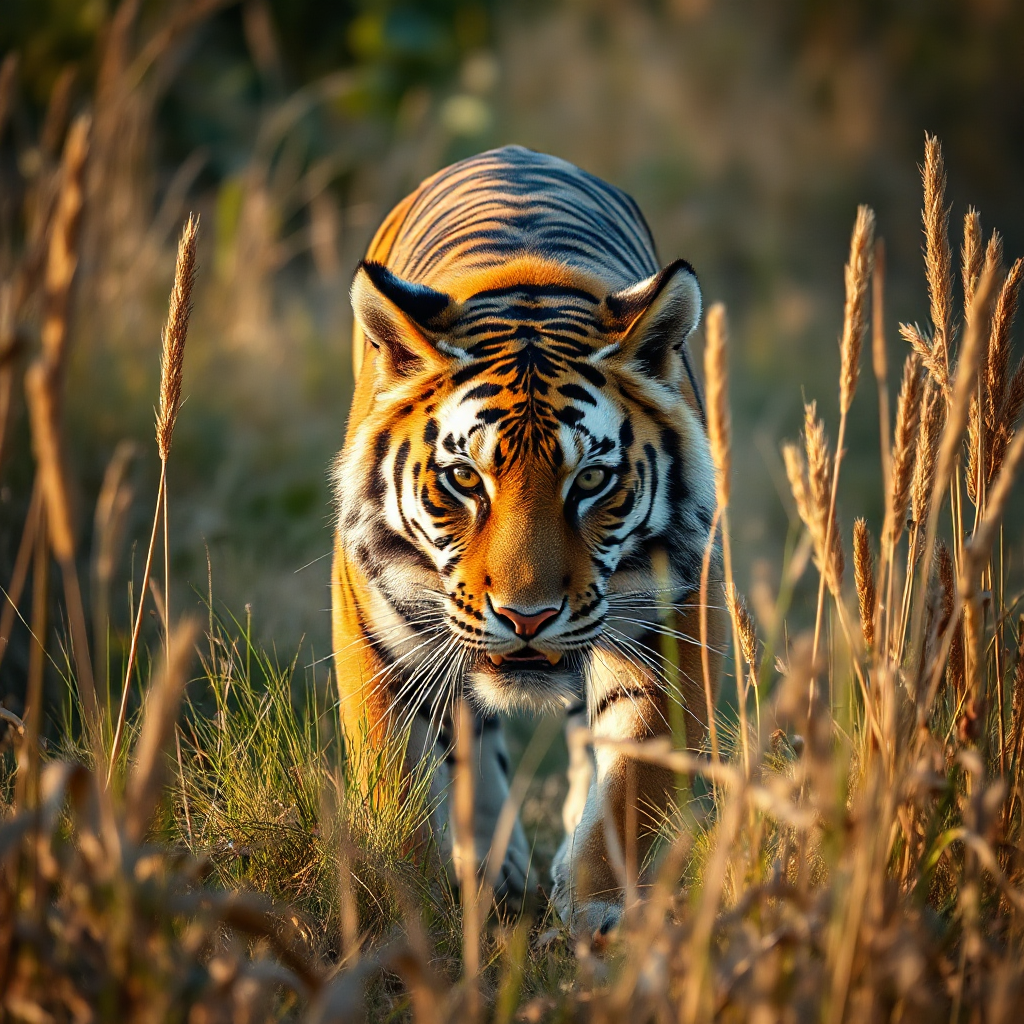
1024 × 1024
512 × 512
768 × 1024

576 × 1024
1024 × 768
1024 × 576
768 × 512
Step 6: Tune prompt adherence with guidance_scale
The guidance_scale controls how strictly the model follows your prompt, on a scale from 1 to 20. Higher values stick closer to the words and add contrast, at the cost of variety. Here we use Stable Diffusion 3.5, which responds strongly to this setting.
for g in (2, 6, 9):
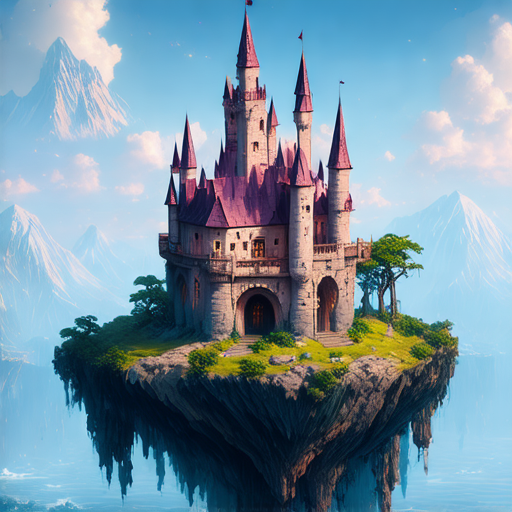
task = generate("stable-diffusion-3.5-medium", "a fantasy castle on a floating island", image_size="square",
guidance_scale=g, num_inference_steps=28, seed=7)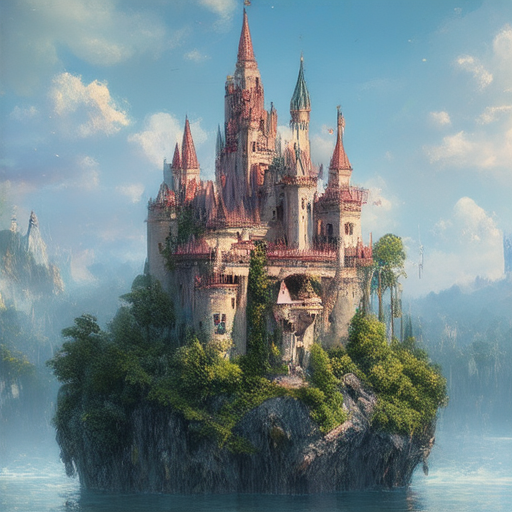

Step 7: Trade speed for quality with num_inference_steps
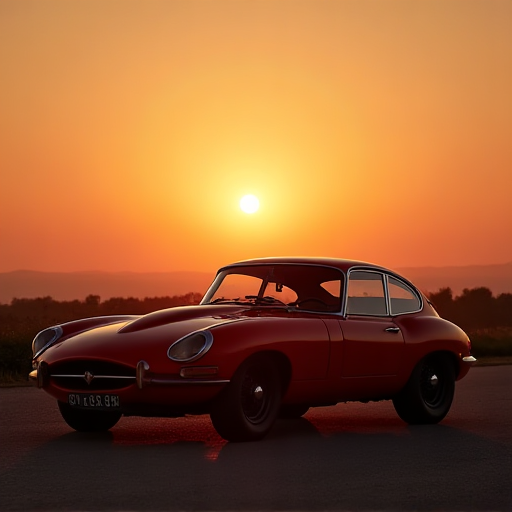
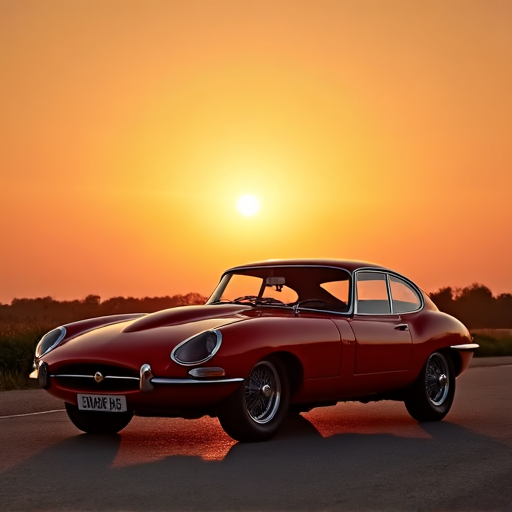
More denoising steps usually mean more detail, at the cost of speed. The range is 1 to 50. Here we use FLUX.1-dev, a full model, and sweep from very few steps to many, so the difference is clear.
for steps in (4, 14, 30):
    task = generate("FLUX.1-dev", "a red vintage sports car at sunset", image_size="square",
                    num_inference_steps=steps, seed=7)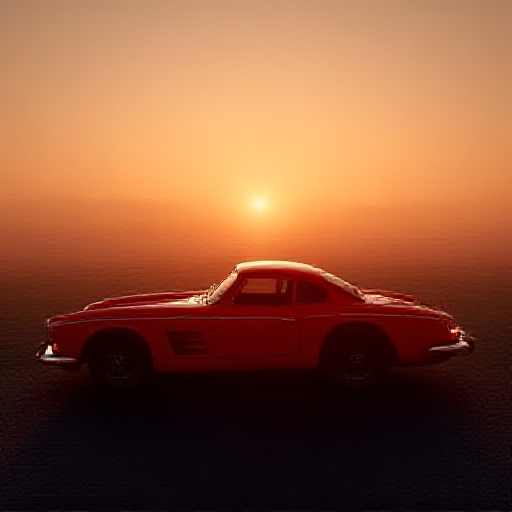
Step 8: Reproducible results with seed
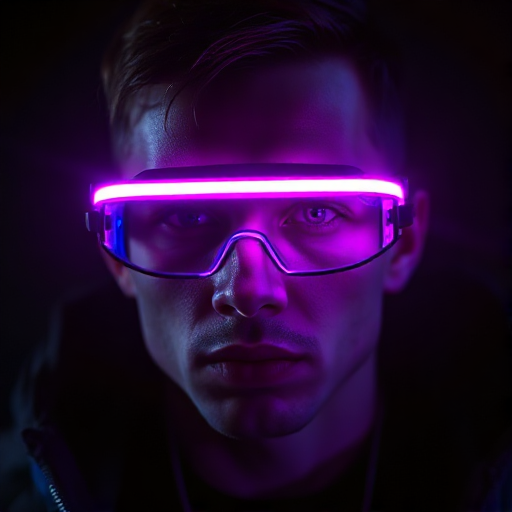
The seed is your control over variation. The same seed with the same prompt and settings steers the model toward the same composition, while a new seed gives a fresh take.
for seed in (7, 7, 99):
    task = generate("FLUX.1-schnell", "a cyberpunk man, glowing neon visor", image_size="square",
                    num_inference_steps=4, seed=seed)
    open(f"seed_{seed}.png", "wb").write(fetch_images(task)[0])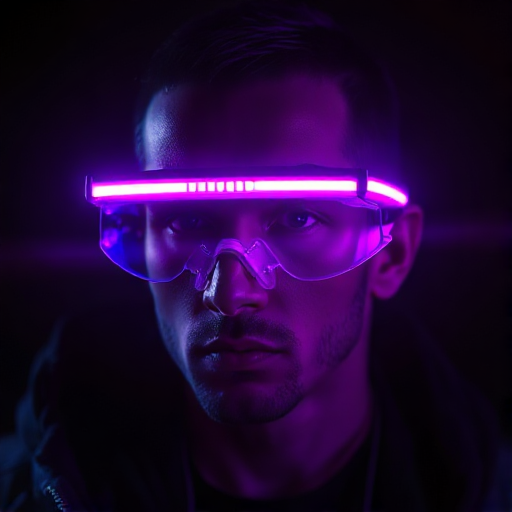
Step 9: Generate several images at once, and pick a format
Set num_images to return up to four pictures from a single request, and output_format to choose the encoding. Here we compare png and jpeg.
# Up to four images in one request
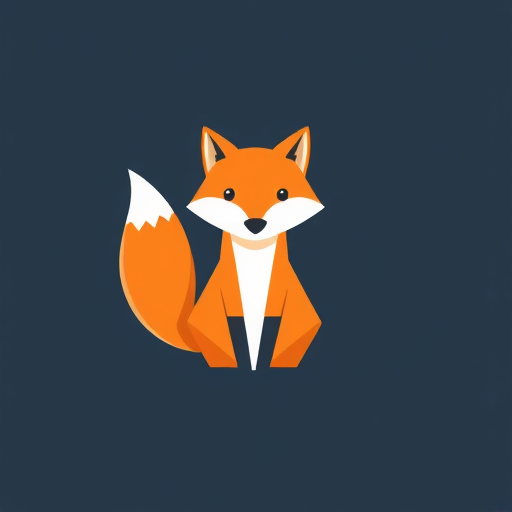
task = generate("FLUX.1-schnell", "a cute flat-vector fox mascot logo", image_size="square",
num_inference_steps=4, num_images=4, seed=7)
print(len(task["result"]["data"])) # 4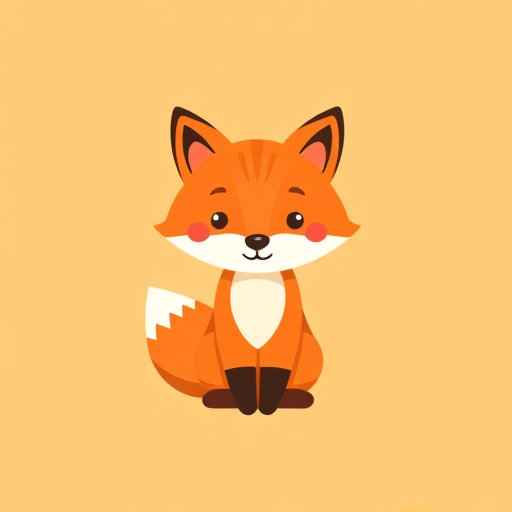


| output_format | File type | Size on disk | Best for |
|---|---|---|---|
| png | Lossless PNG | 155.5 KB | Maximum quality, editing |
| jpeg | JPEG | 27.5 KB | Photos, smallest payload |
Step 10: The parameters at a glance
Every model also publishes its own parameter schema, so you can confirm the accepted values programmatically. The common text-to-image parameters are summarised below.
| Parameter | Type | Default | Range / values |
|---|---|---|---|
| model | string | required | any listed image model |
| prompt | string | required | free text |
| image_size | string or object | landscape_4_3 | 6 presets, or {width, height} up to 14142 |
| num_images | integer | 1 | 1 to 4 |
| num_inference_steps | integer | 28 | 1 to 50 |
| guidance_scale | number | 4.5 | 1 to 20 |
| seed | integer | null | any integer |
| output_format | string | png | png, jpeg, webp |
Full details, including per-model parameter schemas, live in the generate image from text reference.
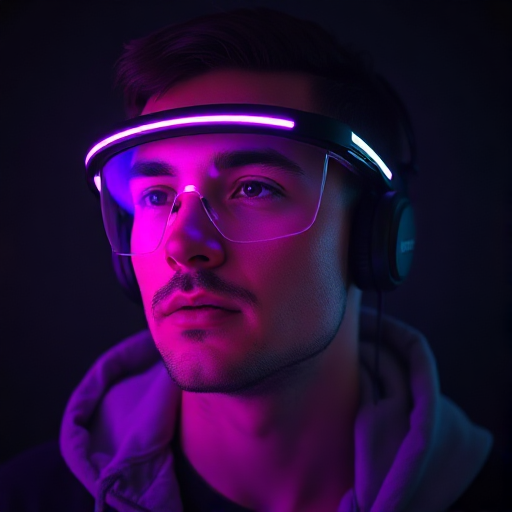
Step 11: Image-to-image editing
Image-to-image takes a source picture plus a prompt and returns an edited version, through the generate image from image endpoint. You can supply the source two ways: upload it through a signed upload URL, or pass any publicly reachable image_url. Here we generate a source image, keep its result URL, and edit it.
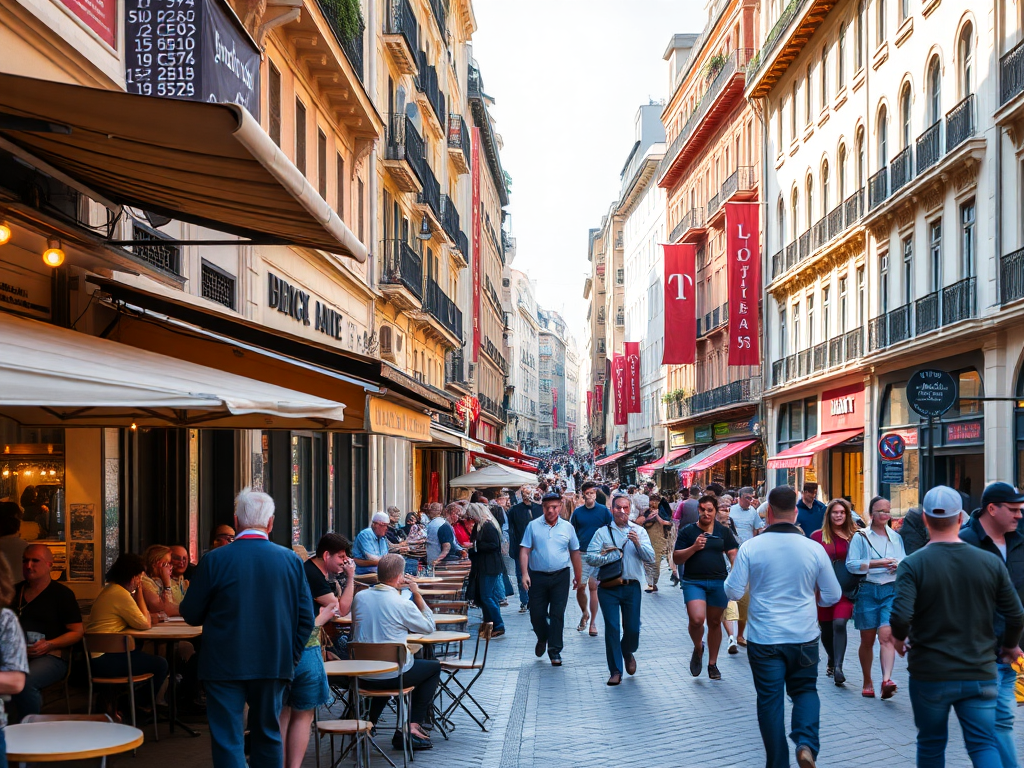
# 1) Make a source image and keep its reachable URL
src = generate("FLUX.1-schnell", "a photo of a busy city street with cafes, daytime",
image_size="landscape_4_3", num_inference_steps=4, seed=7)
source_url = src["result"]["data"][0]["url"]
# 2) Edit it with an image-to-image model
def edit(model, prompt, image_url, **params):
job_id = submit("/images/edits",
{"model": model, "prompt": prompt,
"image_url": image_url, **params})
return poll_until_done(job_id)
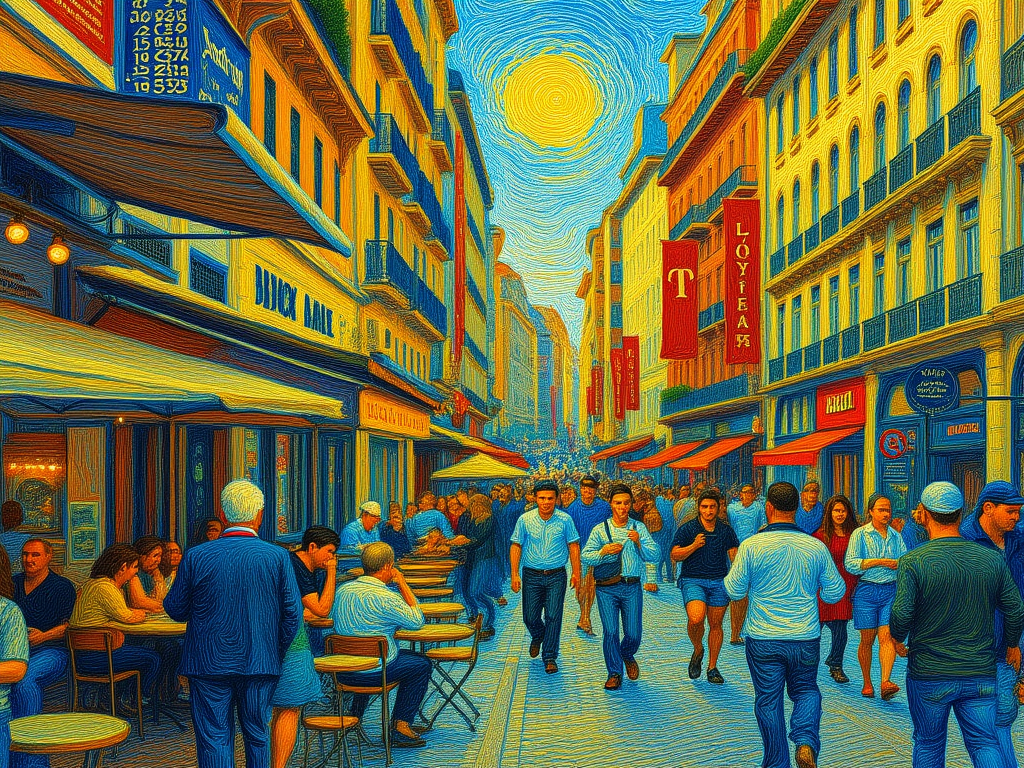
task = edit("FLUX.1-Kontext-dev",
"repaint this exact scene as a vivid Van Gogh oil painting, swirling brushstrokes",
source_url, image_size="landscape_4_3")The result is the first slider below. Editing is not limited to one trick: the same plain-language approach can restyle a photo, change the season or time of day, swap the background, or recolour and relight a scene. Drag the handle on each slider to compare the original with the edited version.
Style transfer: photo to oil painting
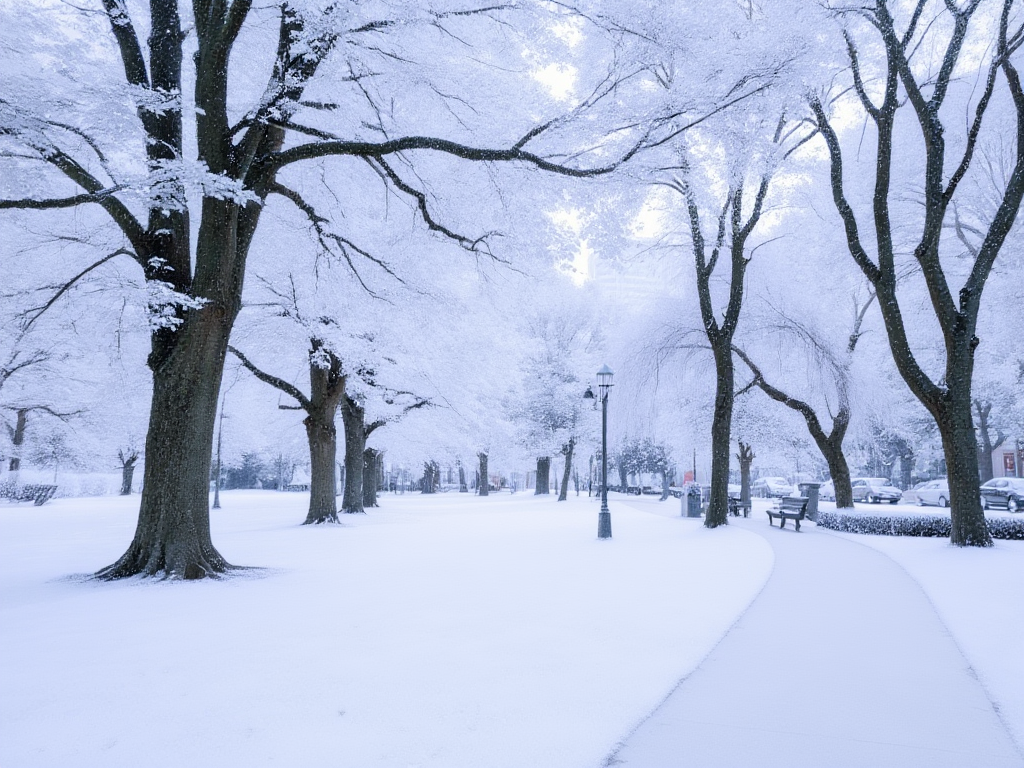
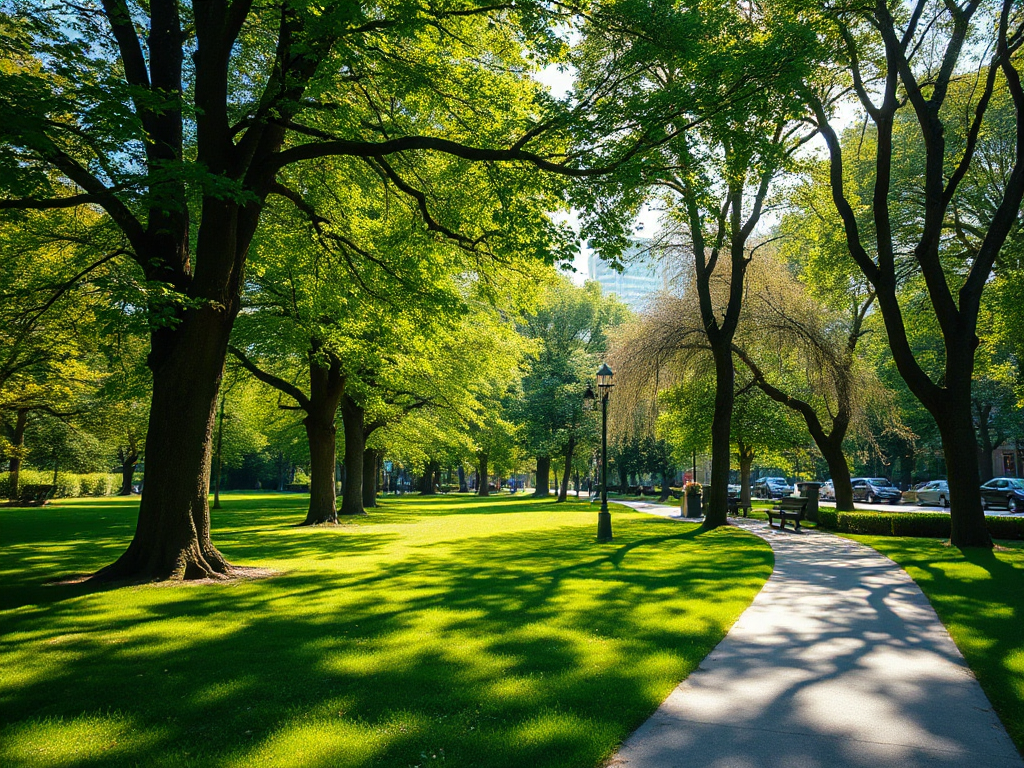
Season change: summer to winter
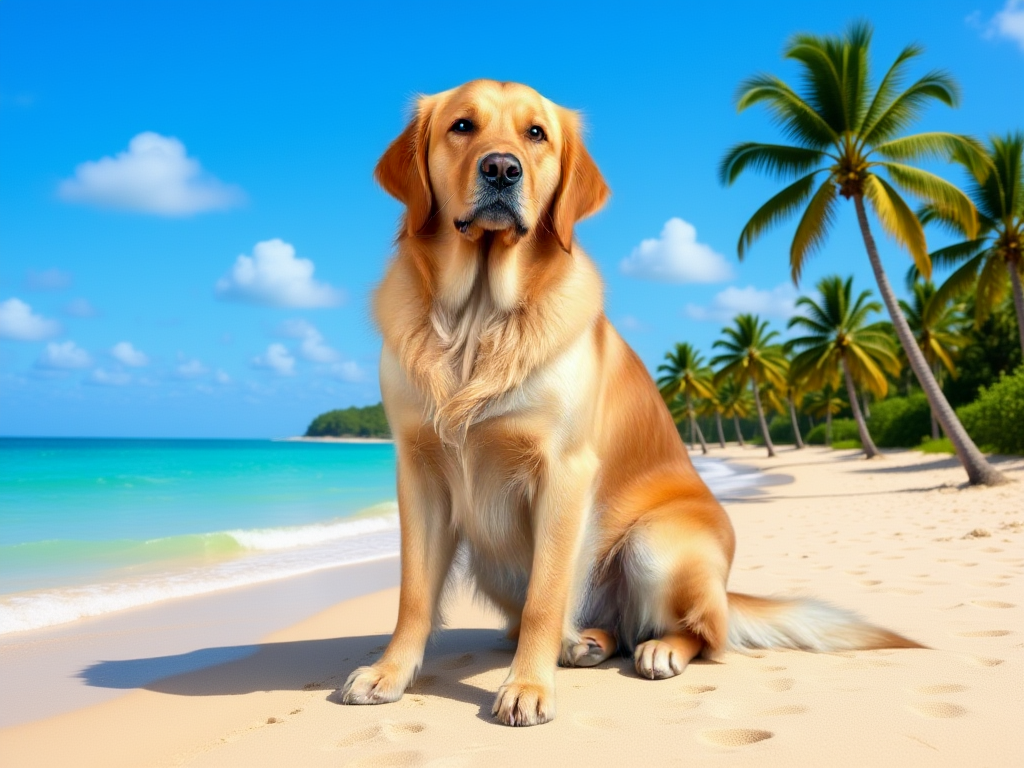
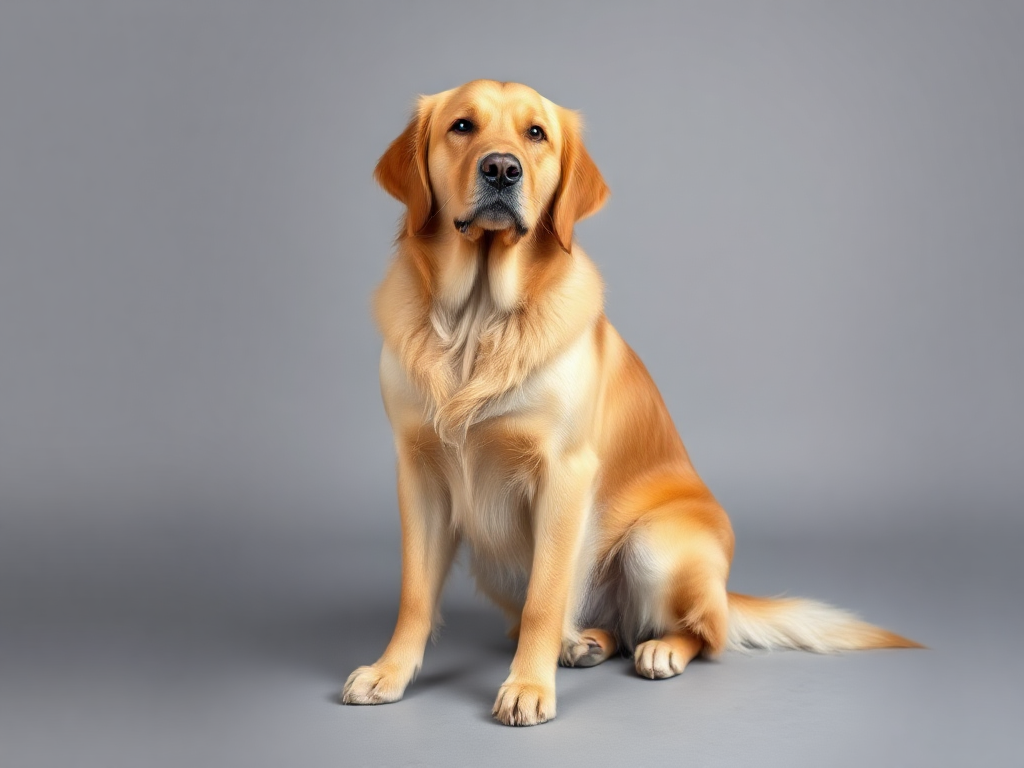
Background swap: studio to beach
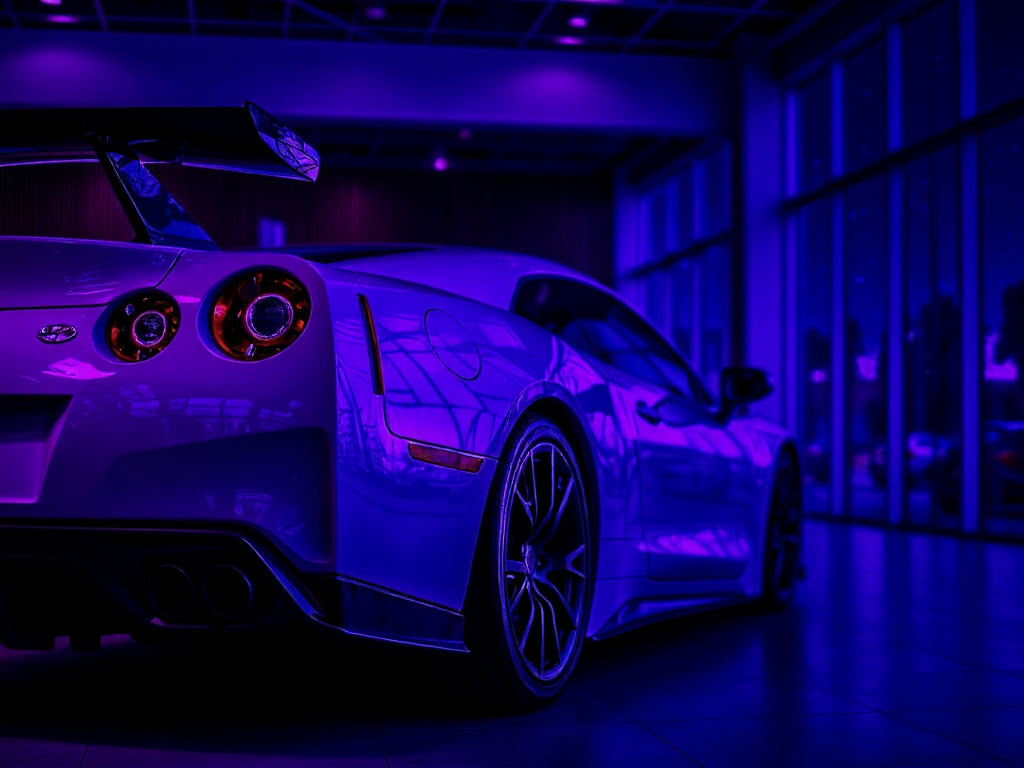
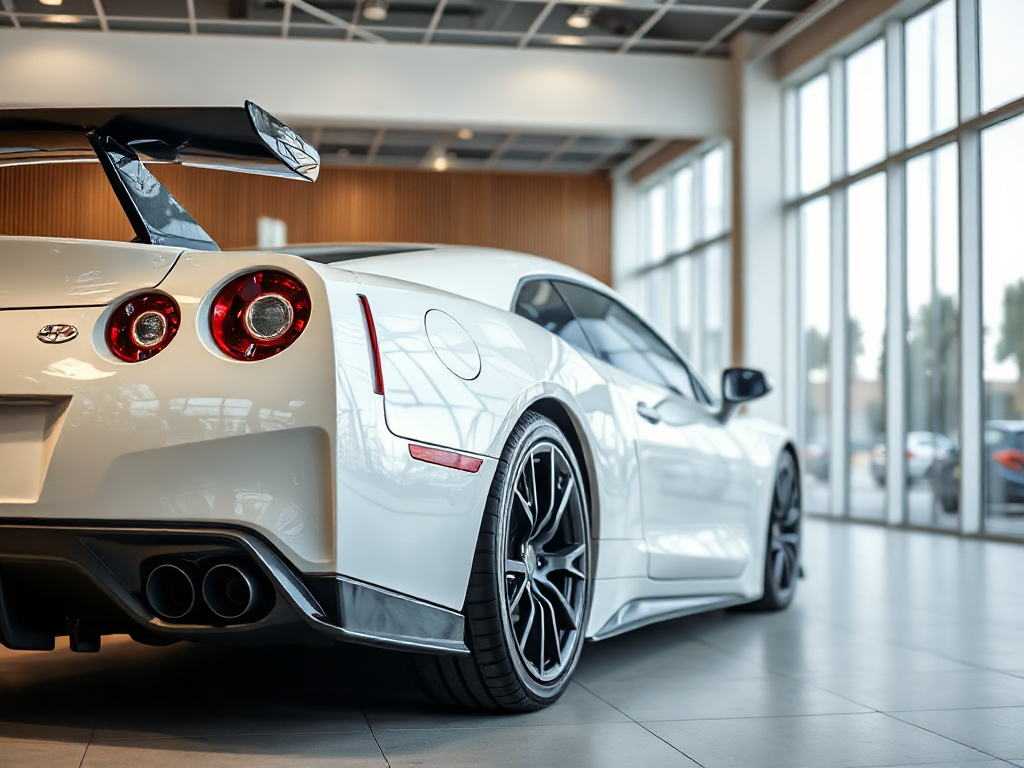
Relight: showroom to neon night
Because every editing model is one API call away, you can also run a single instruction through each of them and compare how they interpret it. The source and the three results are shown below:
What it costs, and how cheap it is
Image generation is billed by the patch, where one patch is a 16 by 16 pixel tile (256 pixels), as set out on the AI Studio billing page. Every completed task reports the exact number billed in result.usage.output_tokens, so cost is transparent and predictable. A 512 by 512 image is 1,024 patches, and a 1024 by 1024 image is 4,096. In other words, the bigger the picture, the more patches, which is the main lever on cost.
Patches scale with pixels: each value is the output_tokens returned by the API for that size. Lower is cheaper.
Each model has its own per-patch rate, so the cost of an image is simply its patch count multiplied by that rate. Working that through gives strikingly low numbers. The figures below are computed from Hyperstack's official per-patch rates and the measured patch counts, since Hyperstack publishes the per-patch unit rather than a per-image sticker price, so treat them as close estimates.
| Model | 512×512 | 1024×1024 | Approx. images per $1 (1024×1024) |
|---|---|---|---|
| FLUX.1-schnell | $0.00080 | $0.0032 | ~310 |
| Z-Image-Turbo | $0.0013 | $0.0053 | ~190 |
| Qwen-Image | $0.0053 | $0.0214 | ~47 |
| FLUX.1-dev | $0.0067 | $0.0267 | ~37 |
| stable-diffusion-3.5-large | $0.0174 | $0.0695 | ~14 |
| HunyuanImage-3.0 | $0.0267 | $0.1070 | ~9 |
How cheap is that? A 1024 by 1024 image on FLUX.1-schnell works out to about $0.0032, which is roughly 310 images for a single US dollar. A 512 by 512 draft is closer to 1,200 images per dollar. Because billing is per patch, smaller images and few-step models such as FLUX.1-schnell or Z-Image-Turbo cost a fraction of a cent each.
Two things keep costs low and predictable. Billing is per patch, so it does not round up to the next megapixel the way some pricing does, and image models run on the same platform and API key as your LLMs. You can review usage and top up your balance in the console. To keep costs down, generate at the smallest size that suits the job and use few-step models such as FLUX.1-schnell or Z-Image-Turbo for drafts.
Why generate images on Hyperstack AI Studio?
Hyperstack AI Studio turns image generation into a single API call, with none of the infrastructure work that usually comes with it.
Serverless API or self-hosting on a GPU?
Both routes have their place. Running a model yourself on a GPU VM gives you total control over the pipeline and any custom weights. The serverless API removes the operational work entirely. The diagram below sums up the trade-off.
Prefer to run the models yourself? See our guides on generating images with Stable Diffusion on Hyperstack, running FLUX on ComfyUI with NVIDIA H100 GPUs, and mastering FLUX for stunning image generation.
Start generating images on Hyperstack AI Studio
Call FLUX, Qwen-Image, Stable Diffusion 3.5 and more from one serverless API. No infrastructure to manage, and you pay only for what you generate.
Get Started on Hyperstack →FAQs
Which image models can I use on Hyperstack AI Studio?
The line-up includes FLUX.1 (schnell, dev, Krea), FLUX.2-dev, Qwen-Image and Qwen-Image-Edit, Stable Diffusion 3.5 (medium and large), HunyuanImage-3.0, SRPO and Z-Image-Turbo, plus LongCat-Image-Edit for image-to-image. The exact set changes over time, so list it from the API with the list base models endpoint.
What is the difference between text-to-image and image-to-image?
Text-to-image creates a new picture from a prompt through /images/generations. Image-to-image edits an existing picture you provide, using a prompt, through /images/edits. Each needs a model that supports that task.
Is the API synchronous?
No. It is asynchronous. The POST returns a job_id, and you poll /images/tasks/{job_id} until the status is completed, as described in the get image result reference.
How is image generation billed?
By the patch, where one patch is a 16 by 16 pixel tile. Each completed task reports the billed count in result.usage.output_tokens, and larger images cost more because they contain more patches.
Can I edit my own images?
Yes. Upload a source image through a signed upload URL, or pass any publicly reachable image URL, then call /images/edits with an image-to-image model.
Should I use the Playground or the API?
Use both. The Playground is best for quick, visual experiments, and the API is best for production and automation. They reach the same models, so you can prototype in one and ship with the other.
Subscribe to Hyperstack!
Enter your email to get updates to your inbox every week

